So you've finally completed your mosaic masterpiece and all that remains is to grout it. This can be a tricky decision and as many mosaic artists will testify grout can make or break a piece!
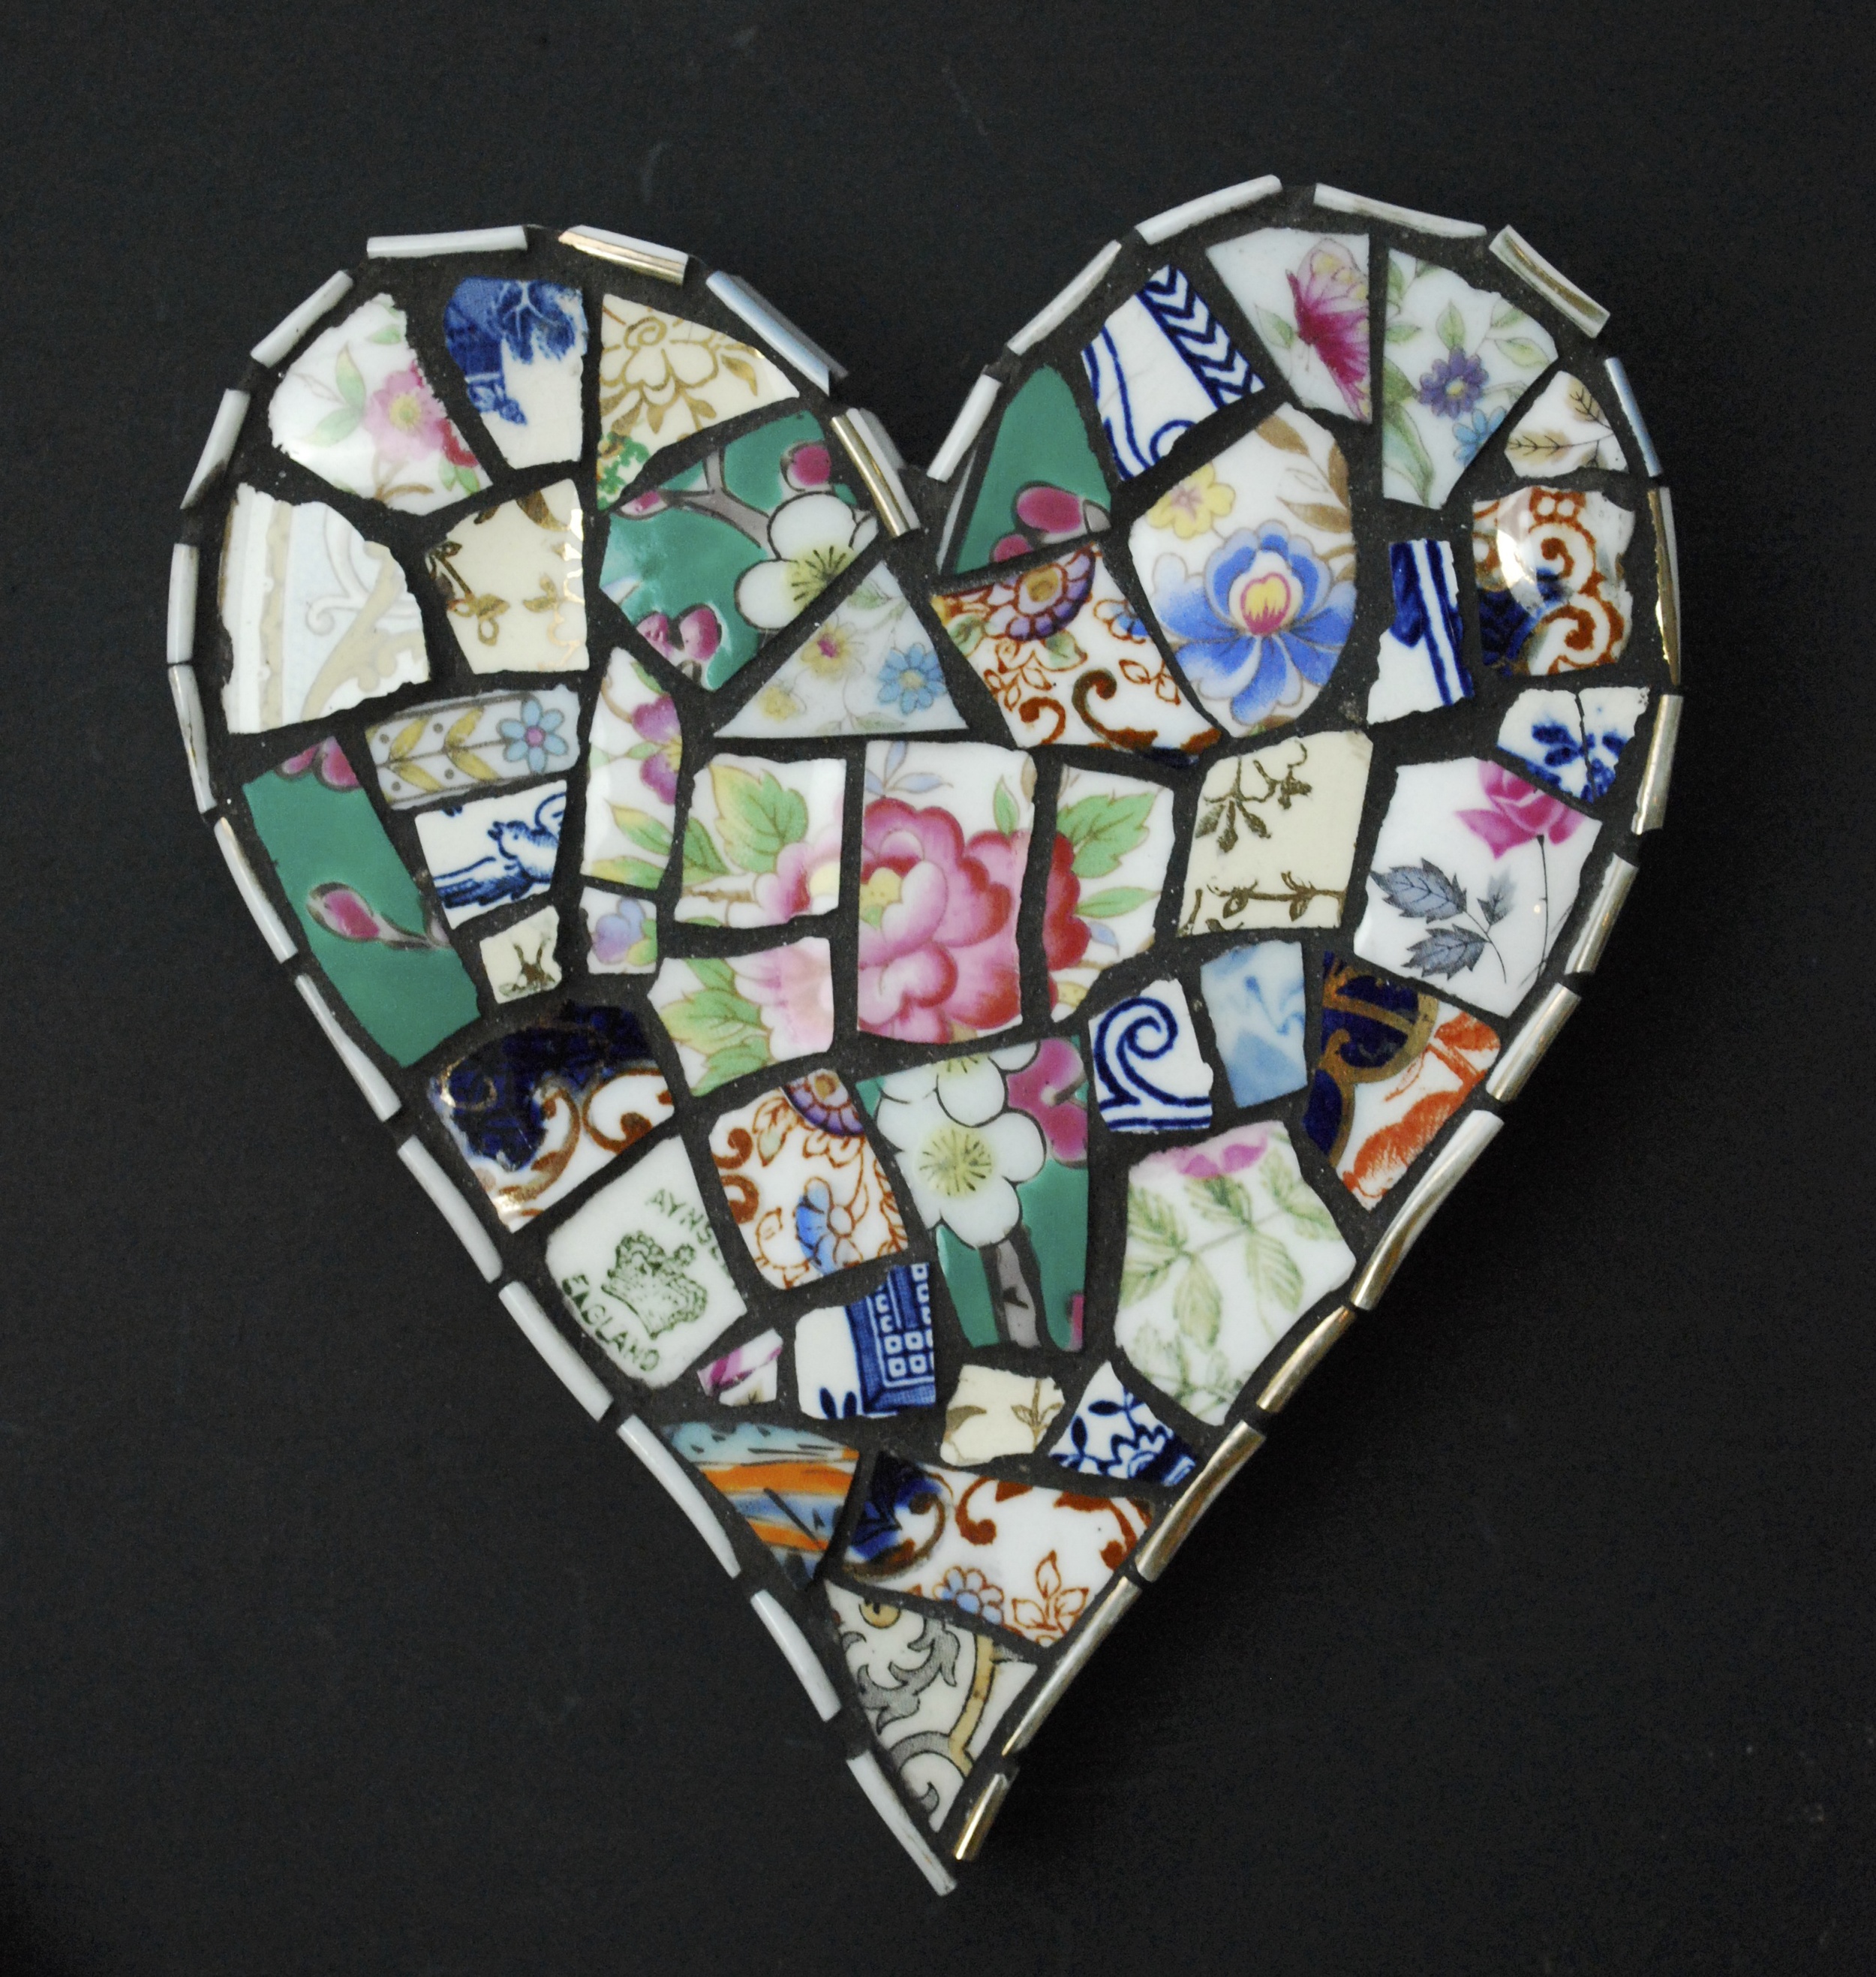
When deciding upon the colour of grout for your mosaic I have a very simple rule. When in doubt go for grey. Grey is relatively neutral and pulls the mosaic tiles together without imposing itself too heavily into your design. Compare this with black grout and you will see what I mean. Black grout gives an almost stained glass effect and can be very striking but used incorrectly and it can dominate the overall look. I once used white grout to fill a detailed background that used white tiles and I lost all the detail I had worked so hard to create!
Which make and where can I get it?
My preferred grout is always Bal Wide Joint Grout because it has a slightly gritty texture and works its way into all the nooks and cracks beautifully. The sandy texture works as a gentle abrasive removing any bits of dried PVA glue that may be on the mosaic tiles. It dries relatively quickly (allow about 30 mins) and sets hard within 24 hrs. Topps Tiles stock it and you can get it in 3.5kg bags ....that's a LOT of mosaics! Once you've opened the bag be absolutely certain to seal it up again to keep moist air out. It will keep for ages (sometimes years with me!) if you put the bag into an airtight container and keep the lid on.
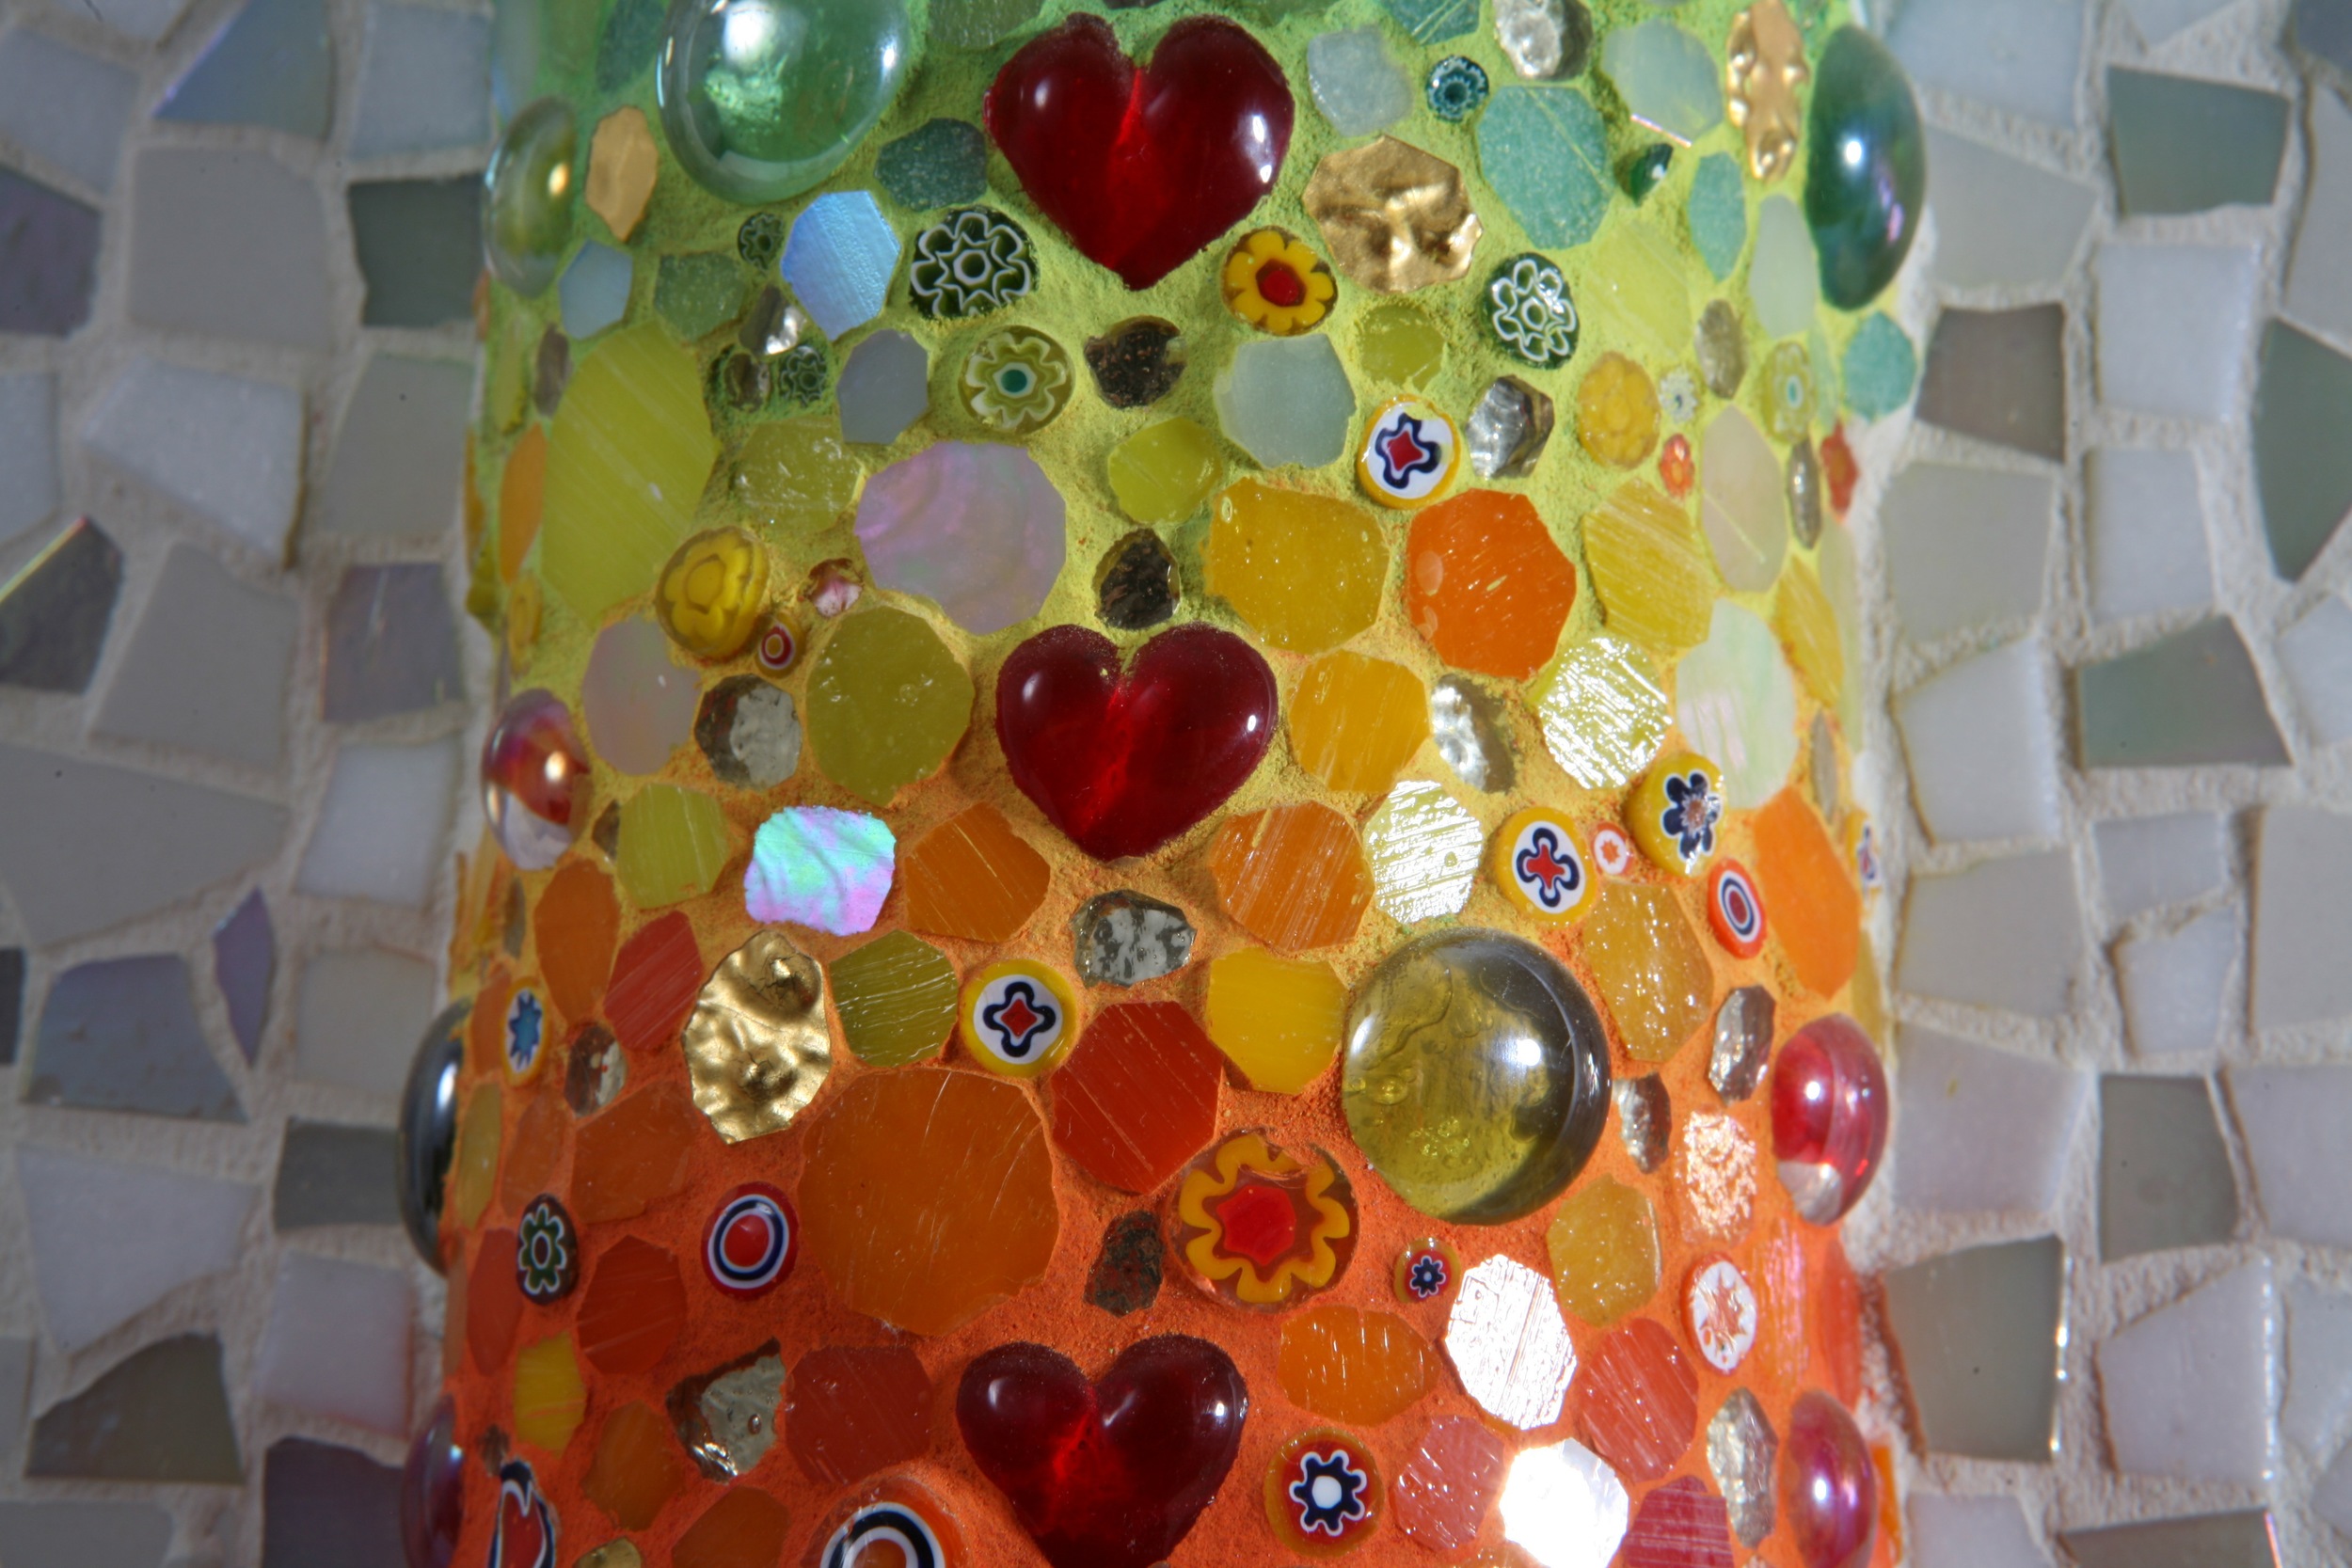
Whilst the choice of colours offered by BAL is limited to White, Grey, Ivory and Charcoal this doesn't need to be a problem because if you mix in acrylic paint with white grout you can create any colour you like. Coloured grout can transform a mosaic so it's really important that you think about the grout colour at the very beginning of the design process.

How to Grout
Anyone who comes onto one of my mosaic courses will be given a bag of grey grout and full instructions so that their mosaic can be grouted at home once the glue (PVA) has completely set. Here then is what you need to do.
1 Pour your grout into an old plastic tub - I use old humous pots! Add small amounts of water bit by bit until the grout becomes creamy, think butter icing or toothpaste.
2 If you add too much water and it goes very runny in which case simply add more grout powder to thicken it up.
To make your own coloured grout add a dollop of acrylic paint to white grout powder. The more paint you add the deeper the colour will be. Add a drop of water and mix it all up until the grout reaches the correct consistency.
3 Using a rubber spatula spread the grout all over your mosaic, ensuring it gets right down into the gaps.
4 Remove excess grout with the spatula. Do not panic that the tiles are smeared with grout at this stage - all will be well!
5 Leave for a few minutes and then using a damp but not wet cloth, wipe the mosaic to remove a bit more of the surface grout.
6 Leave it for a further 15 minutes and then buff the mosaic using a dry cloth, an old tea towel is ideal. This is the stage where you need to make sure all the grout has been removed from the top of the tiles and your mosaic is looking fab!
REMEMBER!
Never dispose of your left over grout by washing it down the sink as it could eventually block it, using an old plastic tub for mixing means that we can dispose of any excess grout in the bin.
The grout is a cement based mix so please protect your hands and eyes when using it.