Whether it be to highlight a cause, create a buzz or simply to brighten up an urban area, yarn bombing can be the perfect means to attract attention. When done with care and consideration it's guaranteed to raise a smile and prompt a selfie!
As with traditional graffiti this yarn art is accessible to all, making the audience wide and varied.
It reclaims and personalises sterile public spaces drawing our attention to everyday street furniture that usually goes un noticed.
Yarn bombing can also be a means of delivering a peaceful protest with a growing number of people actively taking part in challenging the establishment and creating positive change. The Knitting Nannas (what a great name!) epitomise this movement of non violent political activism that yarn was made for.
Our familiarity with the tactile, non threatening qualities of yarn invites us to become active participants with the installation as we step towards it to take a closer look.
I've had the immense good fortune of being asked to create many 'yarn installations' which has led a growing number of people to ask me how they can go about creating one of their own. Here are some of the key points I have learnt along the way, from one enthusiast to another!
1: Planning
Where is it going?
Tree, statue, park bench, phone box, fencing, railings the possibilities are endless but you do need to consider access and the logistics of placing your work once completed.
How will it be fixed in position?


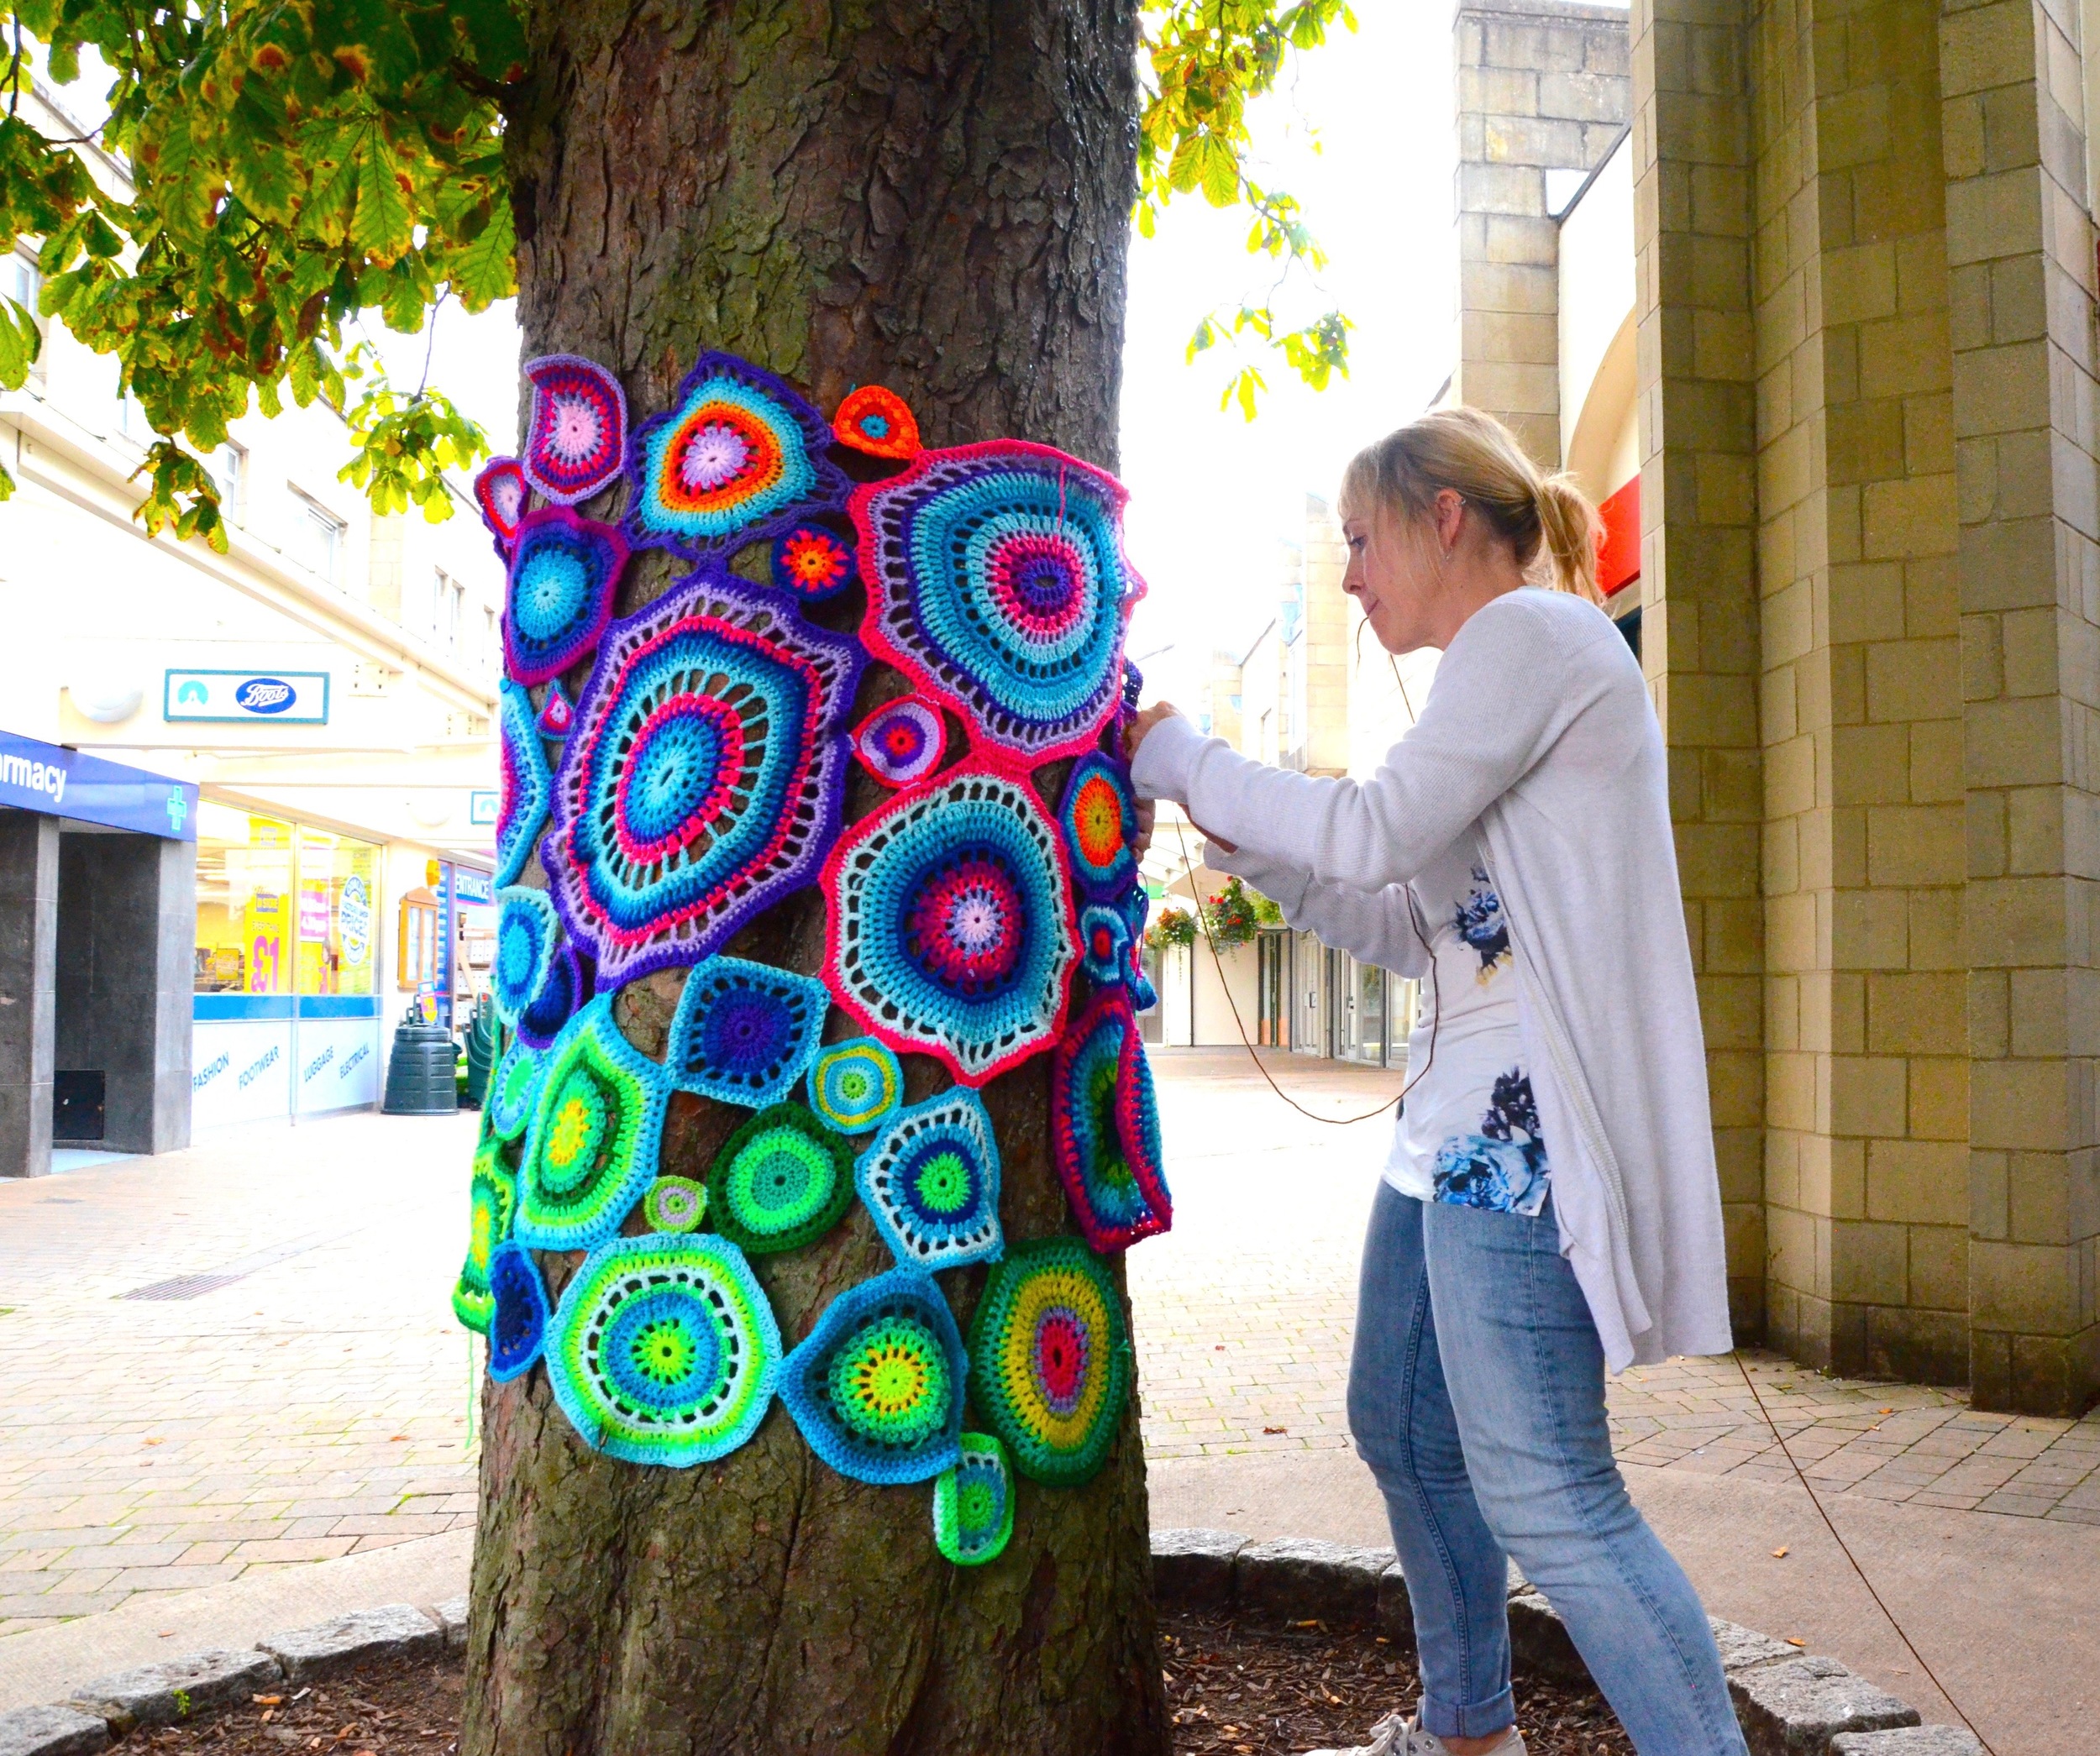
Sewing the yarn 'Scarf' around the lamp post makes it neat and secure. Fix a cable tie around the top to top it slipping down
When fixing to lamp posts I recommend the use of cable ties at the top to prevent your work from falling down. Cables ties are also your first line of defence in keeping your yarn bomb safe from being pulled off. Trim the ends to keep the aesthetics ....done well and you hardly know they are there.
2. Permission
My advice is get permission. Yarn bombing takes time and planning and without permission it can all be for nothing.
I've always worked with permission from the relevant authorities who have actively supported and helped with the installation. They also carry the relevant health and safety, public liability cover that we tend to need these days. It's easy (and relatively inexpensive) to get public liability insurance.
My tip is it's well worth having as it's nearly always required before being given permission to install your yarn bomb.
In certain areas it is still considered to be graffiti and therefor illegal and the artist could face punishment for littering or vandalism.
Keep in everyones good books by being considerate when choosing a place for the installation.
Do not obstruct signage, especially parking and traffic signs. Think safety.
Of course you don't have to get permission you could just risk it but it's very likely that your work will be removed almost as soon as it goes up.
Be respectful.
When discreetly placing small items in public spaces without permission always be respectful. Not everyone will appreciate it so be prepared for any response and offer to remove it.
3. Designing
Is there a theme?
Yarn bombs are usually there to spread the word, provoke thought or raise a smile and it can help to have a theme.
A colour, a logo or perhaps a simple idea like roses wrapped around colonnades!
My latest yarn bomb was for Bath in Fashion 2016 and is based upon the events guest speaker, Dame Zandra Rhodes and her spring summer collection for 2016.
Raise money for charity
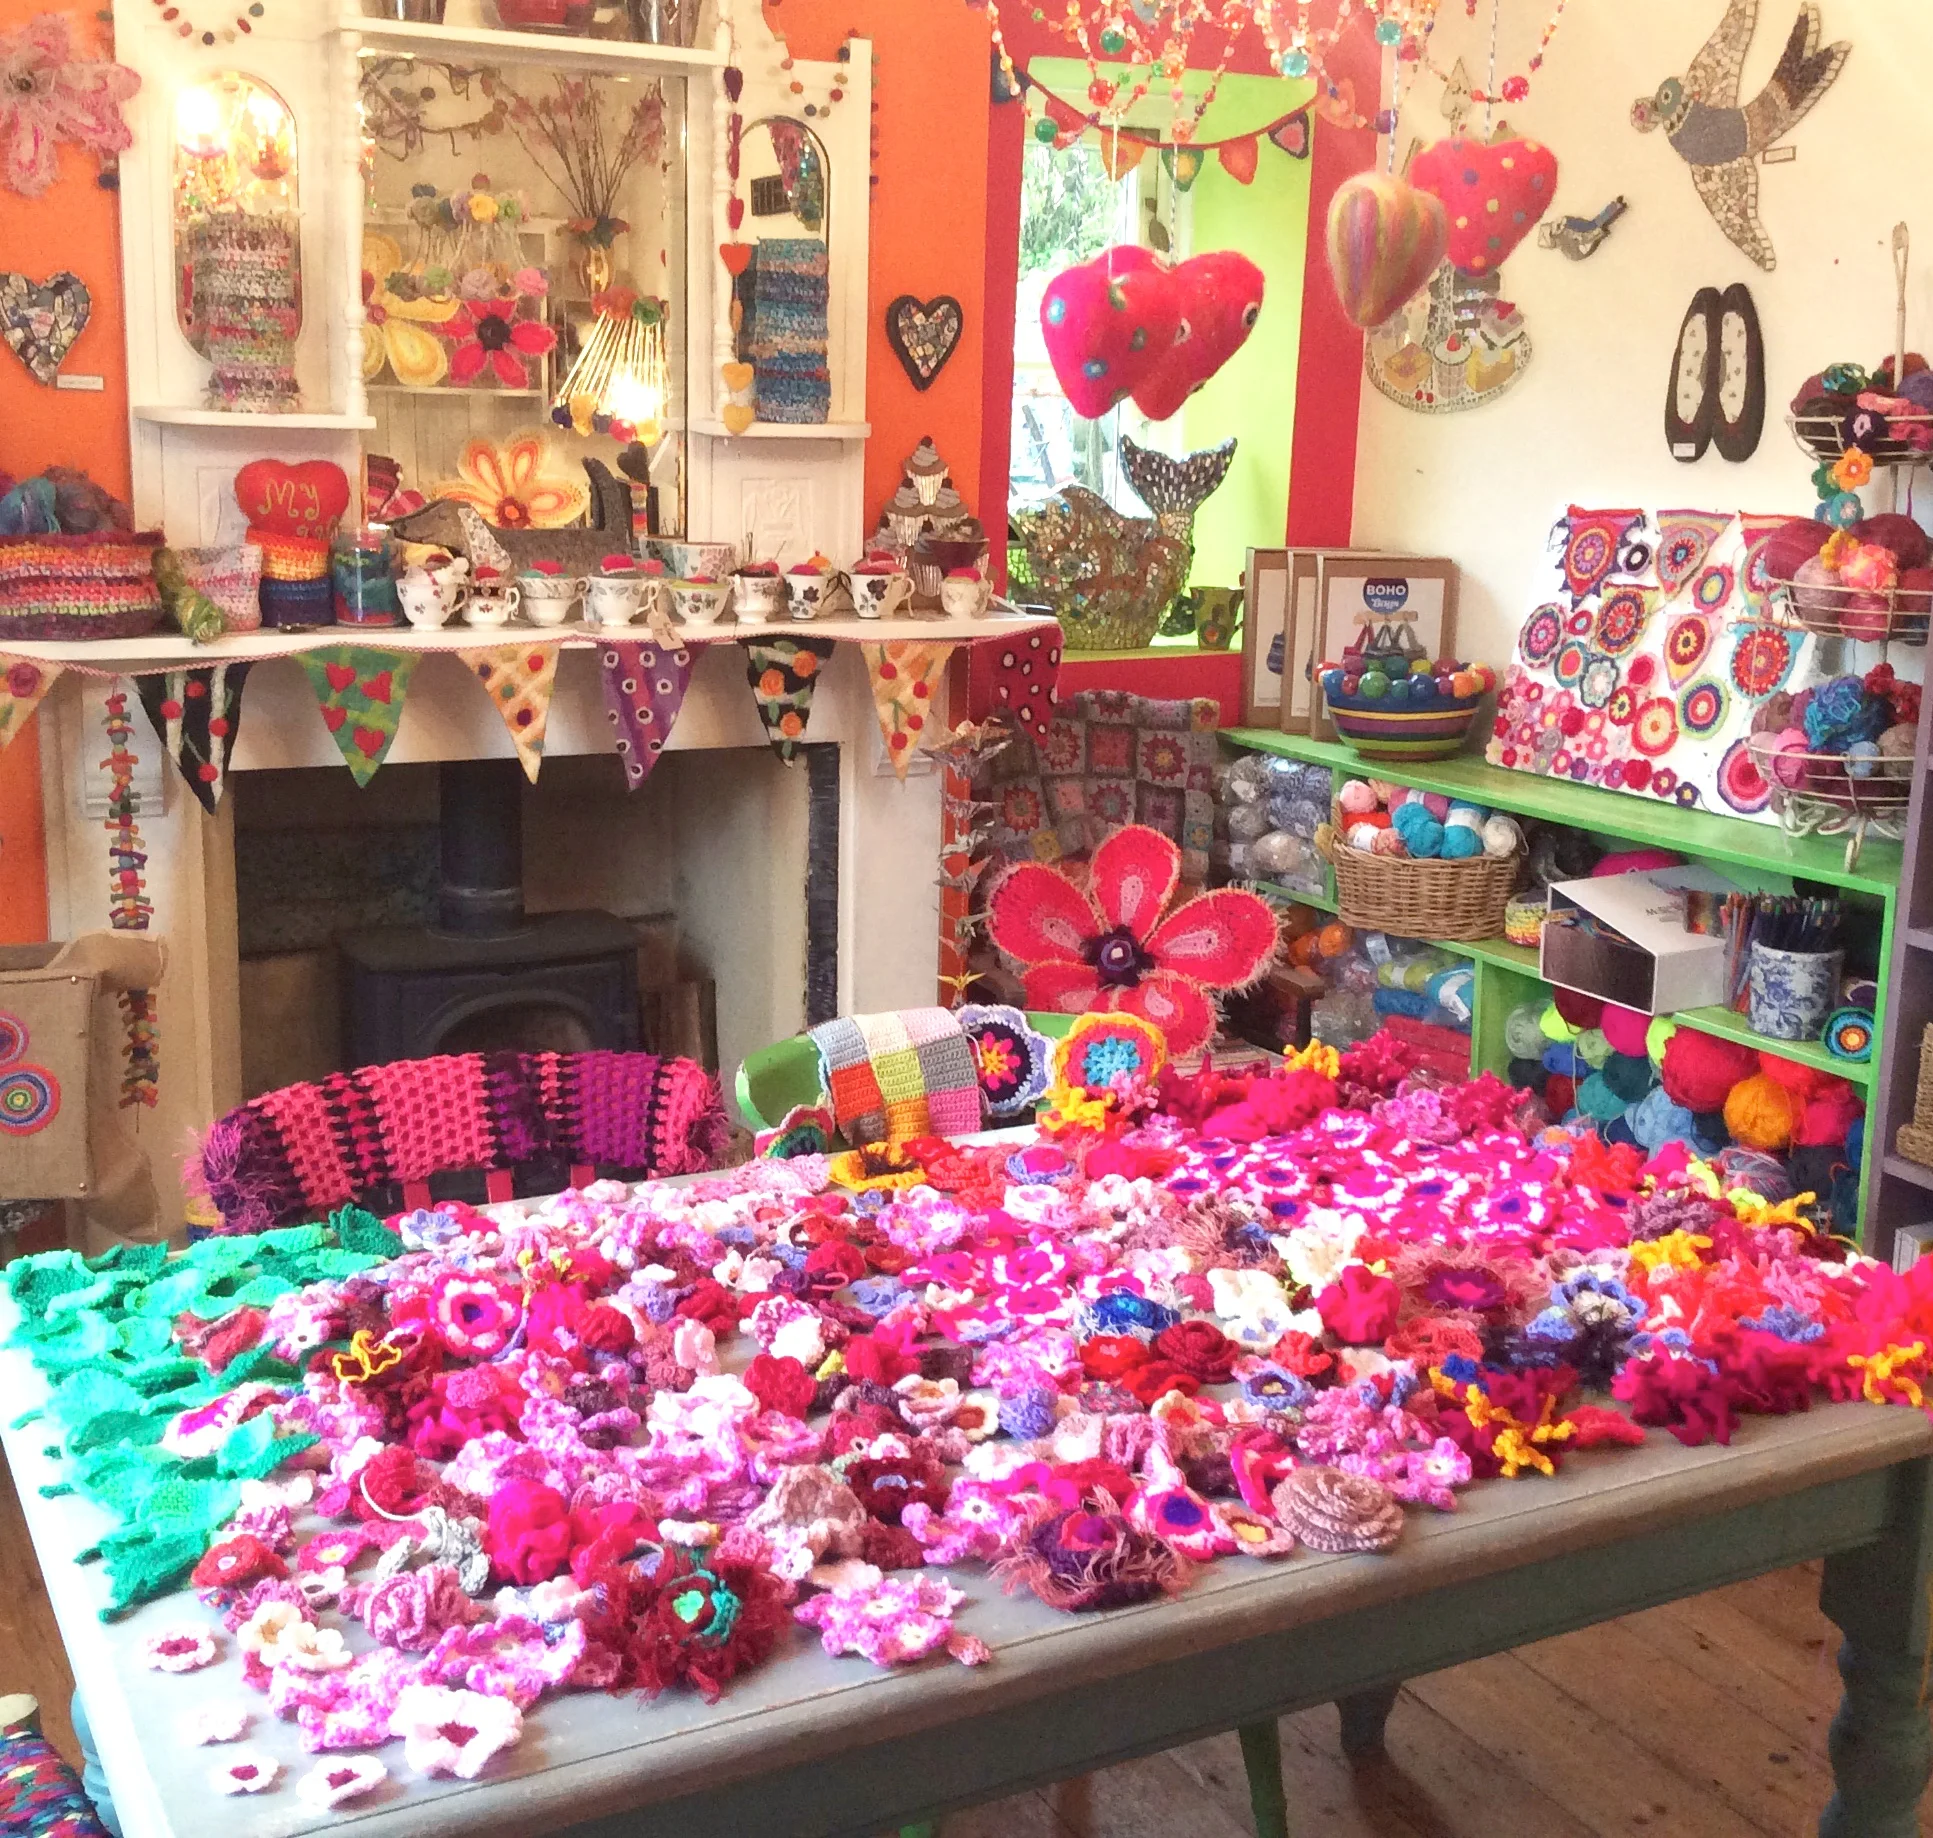
Creating a yarn-bomb is an ideal way of raising money for charity. Never underestimate the power of crochet (and knitting!) to generate awareness and money for a good cause. When I was diagnosed with breast cancer earlier this year I felt driven to create value from the situation. Through the use of social media and with the help of Bath in Fashion I was able to create this pink ribbon and decorate it with lots of pretty flowers donated by many wonderful people from all across the UK. The ribbon is now on display at the Bath RUH for patients. relatives and staff to enjoy and this grand floral display on Milsom Street raised over £2000 for the Bath RUH cancer care centre.
Measure it.
Once you have established what is being yarn bombed it's a good idea to measure it. As a rule you need to make things slightly smaller that the object you are covering to ensure a snug fit. As an example if the post you are covering measures 24cm in diameter then knit or crochet to measure 21cm. You can then pull the scarf nice and tight for a snug fit. This helps prevent it from slipping down.
Trees obviously vary in width so you need to take the time to measure the widest and narrowest parts of the trunk and branch and plan accordingly.
Do a fitting
I have been known to visit sites or statues countless times to measure and re measure and on occasion have even done a fitting before the day just to be sure!
Large or small?
It can be helpful to familiarise yourself with the basics by starting small. Think about covering a piece of home furniture yarn bomb style as it's a great way to explore the possibilities of this wonderful art without the pressure of it going public. Also it looks great in your home and becomes the talking point with guests!


Modular or Complete
Is the yarn bomb one complete piece or will it be made up of many smaller elements?
Modular pieces like granny squares makes it easier for lots of people to take part as each person can make one piece to add to the stash. This is partly why we love crochet right? Small creations to make one large piece.
The advantage of modular parts is that it leaves you with the option to make easy last minute alterations on the day. The lions coat is made up of individual parts making it simpler to fit. Some of the lamp post covers we had turned out to be much longer than was needed and it was great to be able to unpick the join between two sections to shorten it to fit.

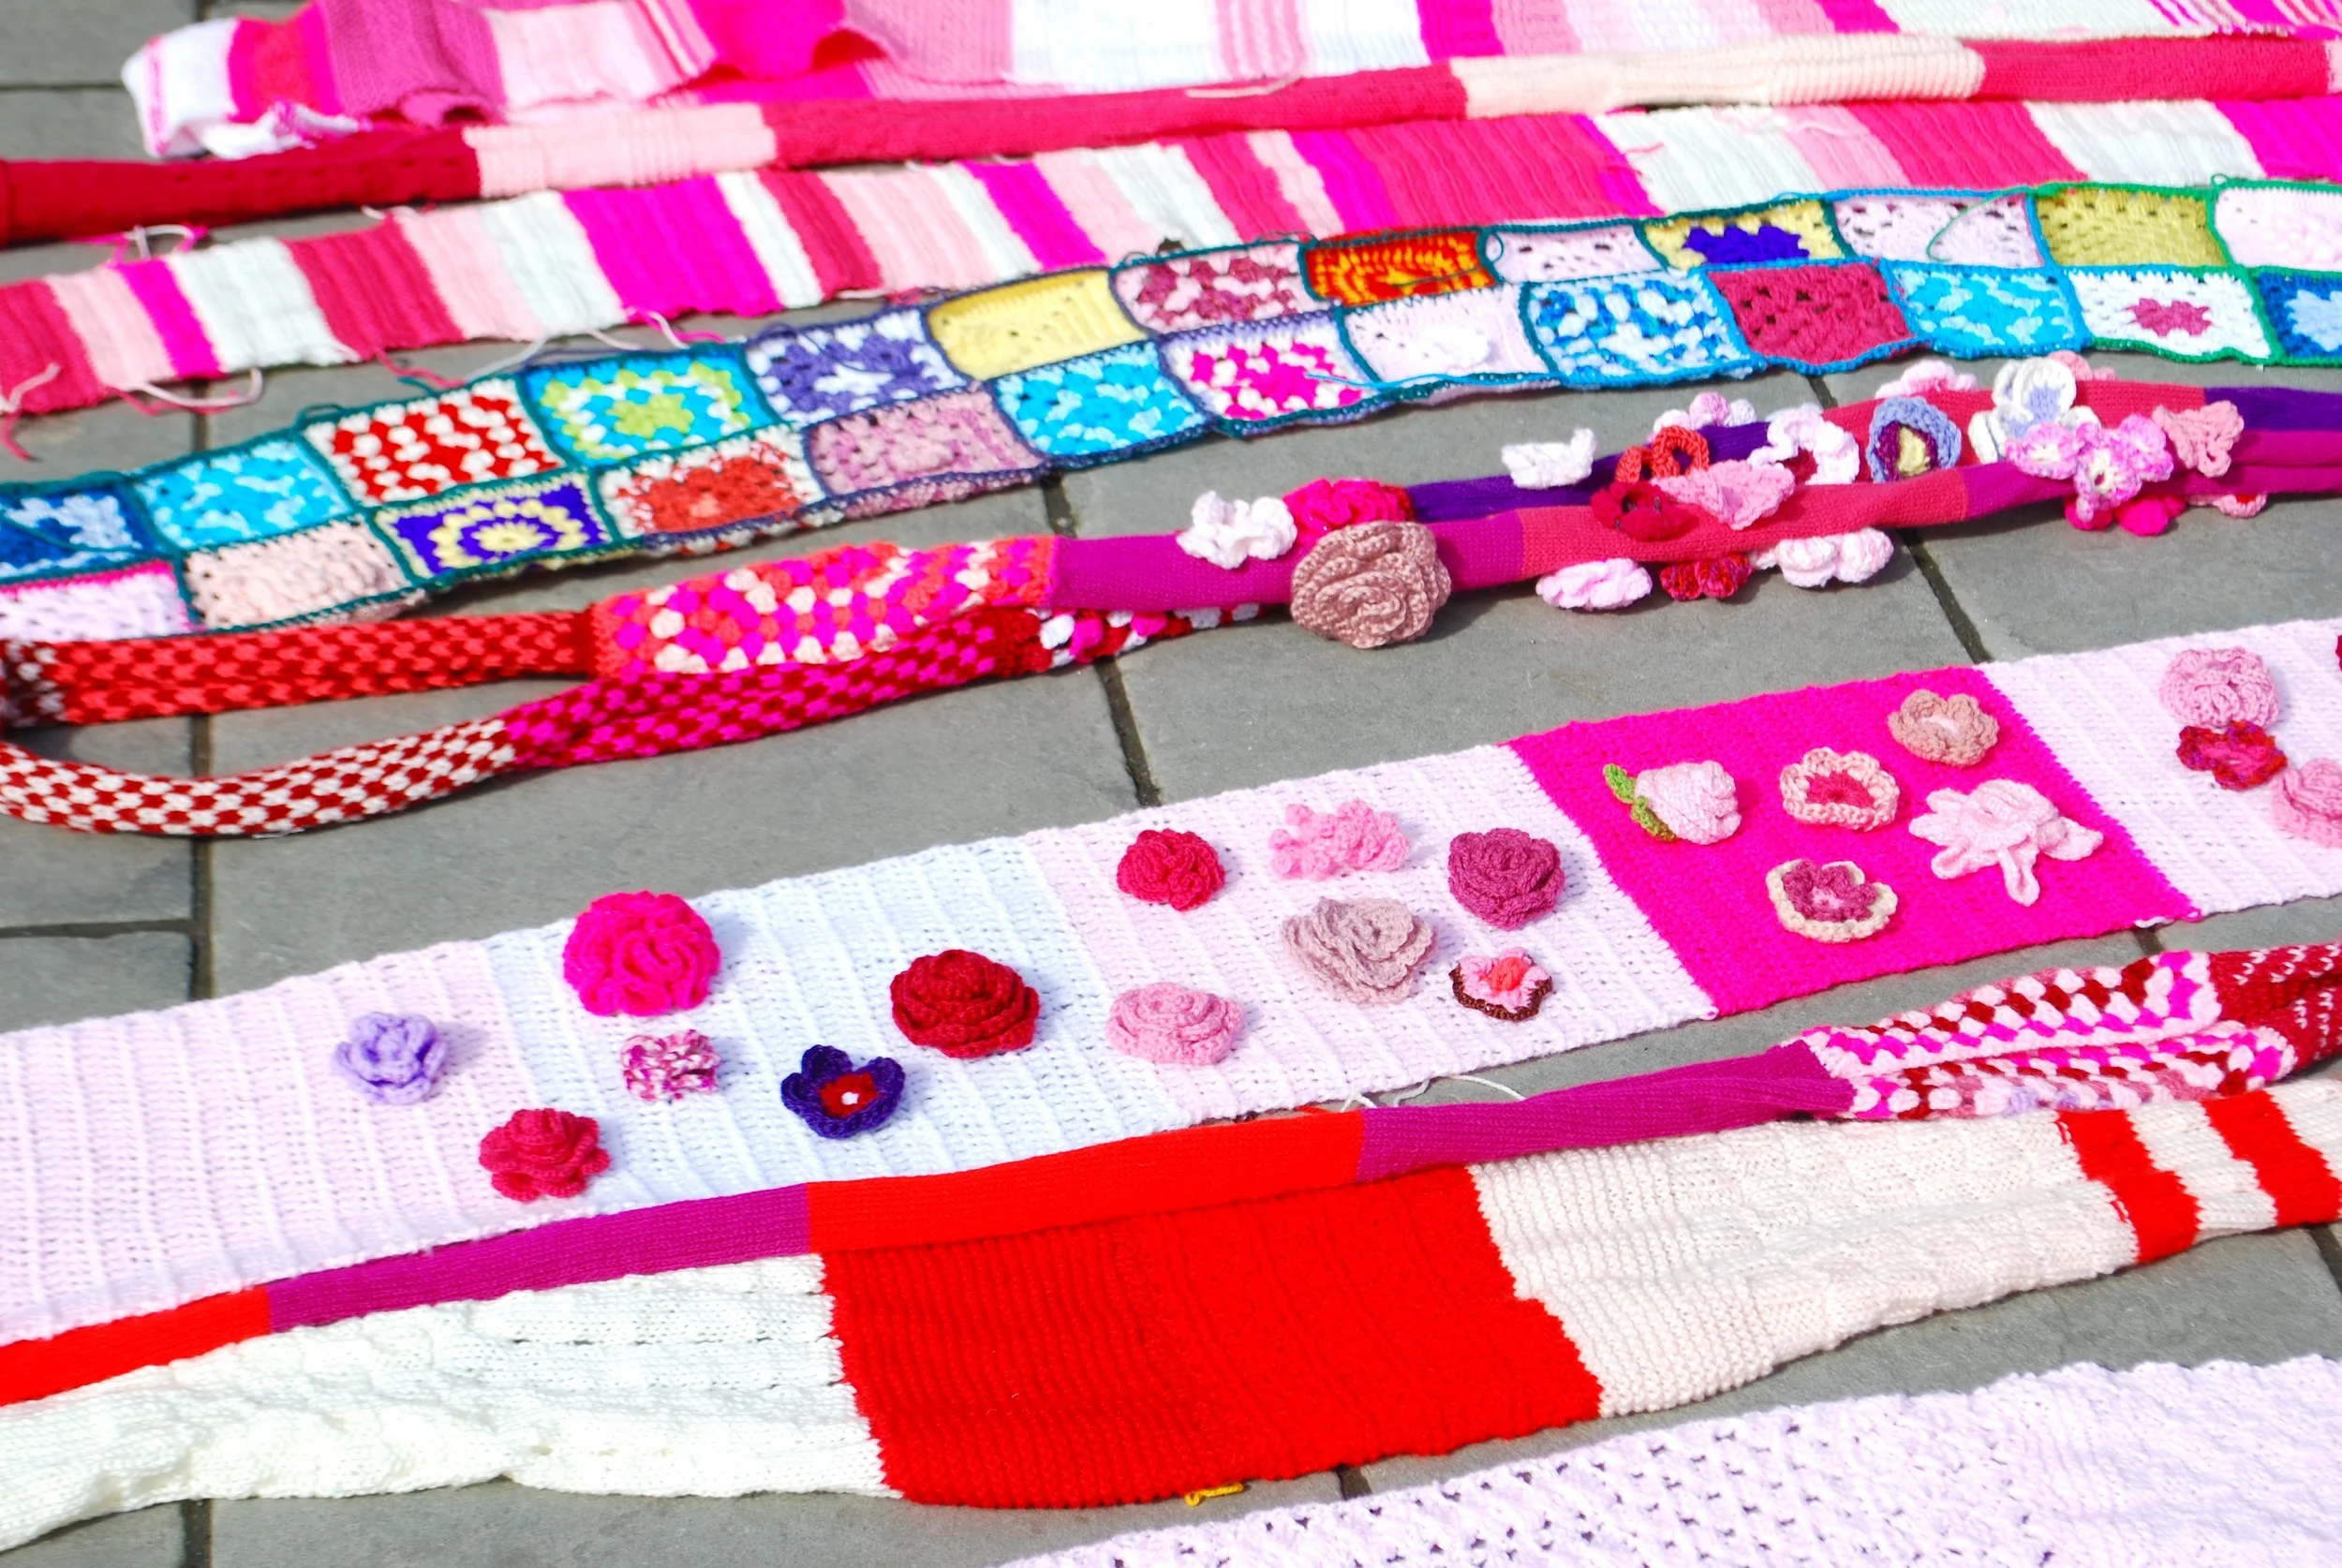
When making one complete piece you must ensure you have measured correctly allowing for the stretch in the yarn once completed. Lamp post covers can be one long scarf with embellishments added prior to being installed.
4. Materials
Acrylic all the way! That's my advice. It's cheap, colourful and lightweight with a large variety of acrylic novelty yarns too.
Yarn installations look fantastic in the sunshine but can become tragic in the rain. Keep it simple and go for acrylic.
Avoid wool as it gets very heavy when wet and will sag horribly. The same applies to cotton and both take an age to dry.
5. Making
Be it in a large group or on your own allow plenty of time. Imagine how much time you think it will take and then double it!
Putting the finishing touches to a piece and preparing it for installation can take longer than you imagine so it's a good idea to plan for this.
When we did the Roses yarn bomb the roses were sewn onto crochet lengths of about two meters and, oh my goodness, the tangled mess when we threw them all in together in a big box! It took hours to untangle and made the installation day more stressful than it needed to be. Lesson learnt!
My friend and fellow yarn bomber Rosie and I meet up regularly when collaborating on a project. We share ideas and find solutions to anticipated installation problems and this planning really does pay off.
Going Solo
Doing a yarn bomb on your own is perfectly possible - I've done it and it takes a lot of commitment to make something special. Start small with the option to go big later on. See my tips on installation.
Group activity
A group of people with a collective purpose working together is a mighty and wonderful thing and it is the heart and soul of yarn bombing.
It can involve entire communities resulting in lifelong friendships. The group I work with came about as a result of the first Yarn bomb I did for Bath In Fashion in 2014. We ran an article in the local press calling for any keen knitters and crocheters wanting to be involved in the project and 3 years later we are an army of 40.
Crochet Poppies on display in Bath's Guildhall
The benefit to our lives has been immeasurable and we meet once a month every month throughout the year. When we are not making for a big installation we make poppies for Remembrance Day, blankets for refugees and scarves for the homeless.
If your project is BIG then tap into your local knitting and crochet groups. I guarantee there will be one in your area. I know of at least 4 in Bath, all meeting on different days in various cafes. Seek out their whereabouts and get them involved. Start with your local wool shop they are the font of all woolly knowledge!
6. Social Media
Engaging people on social media can be incredibly rewarding. The making community is wonderfully generous both of their time and yarn. My postman always knows when I am working on a yarn bomb project by the increase in the number of soft stuffed envelopes being delivered. It makes the post a really enjoyable part of the day!
Look what was achieved thanks in part to the readers of Simply Crochet Magazine!
We asked people to send in small crochet flowers to be used to create a giant pink ribbon to be displayed at the local hospital for patients, relatives and staff to enjoy.


Patterns and tutorials
Working as a group requires organisation and planning. You need to accommodate mixed abilities and exploit (in the nicest possible way) peoples strengths. Plan the design and offer a range of simple patterns for people to work from. I post my patterns up on my website and email the link to the group so that we are all working to the same pattern.
7. Sponsorship and funding
Most yarn bombs are funded by the makers who are happy and willing to raid their stash but it is possible to get a little help from time to time. Often if the project is for a cause especially a charity you may be able to negotiate a discount with your local yarn store but do remember they are a business and need to make a living too.
I was lucky enough this year to get sponsorship from Rico Design Yarns who wanted to support the Bath In Fashion yarn bomb. This meant my home was, at times, snowed under with packs of wool....oh no....how terrible!!!!
8. Installation
This is when all your planning comes into play! I've never installed on my own and I can't imagine that it's much fun but I can thoroughly recommend this as a group activity.
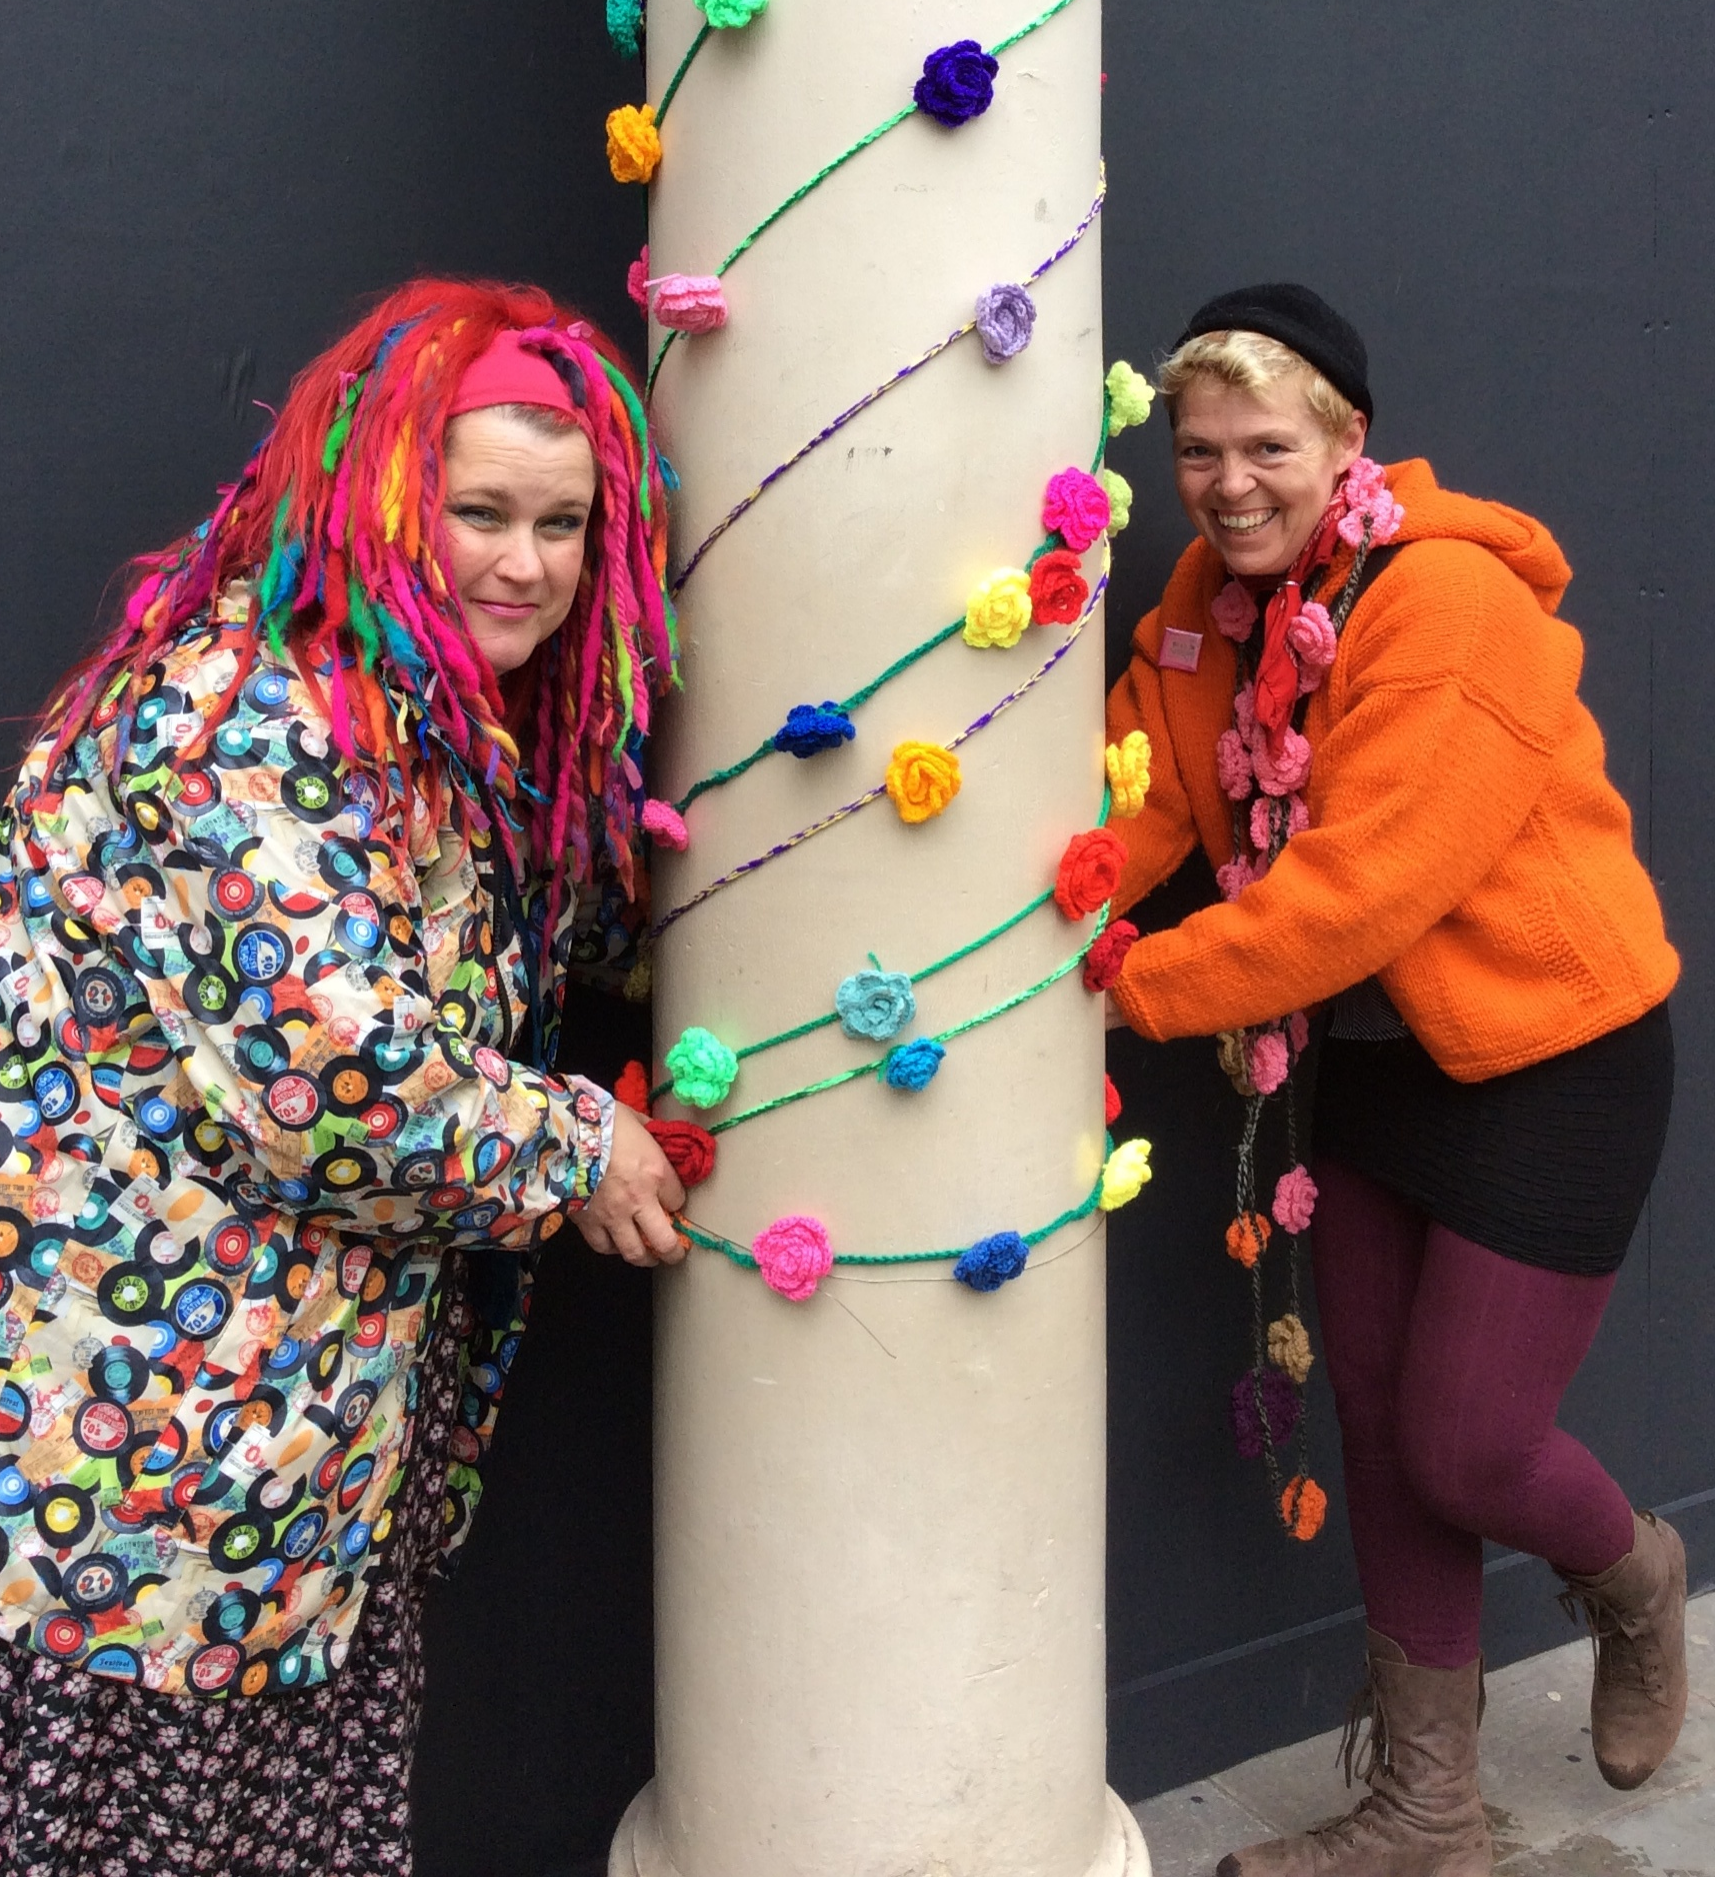
Enlist the help of friends and fellow yarn bombers! I have a friend who can't knit or crochet but absolutely loves helping to instal (Tina in the orange!) It's so much fun to do together.
Toolkit
Each yarn bomber on the day needs a toolkit containing the following:
Yarn
Scissors
Needle
Hook (would we ever leave home without one?!)
Cable ties
Wire - this always comes in handy for twisting and holding things together.
Mine is all in a bag that never leaves my person. It's so easy to put scissors down on the pavement and then spend the next 10 minutes looking for them!
Step ladder!
Stay safe especially when working at height. Get the right help for the job. The local council are very strict about this and the projects I've worked on in Bath have all had the benefit of the help of the relevant authorities.
Do not leave valuables un attended (see tip 9)
Plan for the weather - If there's rain then try to organise having someone to hold an umbrella whilst the other person fixes the yarn bomb in place. This avoids rain running up your sleeve!
Day or night?
I've only ever installed during daylight hours. Party because I have always sought and be given permission but also it's just so much easier to see what you are doing! You are however more exposed to the public and it can become a fascinating spectacle for passers by to watch so this is not for the shy and retiring folk unless you are feeling particularly courageous!
The public....your audience!
The public will stop and ask questions so be prepared........and be polite! Not everyone is a fan and we just need to accept this and respect peoples opinion.
It helps to have relevant leaflets, collection points (if it is aid of a charity) and banners or posters explaining what it is for (if anything) and why you are doing it (perhaps it's a protest or to raise awareness.)
Engage local media to spread the word. Installation day can be a big event with lots going on which in itself creates a bit of buzz.
9. Tagging and photos

Always tag your work. Let people know who made it and why..

A simple tag can be a luggage label that has been laminated to protect it from the rain.
Place the tag at eye level to encourage people to take a look.
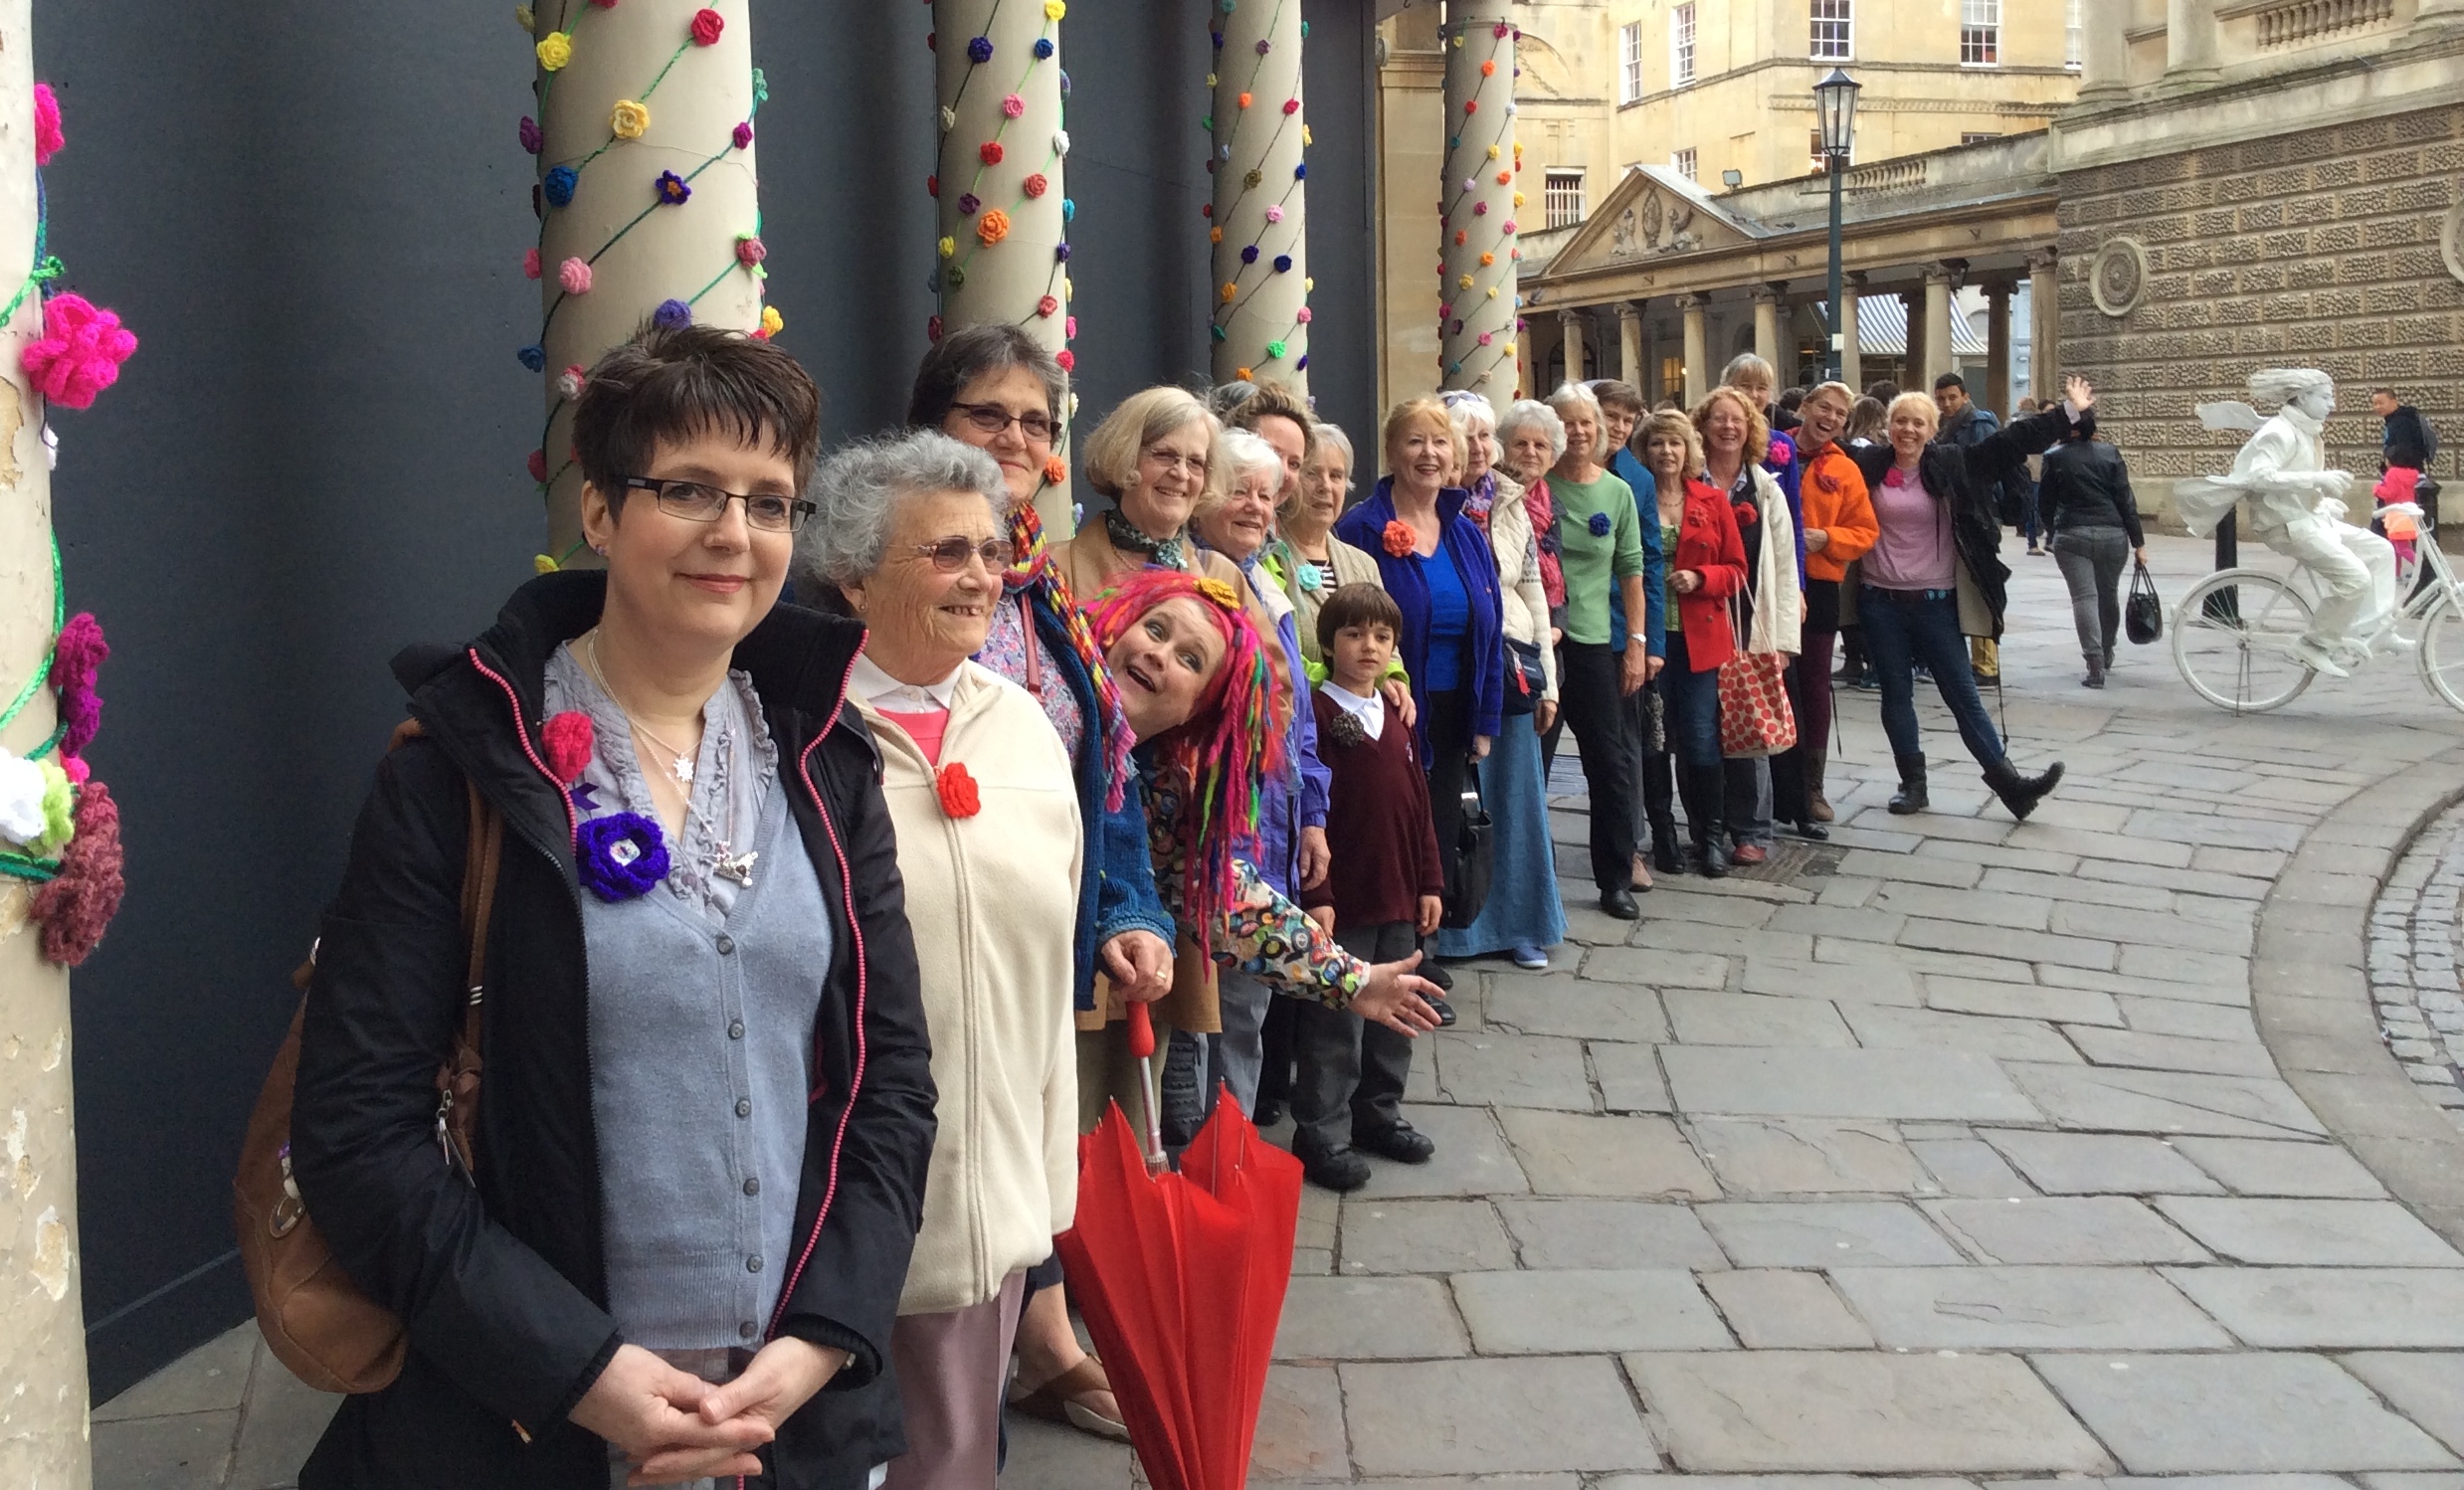
Have someone there to take photos of you installing your work and remember to get the group photo at the end when it's all done!
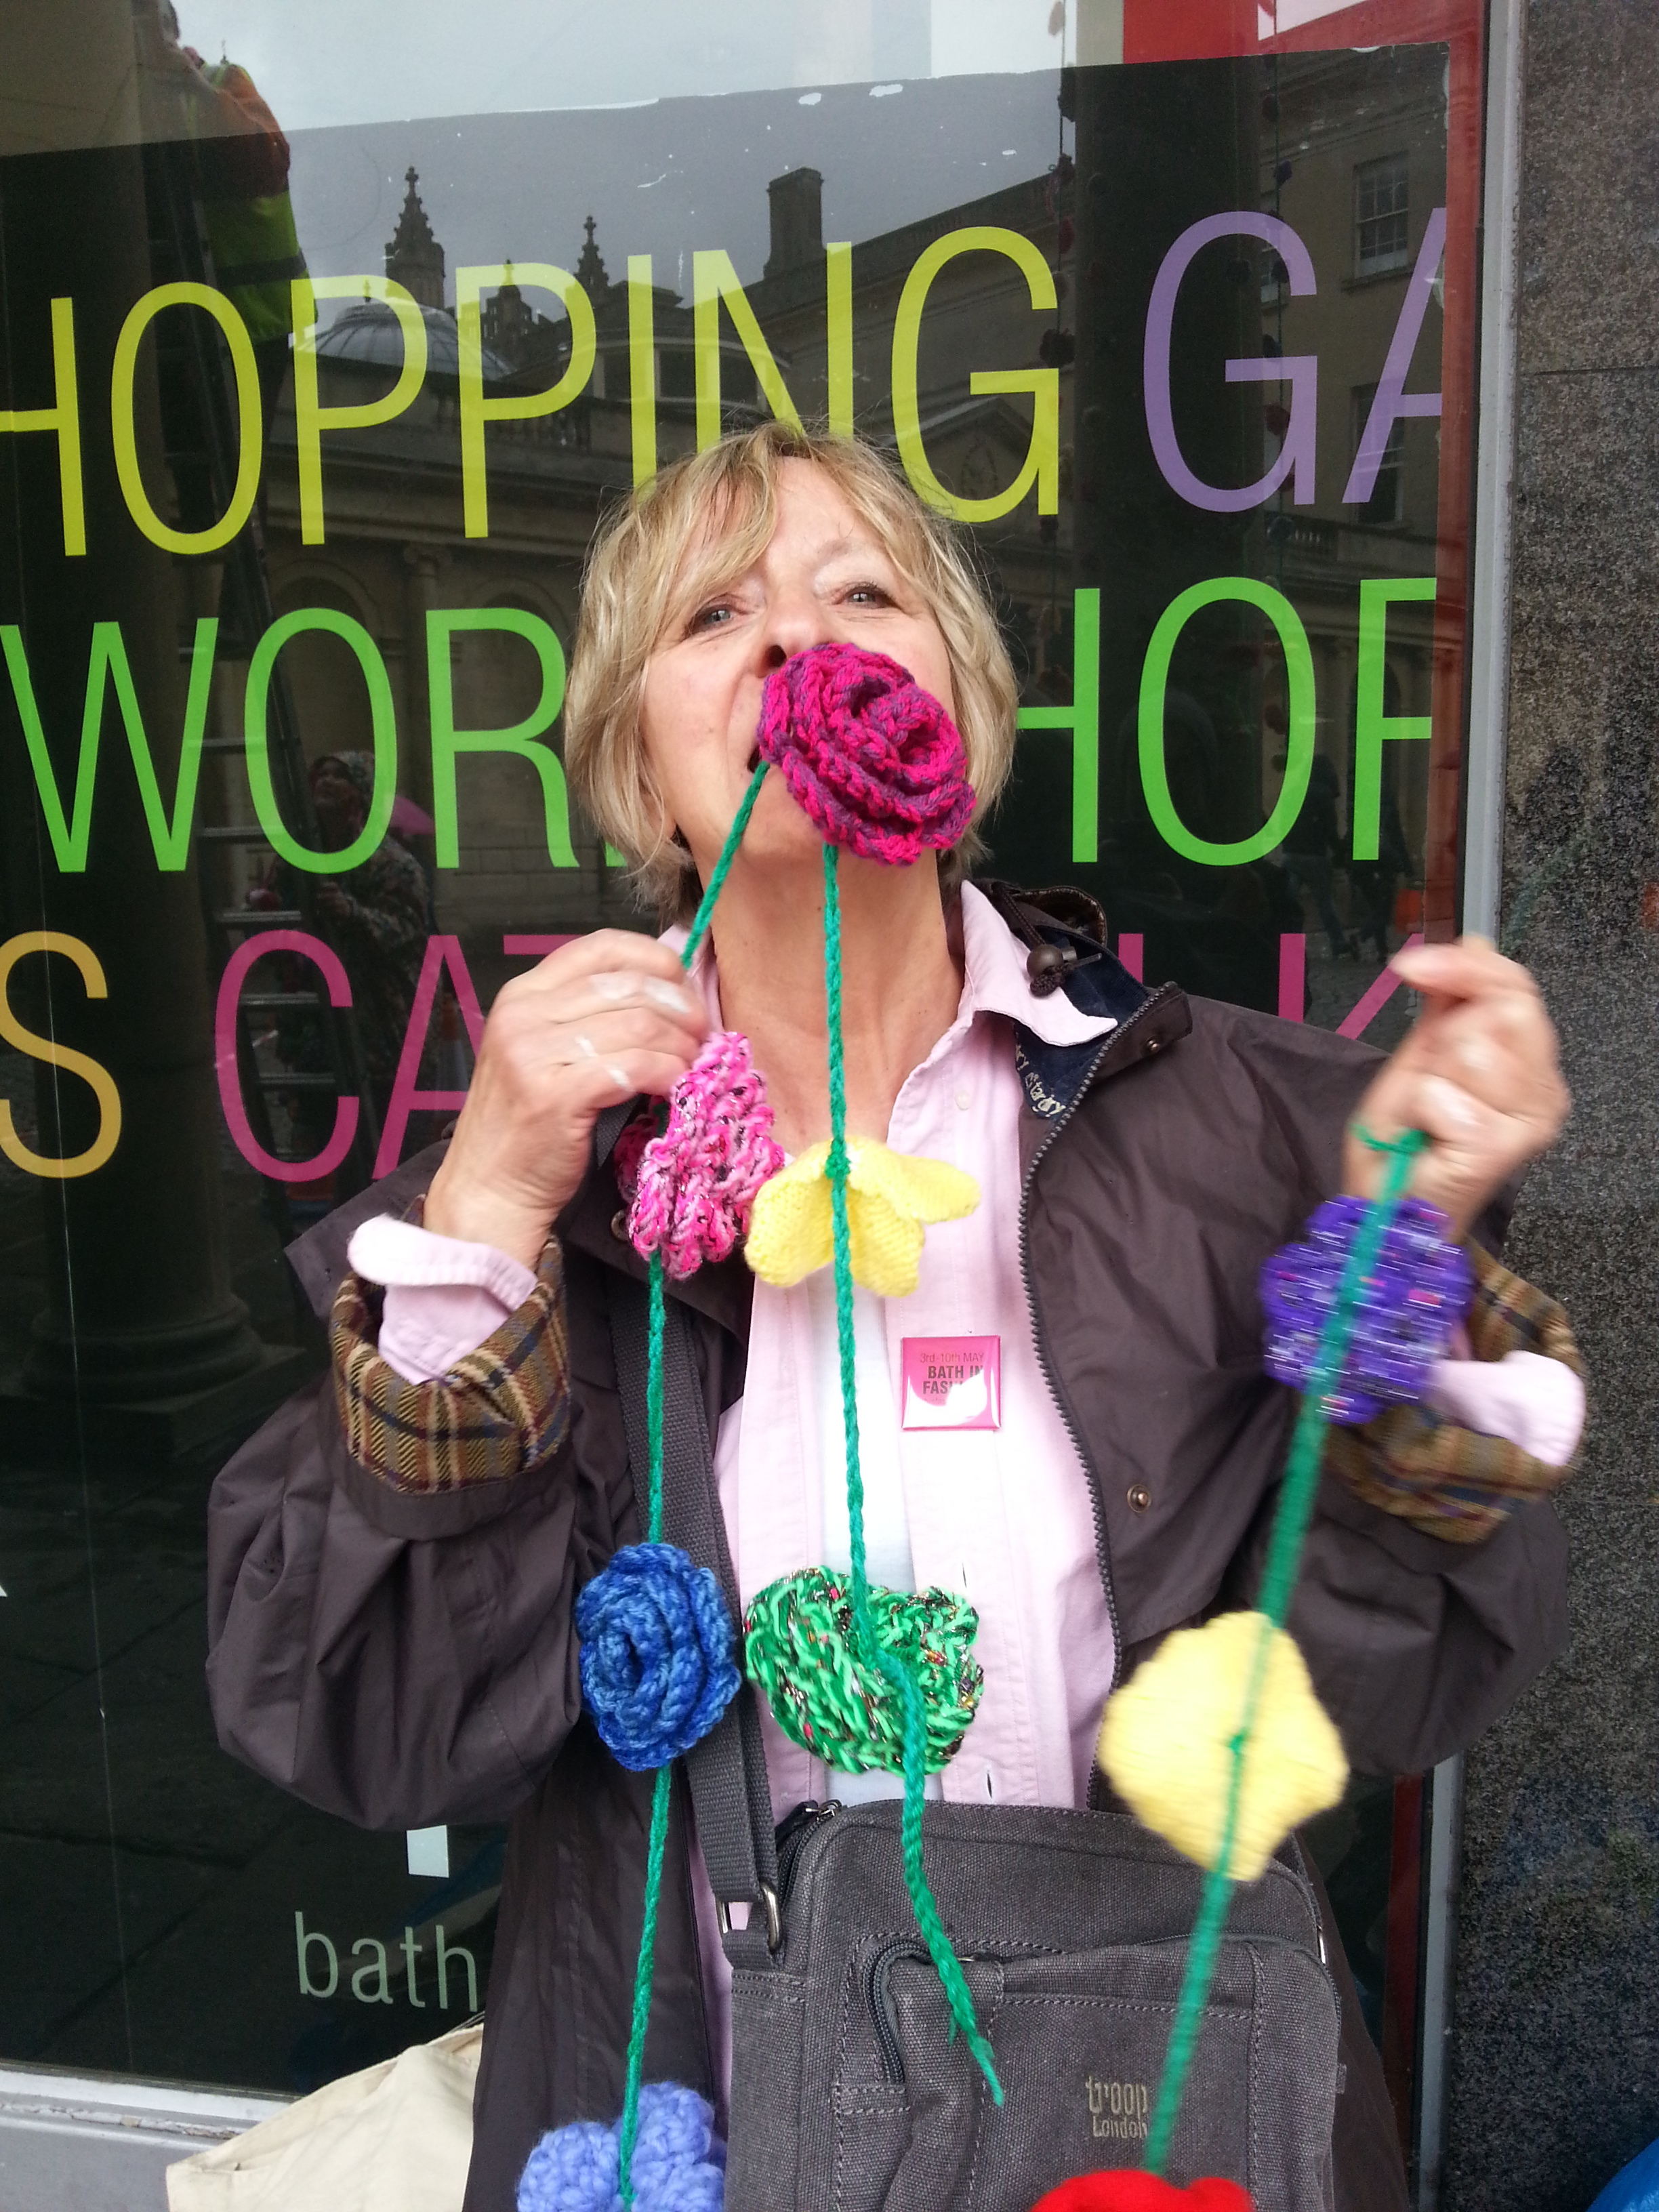
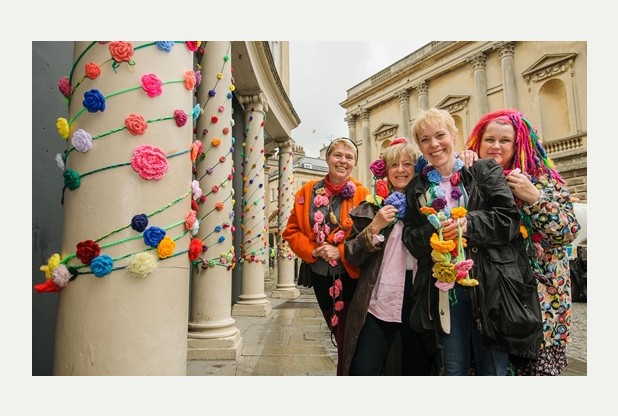
I invariably have my mum (she's the one with the roses in her mouth!) taking photos and I am so grateful! She also guards the valuables on the pavement, holds the step ladder and generally does anything and everything!
Post your photos on social media.
We all want to be inspired and to see what you've been up to.
10. Take it down and let it go.
The hardest lesson for (me at least) is it to let it go. Once your yarn bomb is up and out there anything can and often does happen. It may be removed, stolen, vandalised but it will almost certainly be photographed and shared so whatever happens just let it go. Do not take it personally.....unless it's wonderful feedback in which case lap it up!
And finally.....
Leave no trace.
Please always remember to remove the yarn bomb. Over time it will become bedraggled and weathered, covered in dirt and start to look terribly sad.
Nobody wants to see this so plan when it goes up and when it comes down.
Wear gloves when removing your work. Think dogs cocking their legs....there, enough said!
Bag it, wash it and save it for another day. My loft is heaving under the weight of previous yarn bombs and I am happy to report that nearly every yarn bomb has gone on to be displayed at other events. Street parties, school fetes, birthday parties and festivals. Once your friends and colleagues know you are a yarn bomber your work will be forever out there somewhere!
Happy yarn bombing!
My long suffering daughter Lili as I get her to pose yet again!
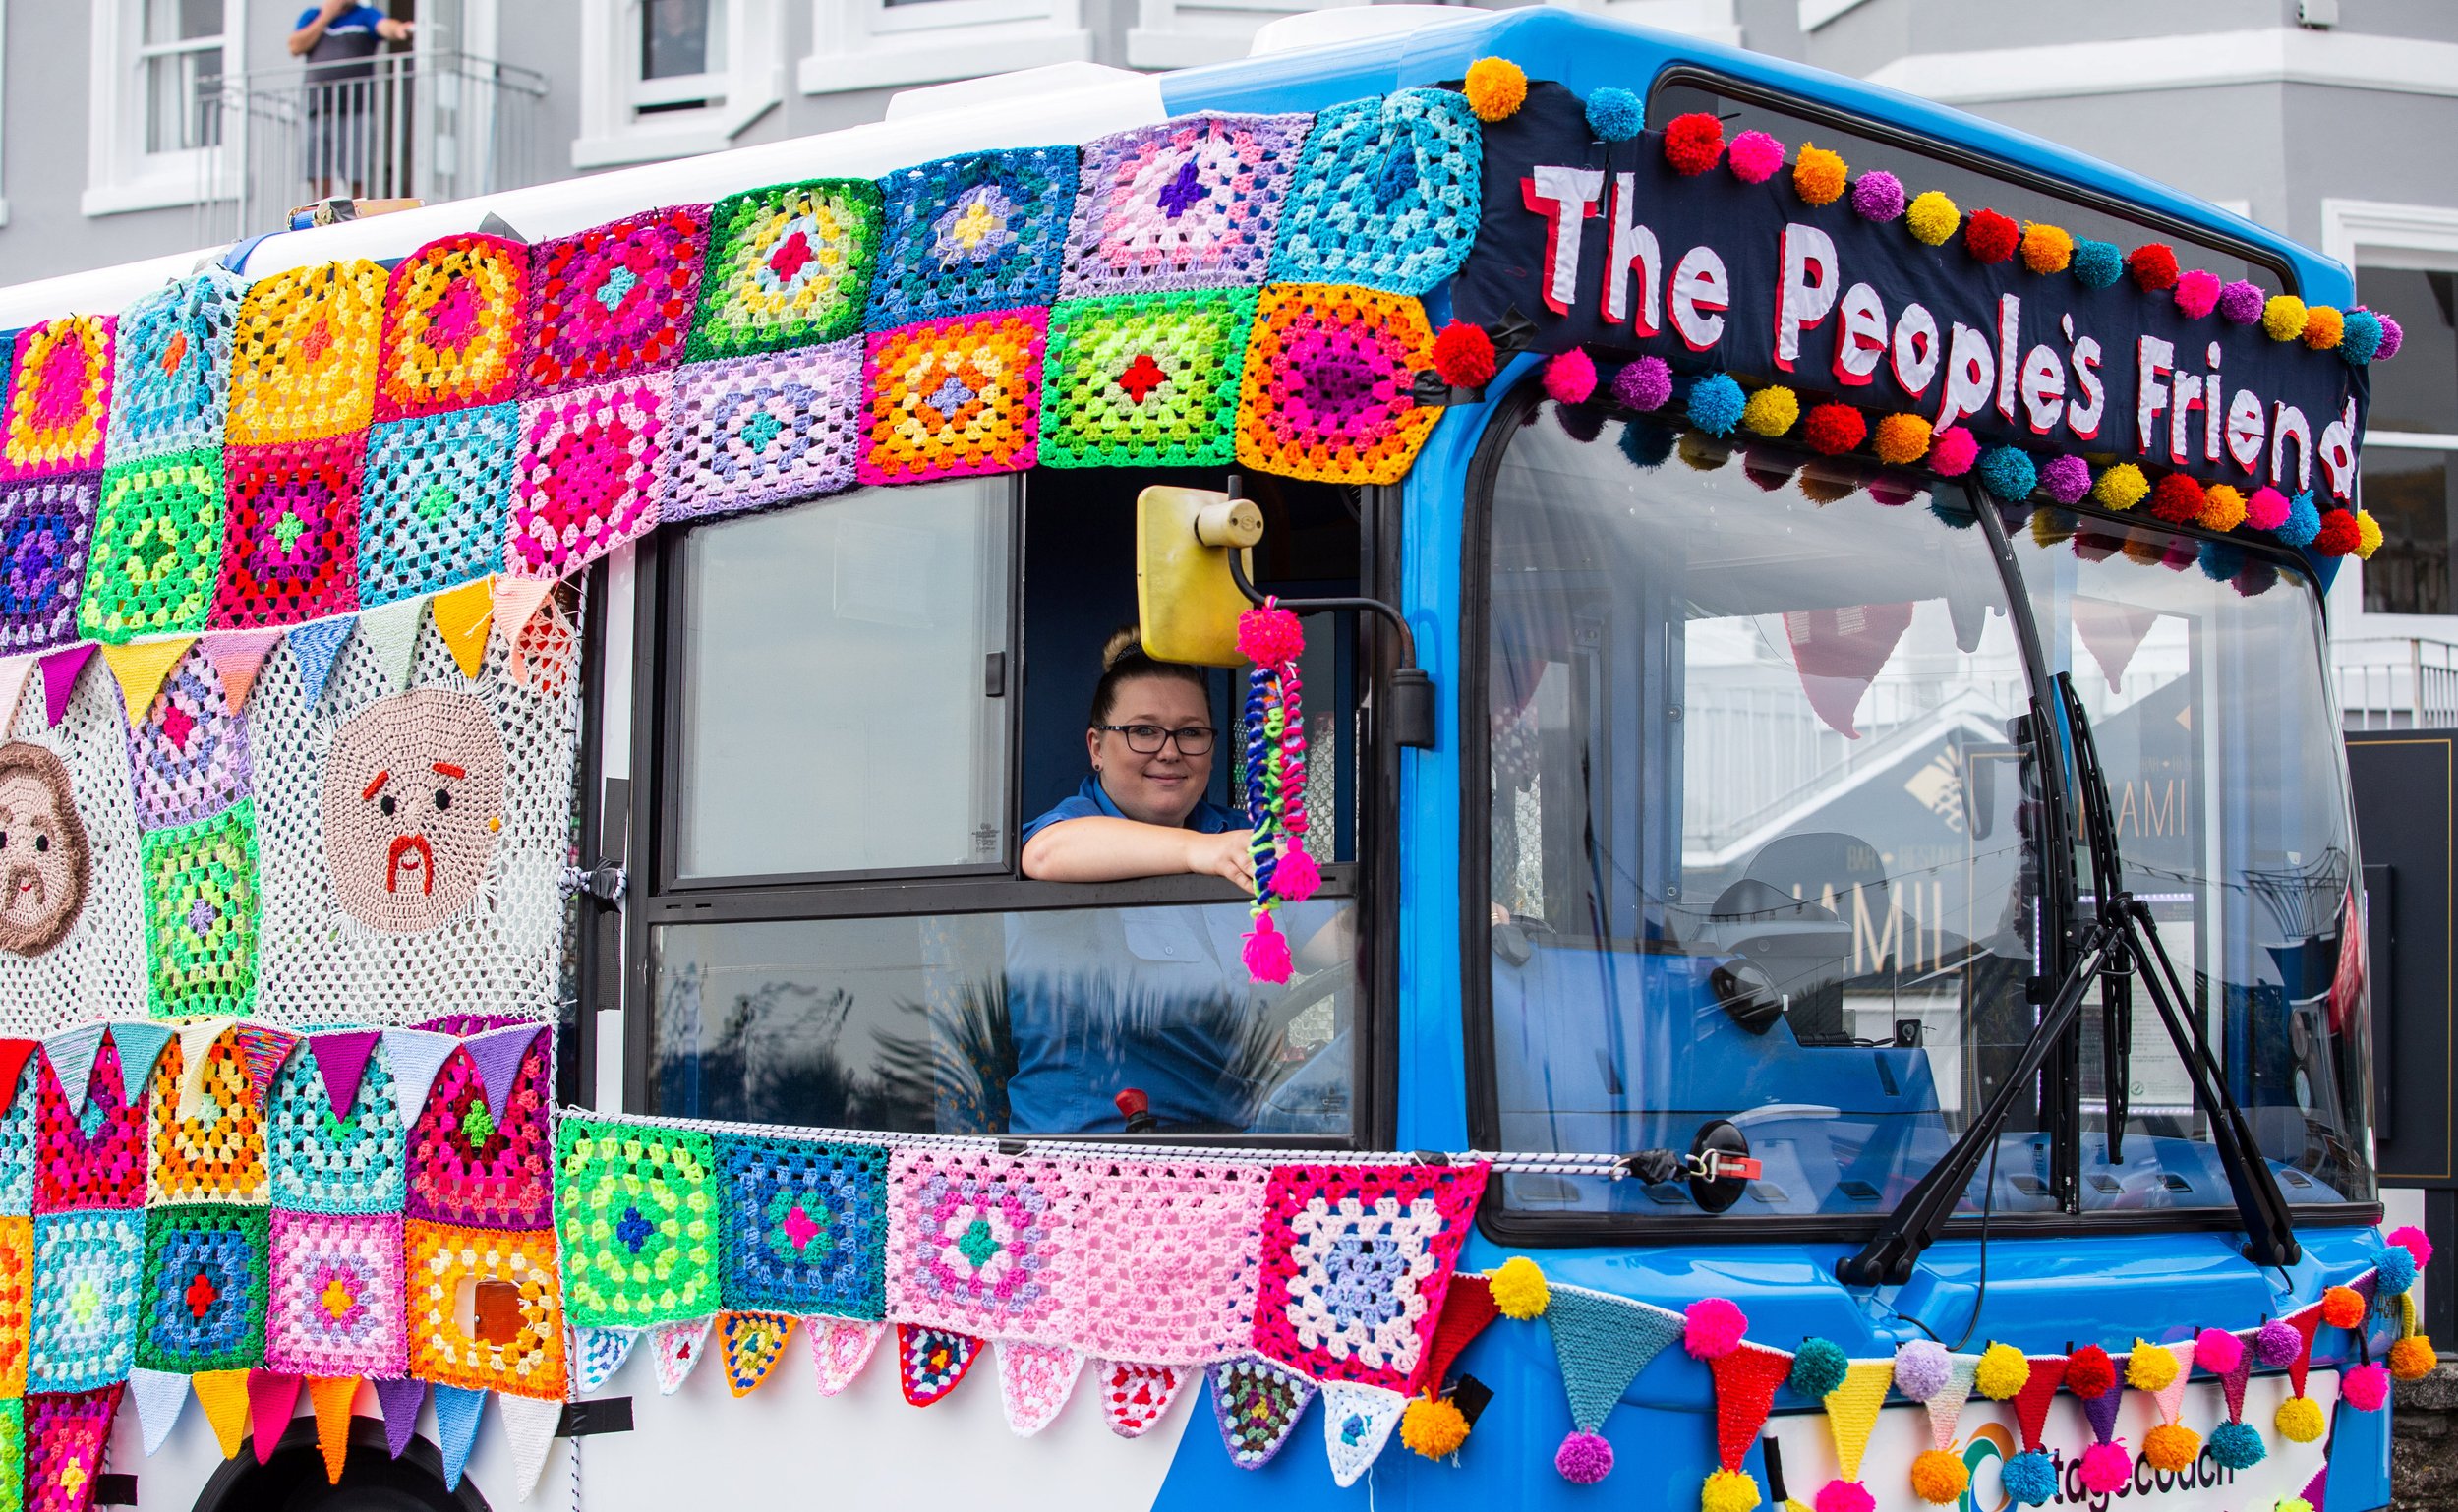
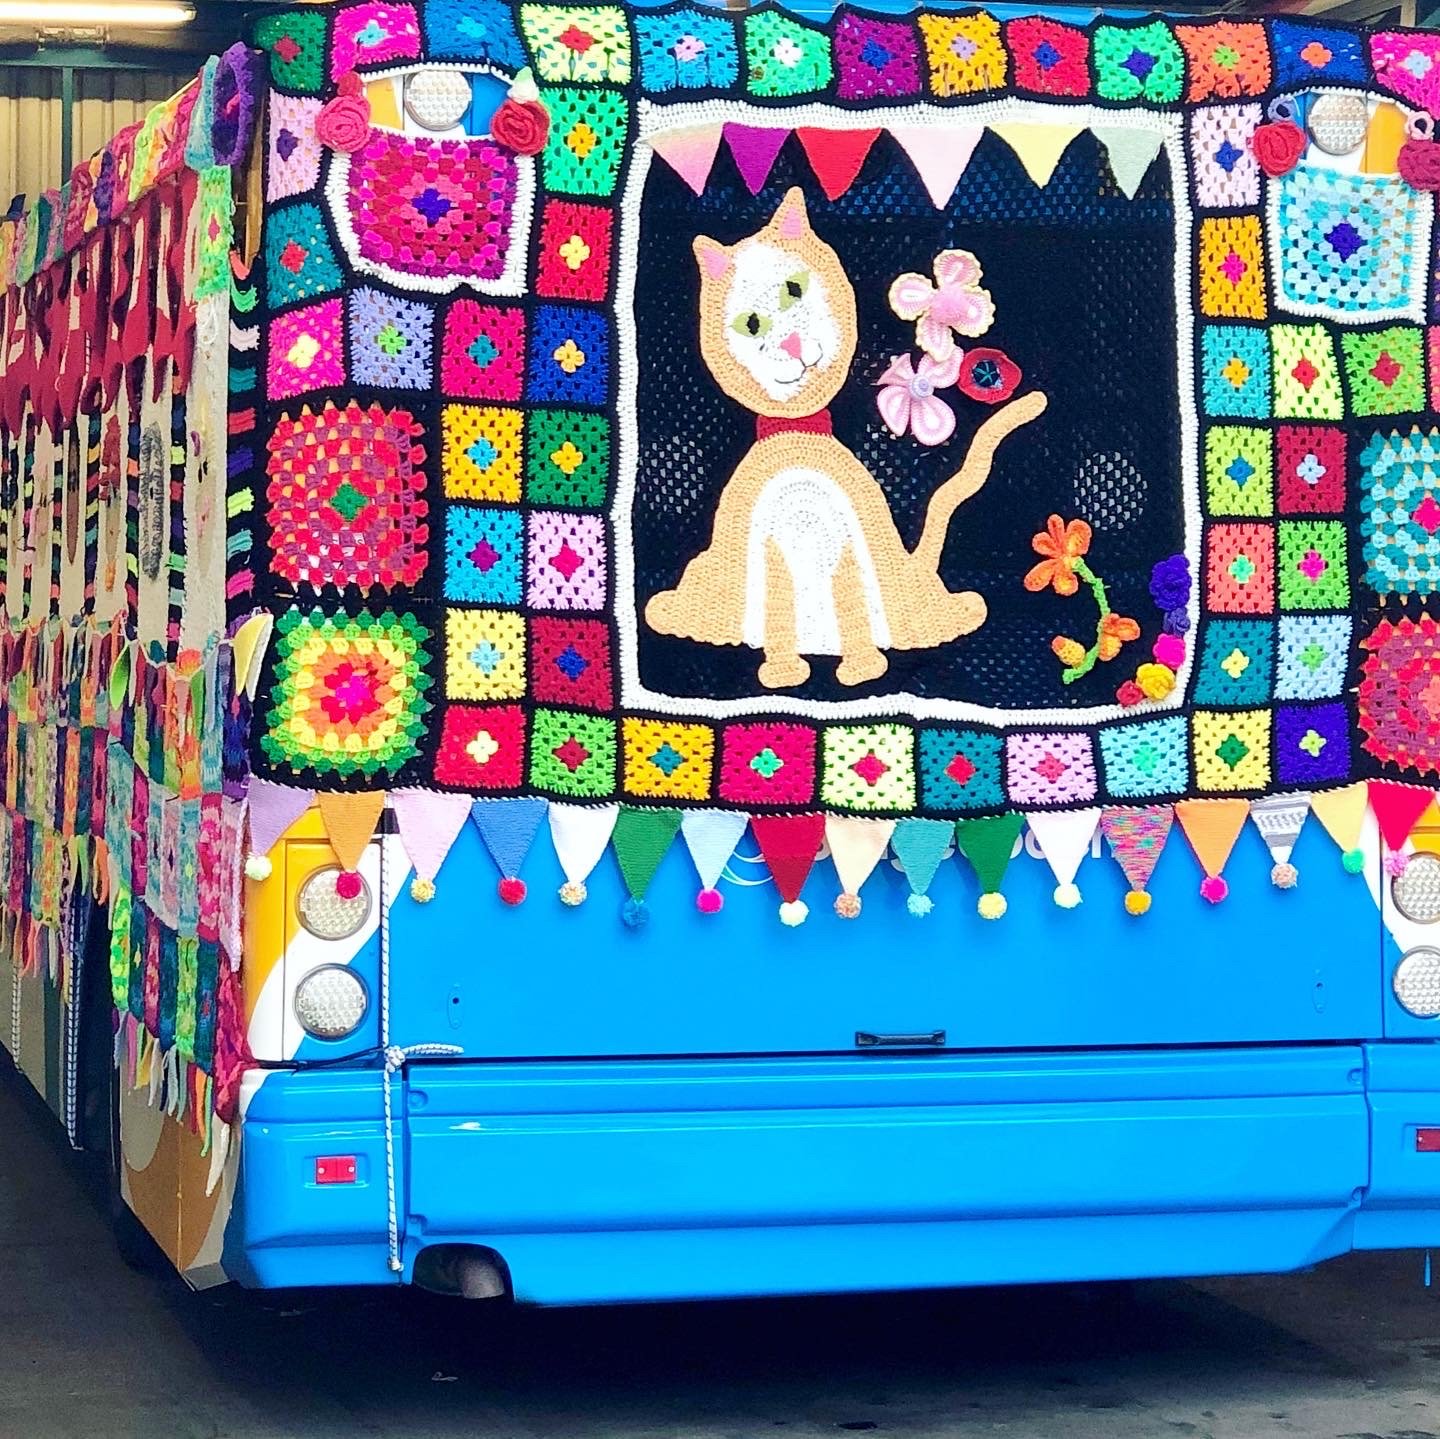
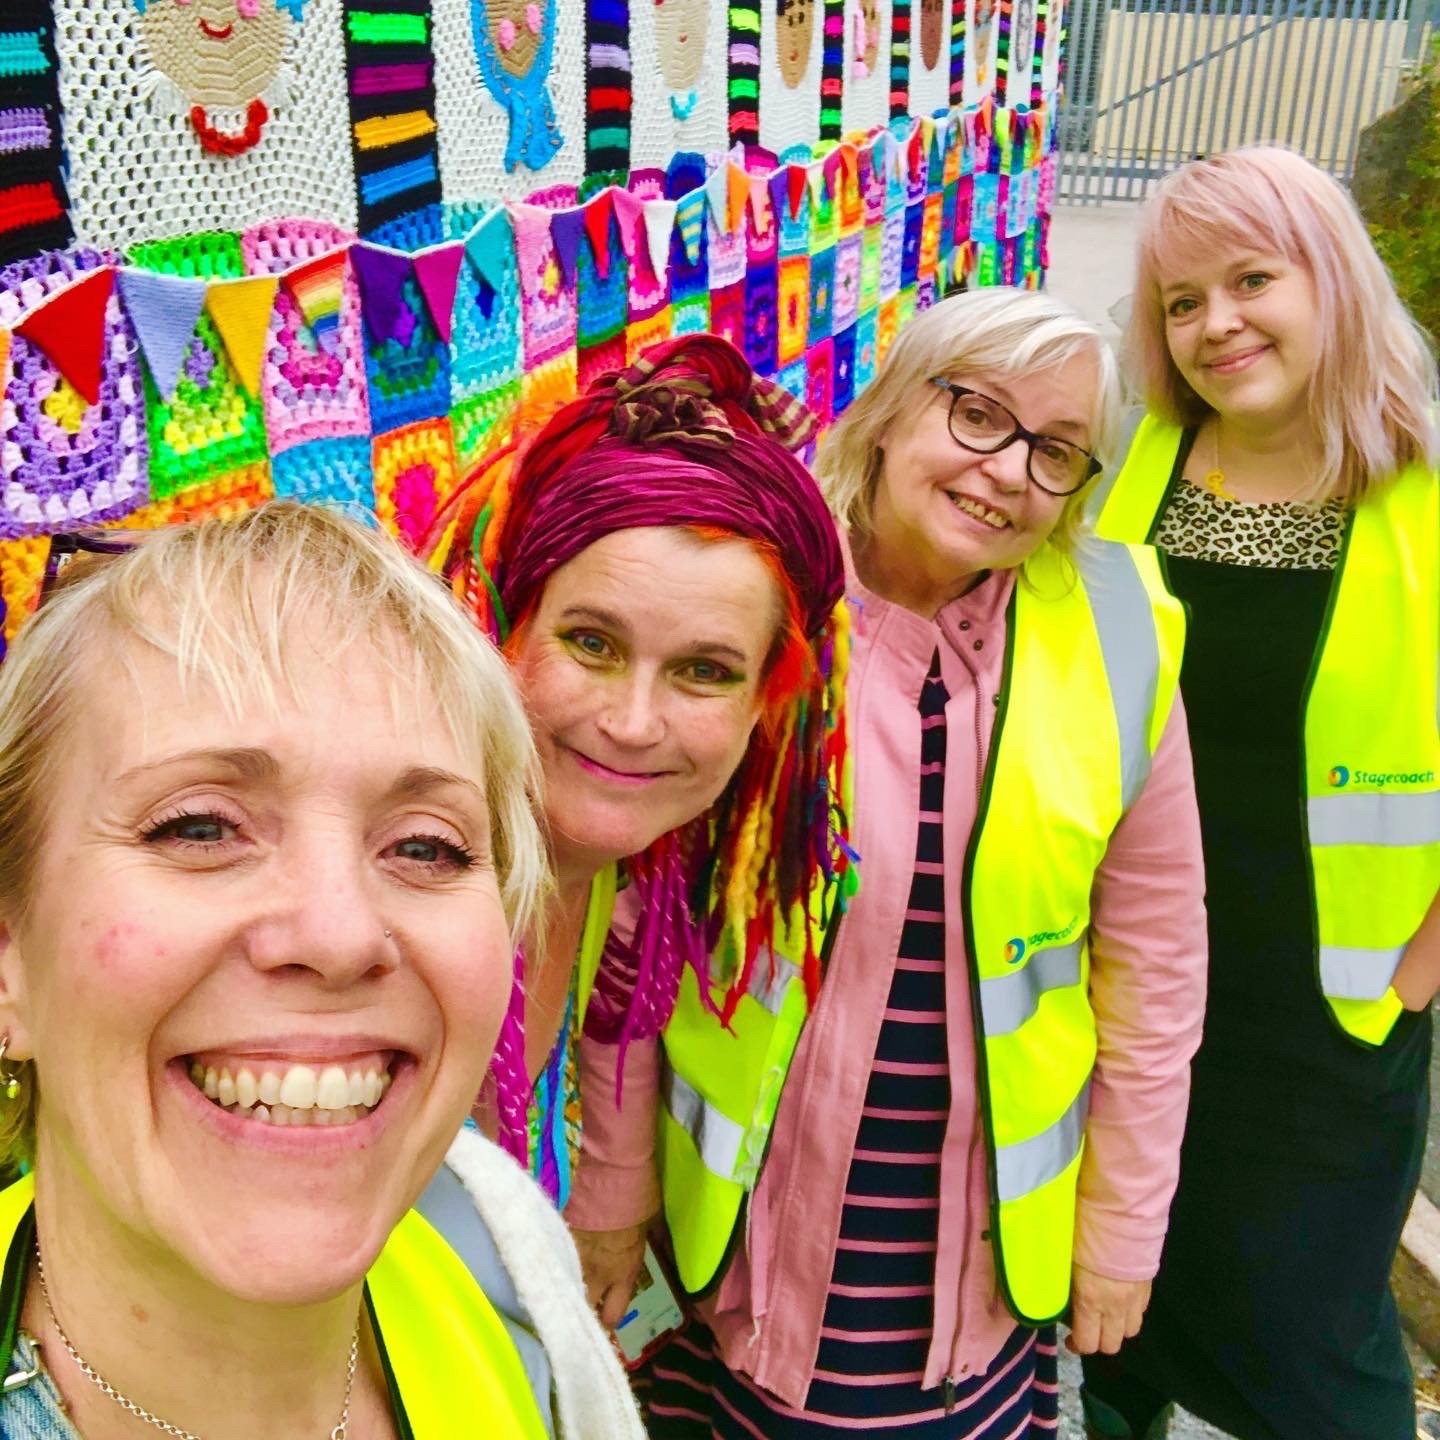
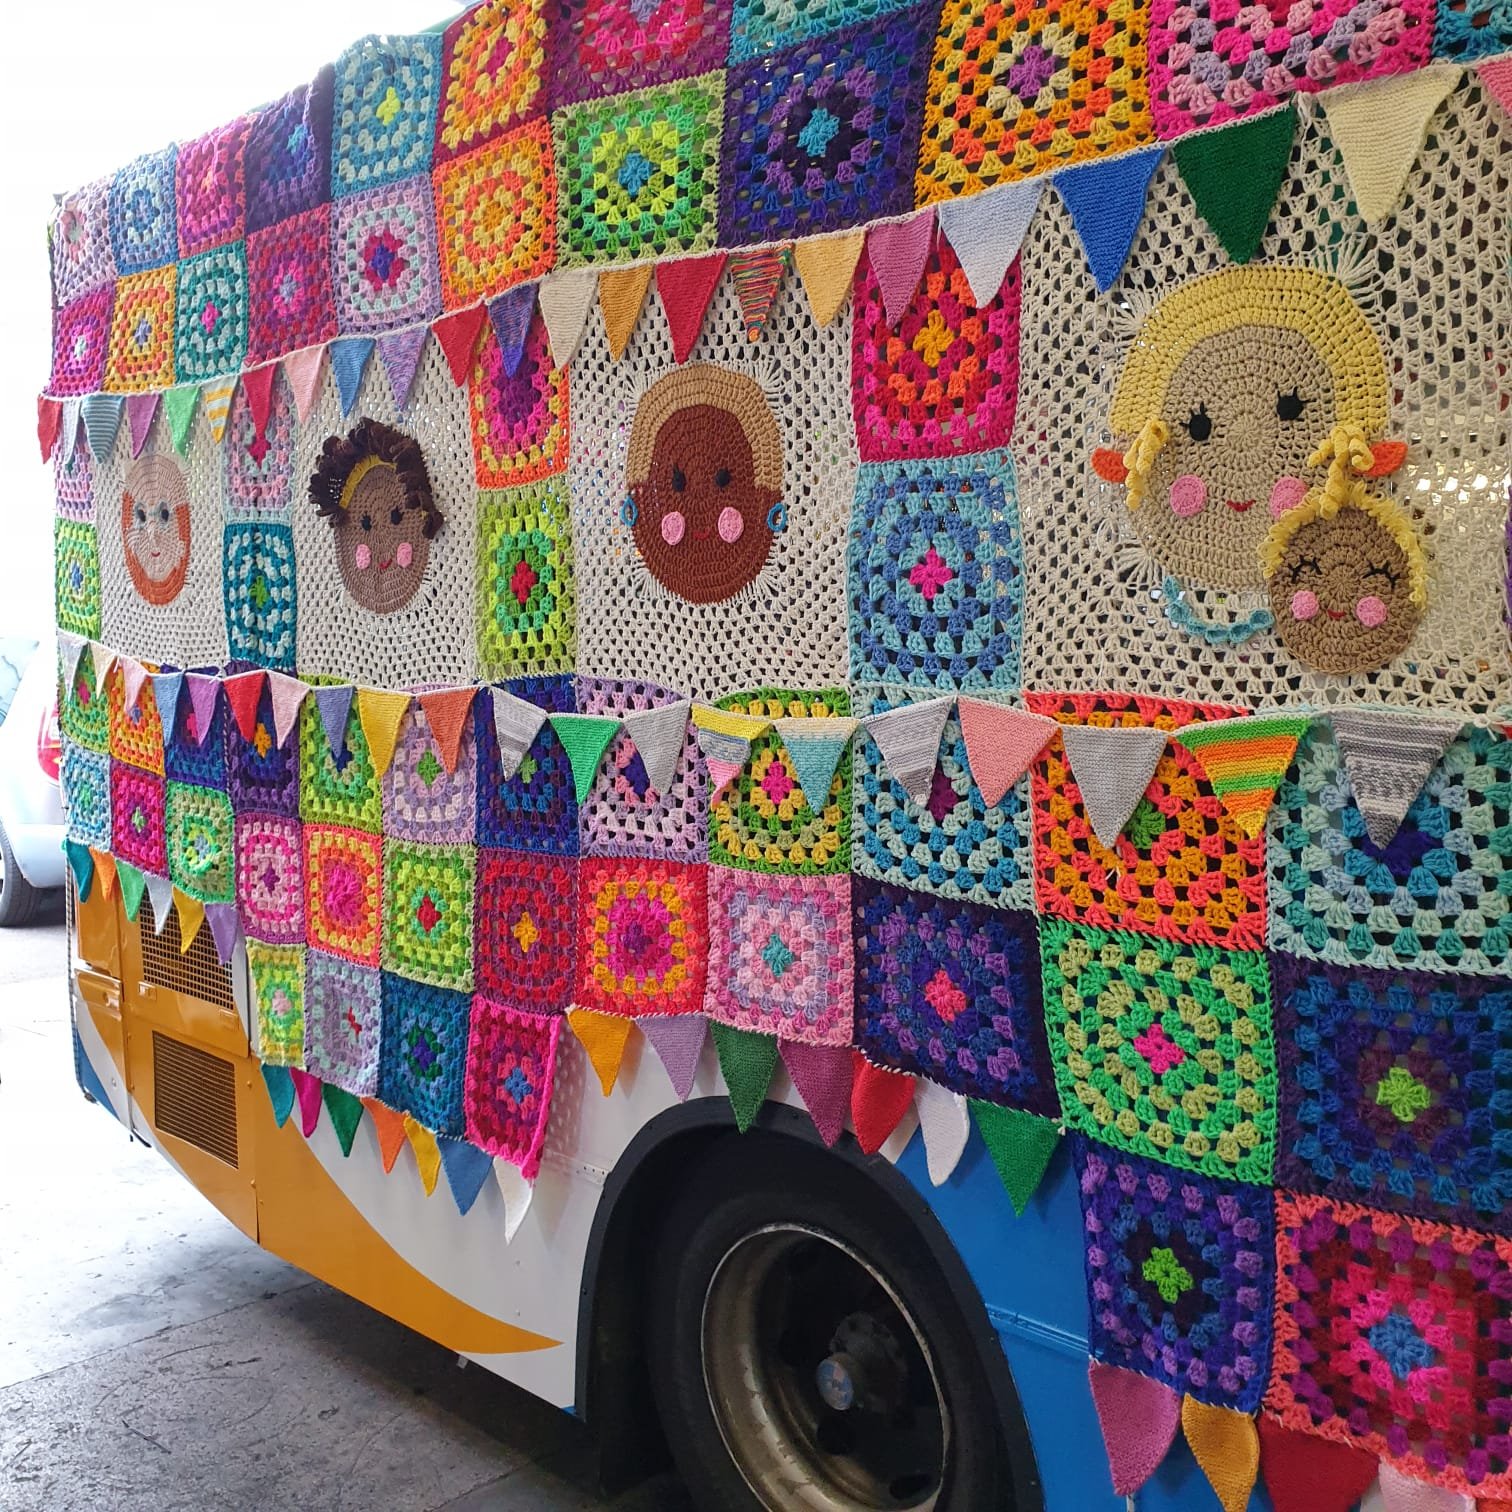
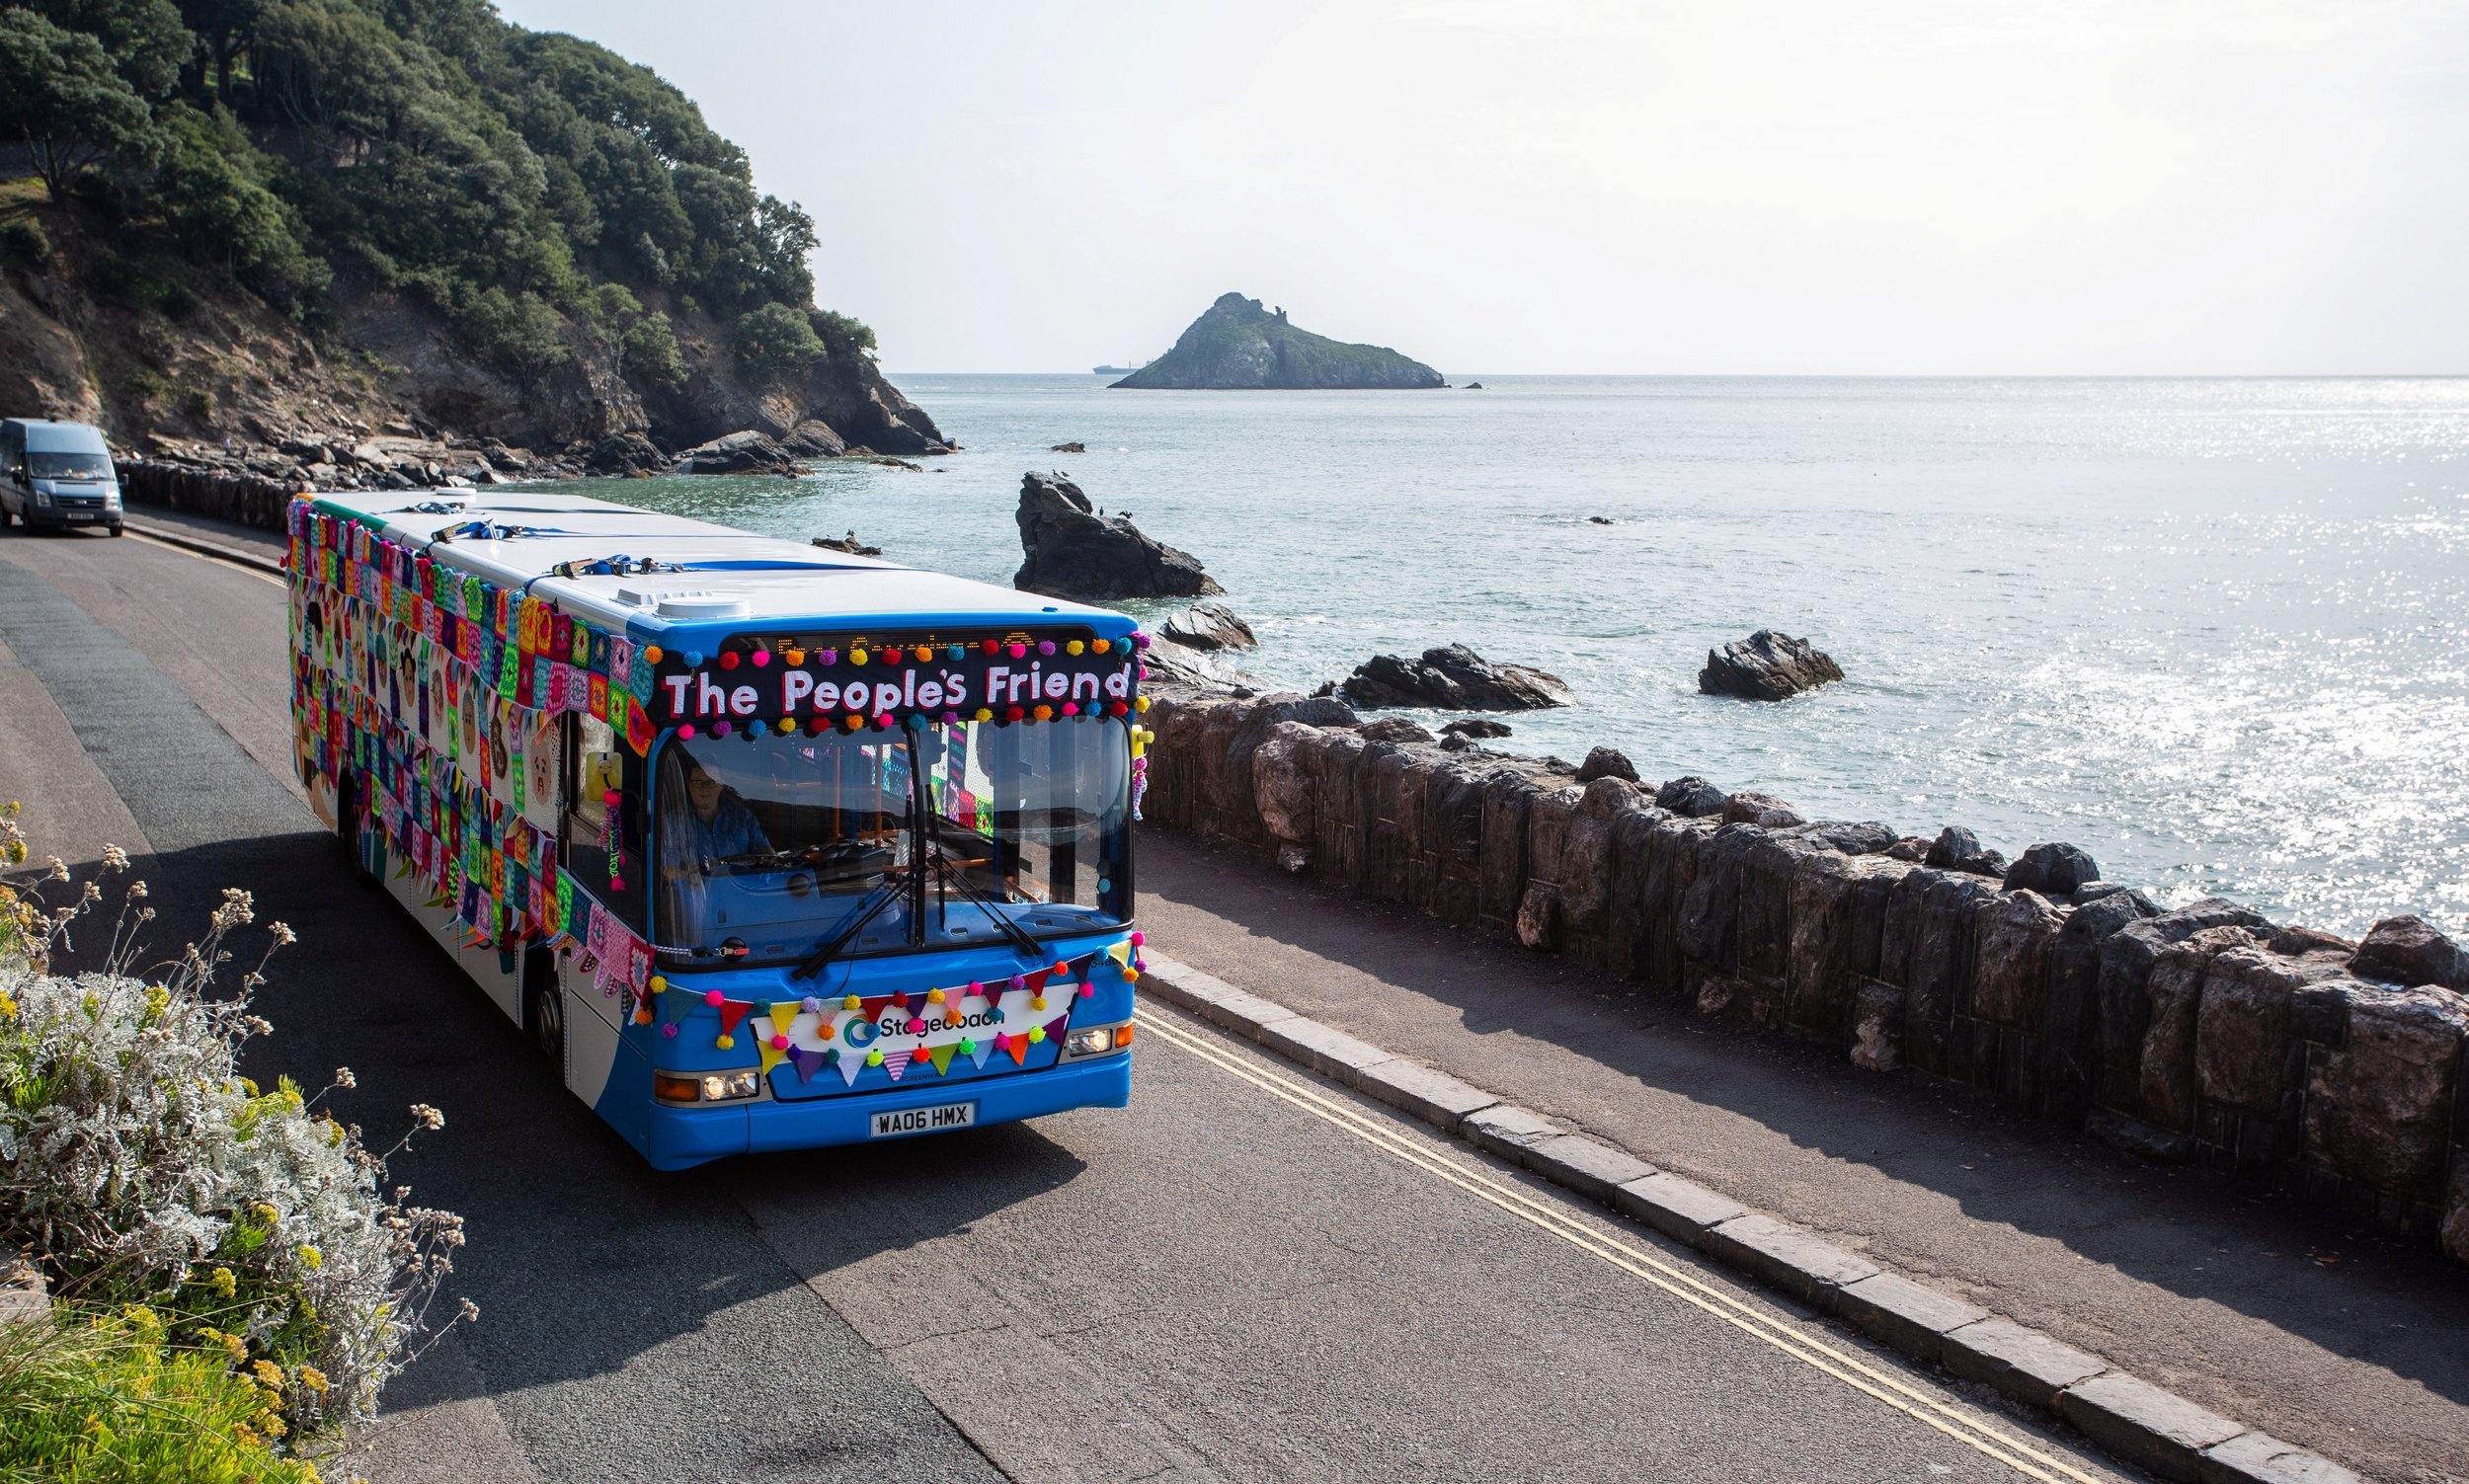
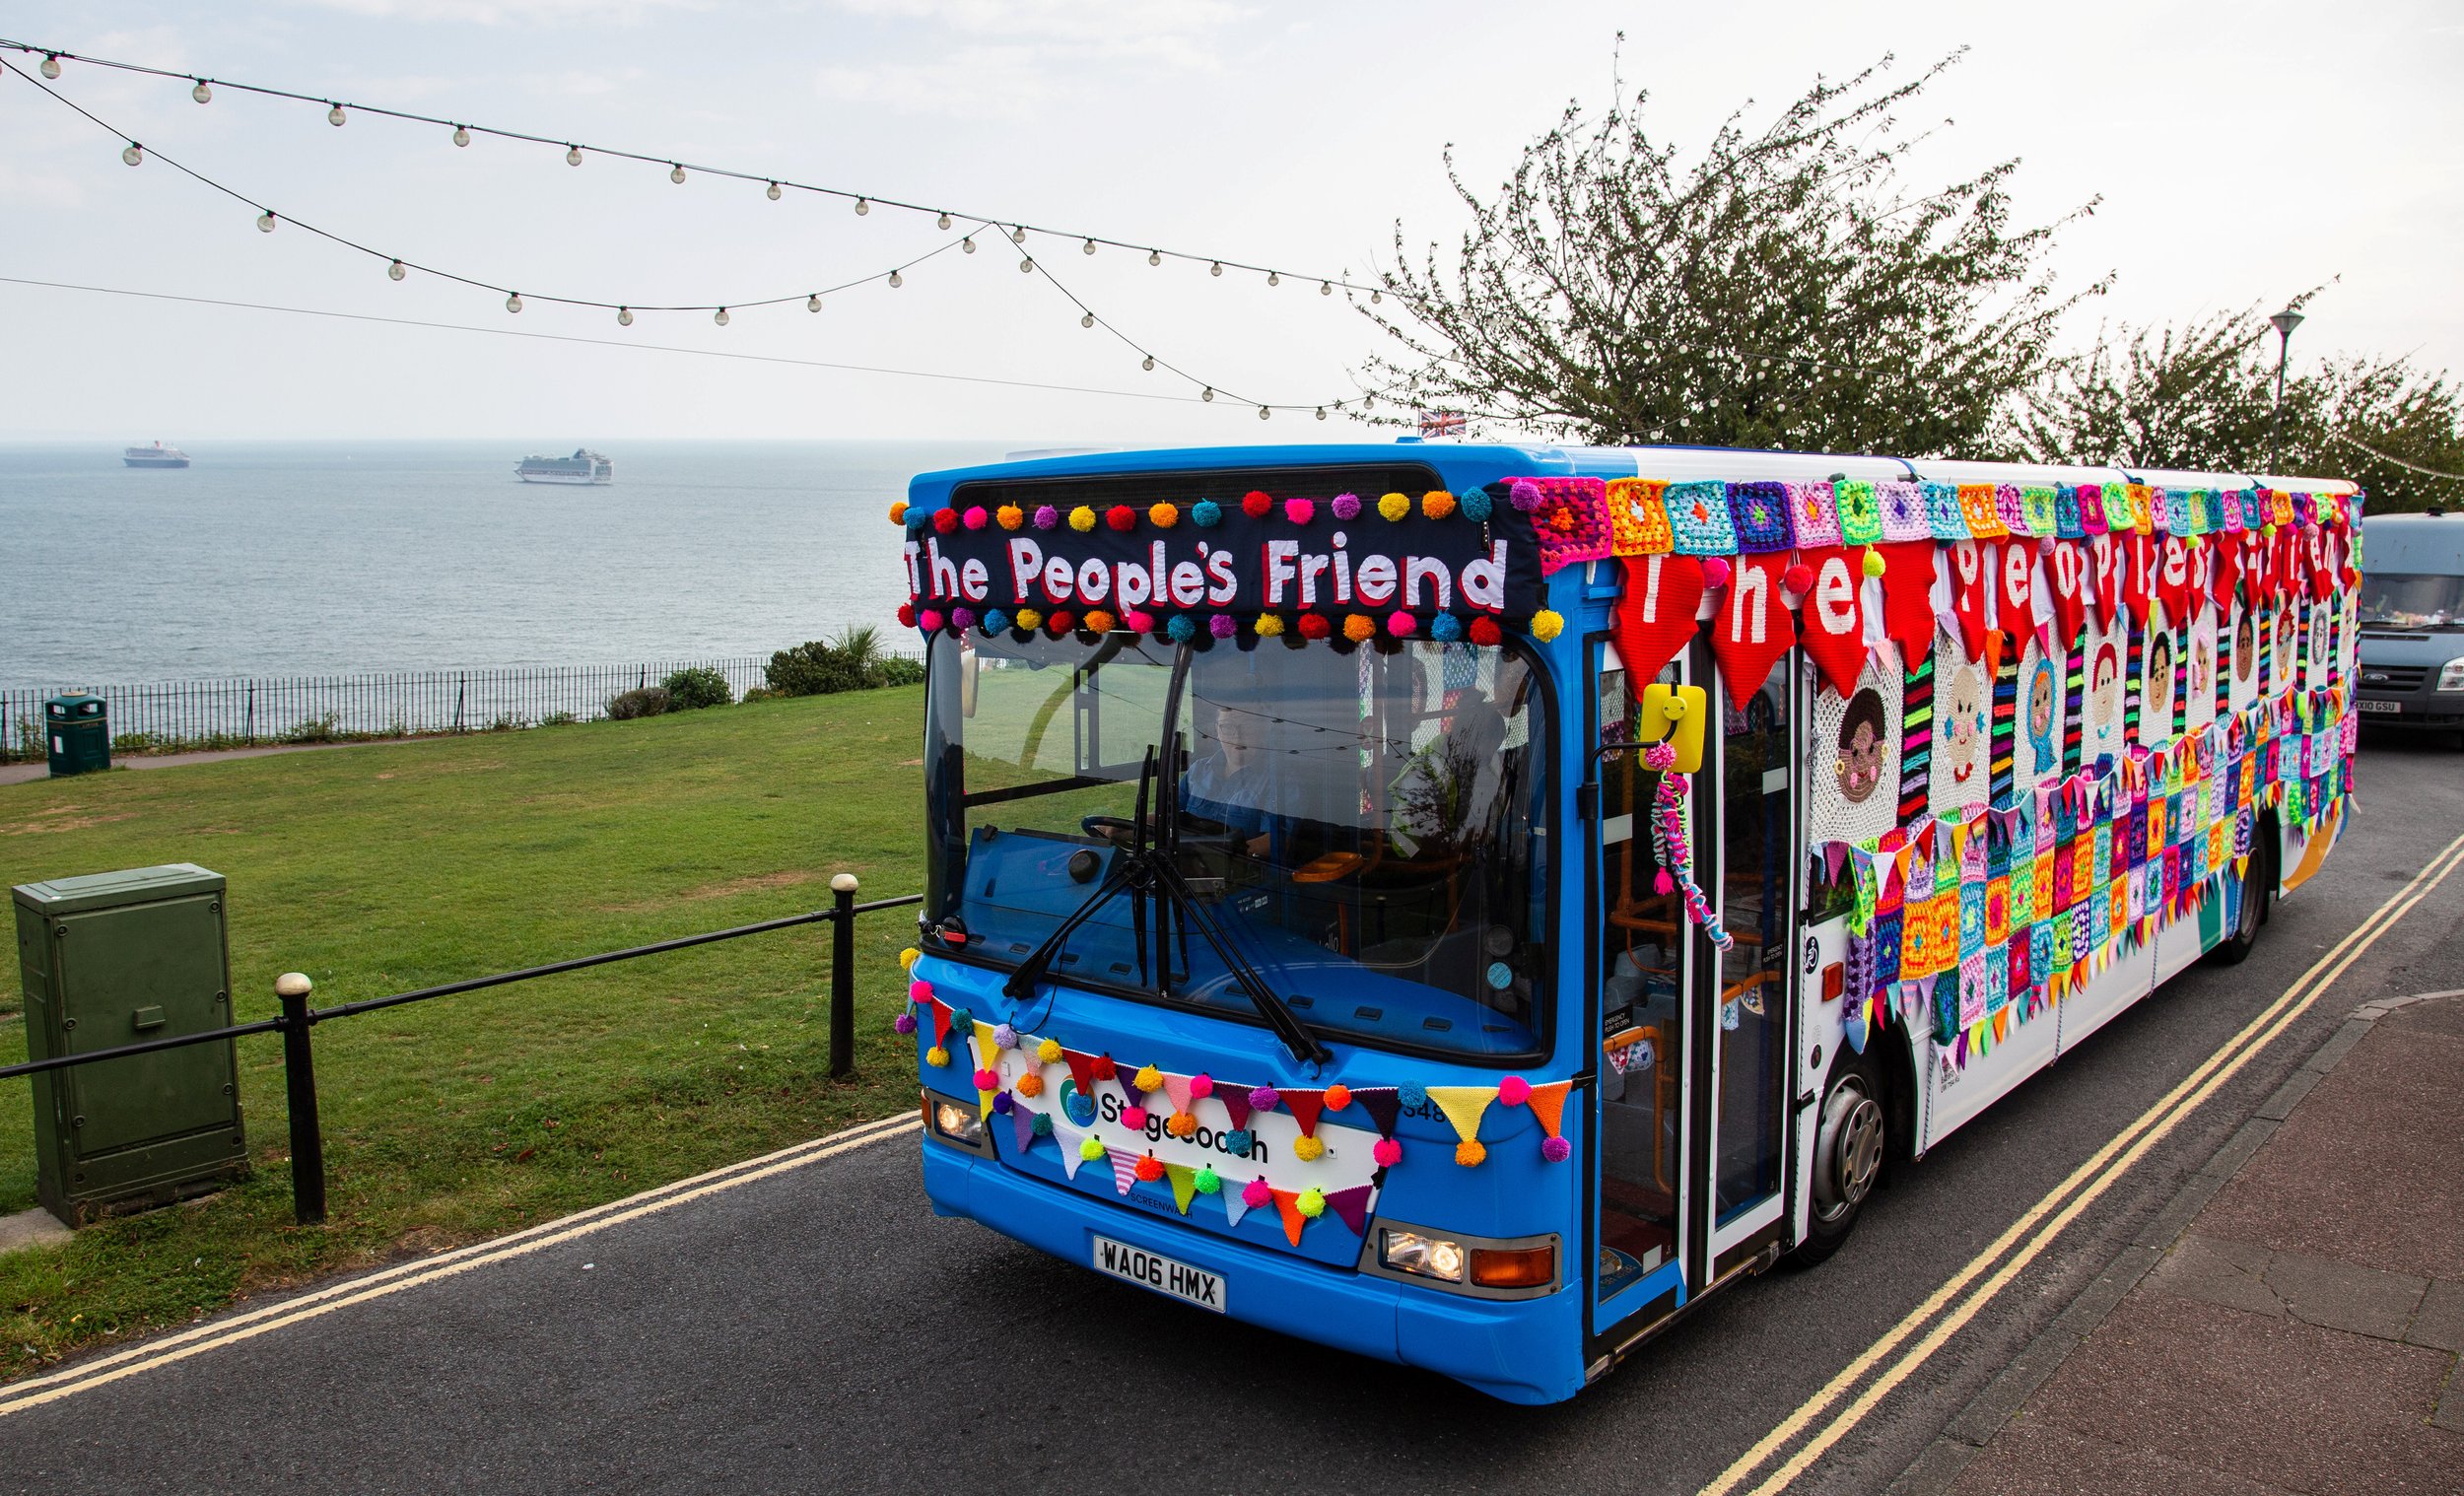
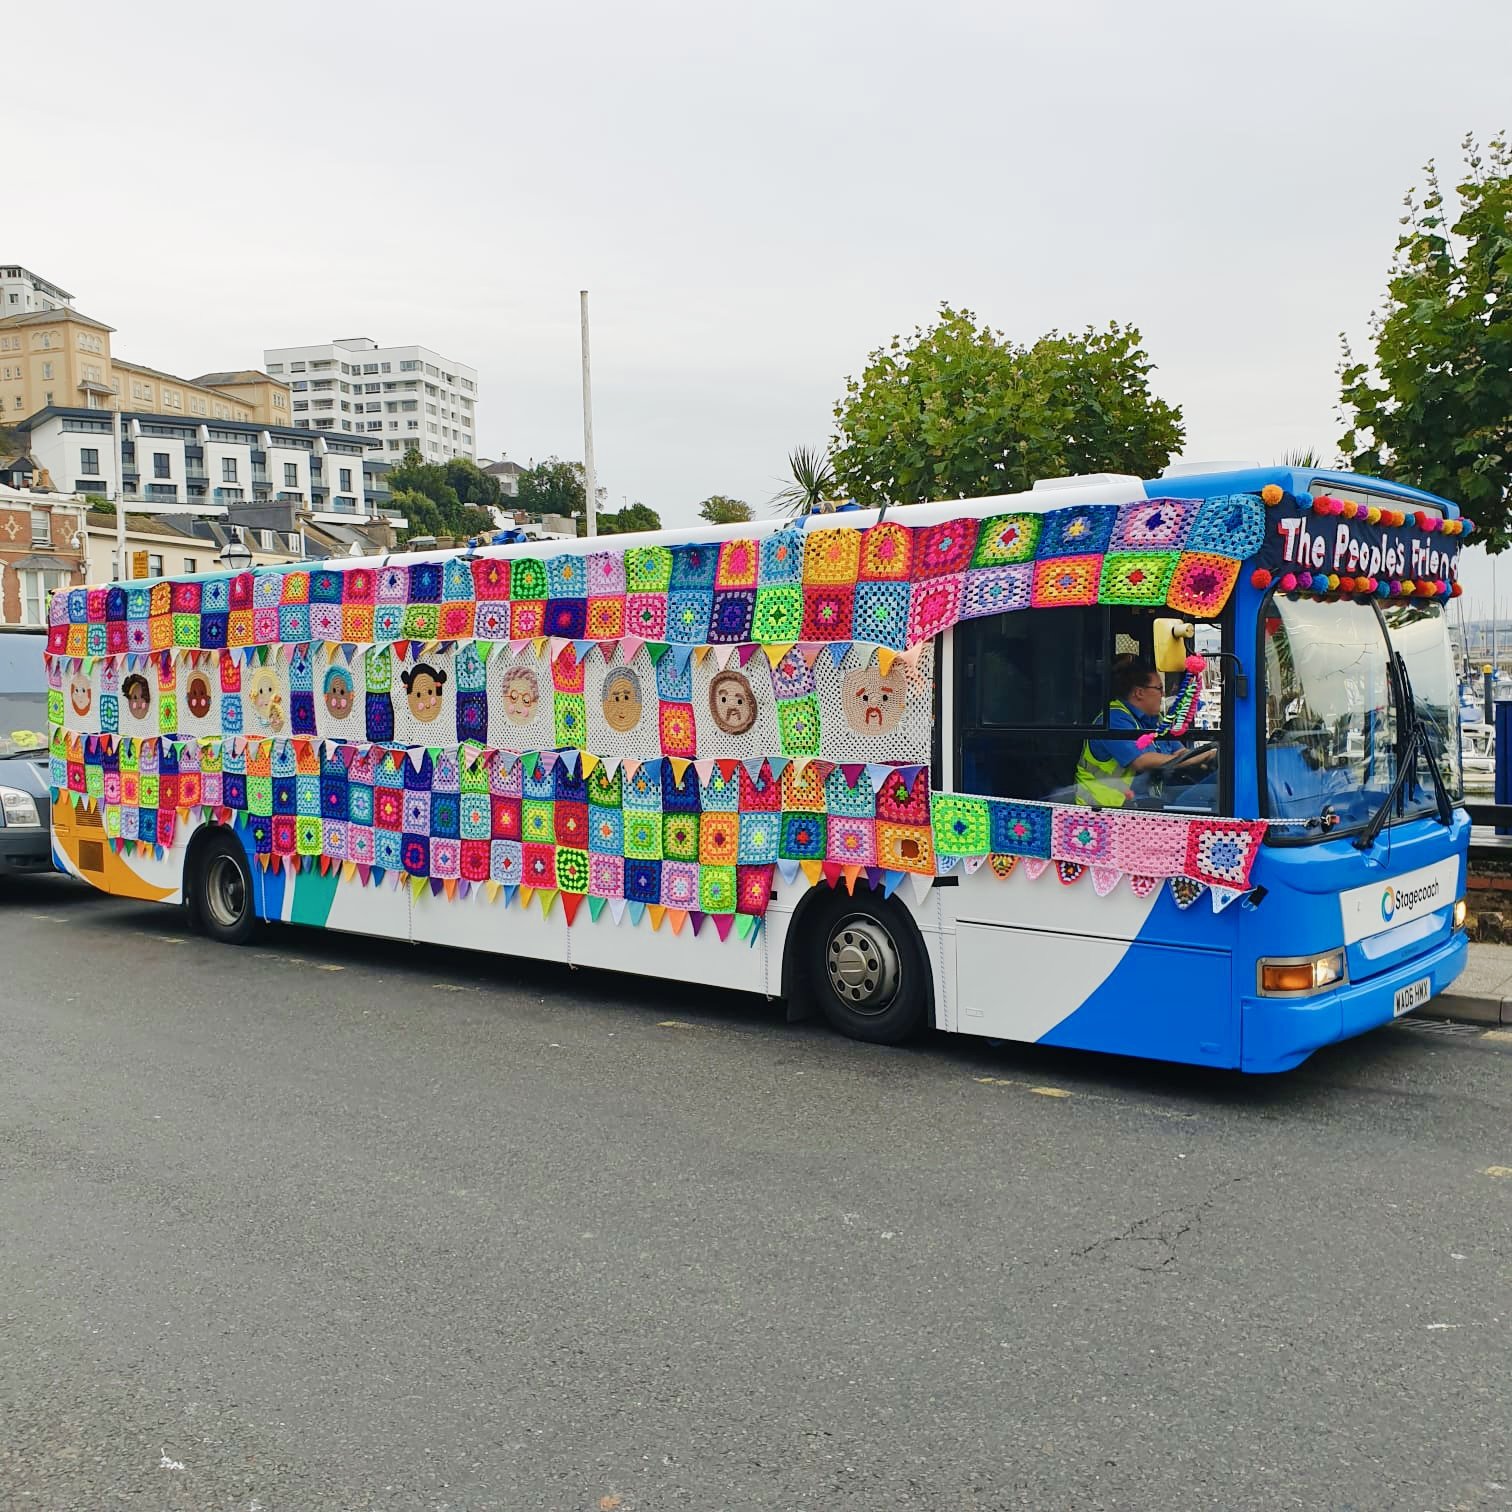
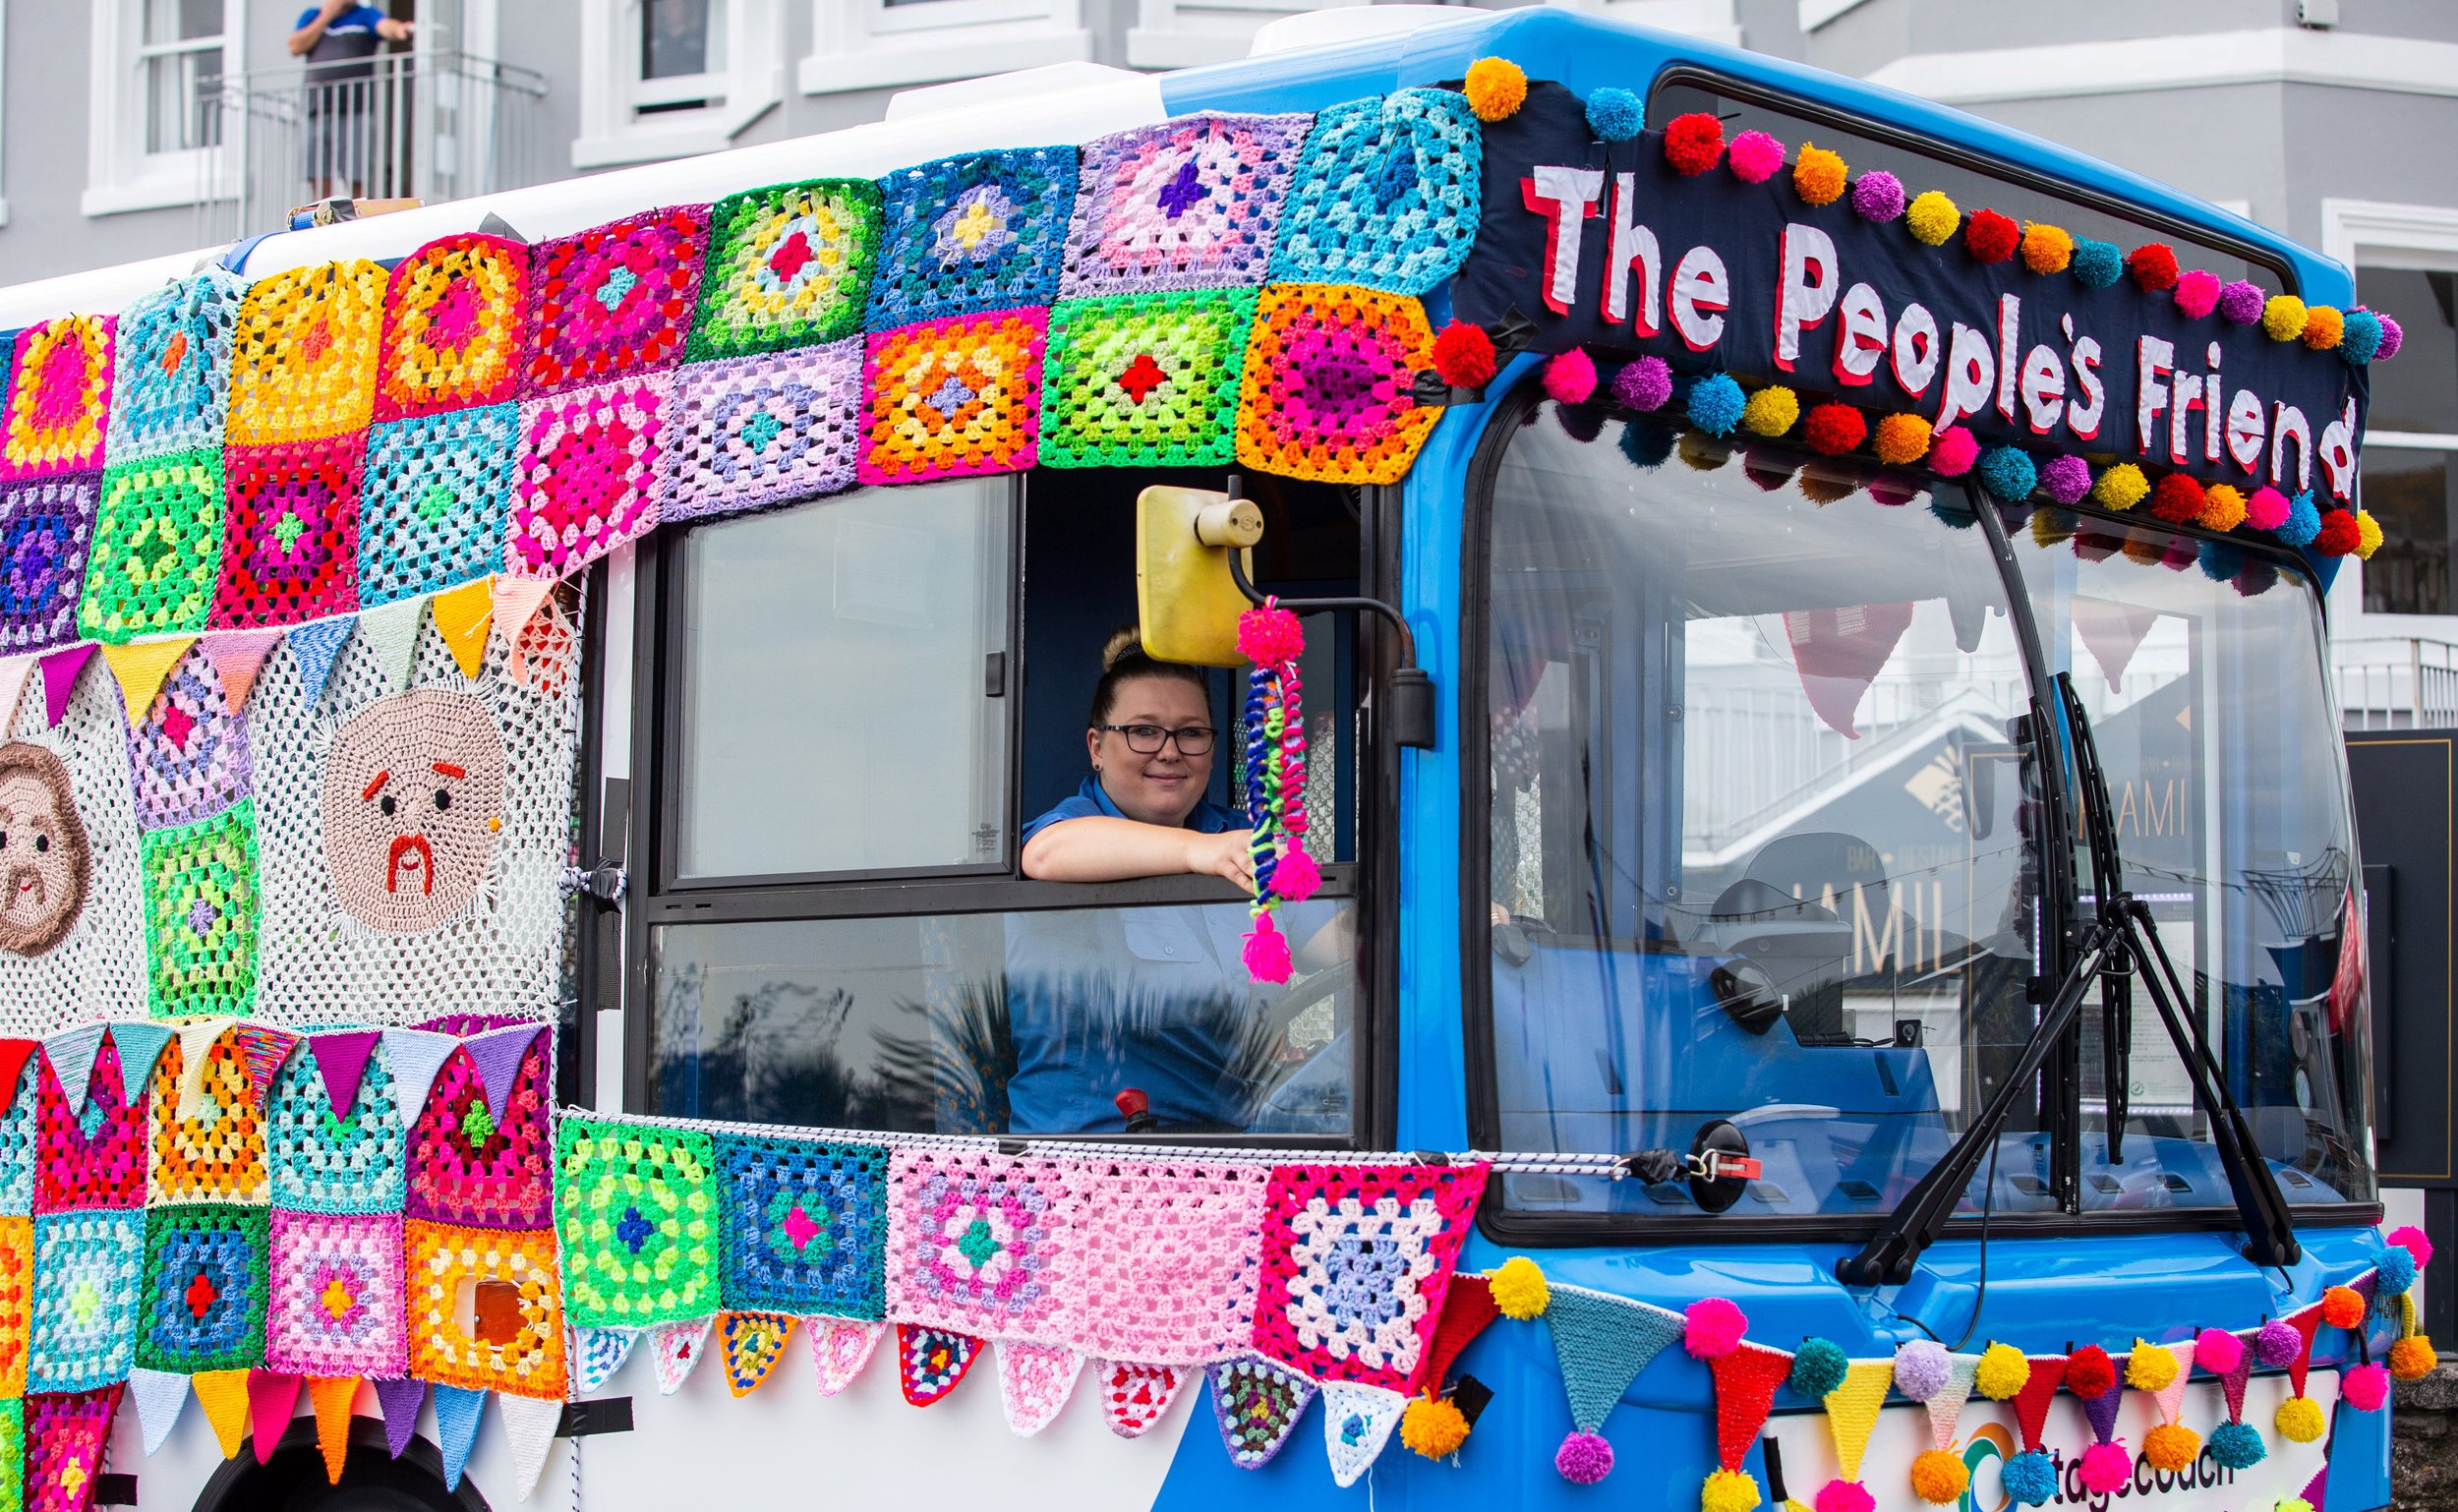
In 2020 during the pandemic The Peoples Friend Magazine asked me if it would be possible to yarnbomb a bus in order for it to be driven to various parts of the UK to brighten up the lives of those who remained indoors due to underlying health conditions. My team and I have never been more proud to have created this offering. Special thanks go to Nathalie Beard, Mariane Rowlings, Rosie Wilkes and Fran Brooks without whom it would never have happened.