Surface crochet is an easy way to embellish your crochet turning it into a stunning piece of work. The simplest method to begin with is to work slip stitch on the surface of your crochet piece. Once you have had a go yourself you will be able to work it on any crochet (or knitted surface) and it can be used as decoration or to hide any untidy accidents!
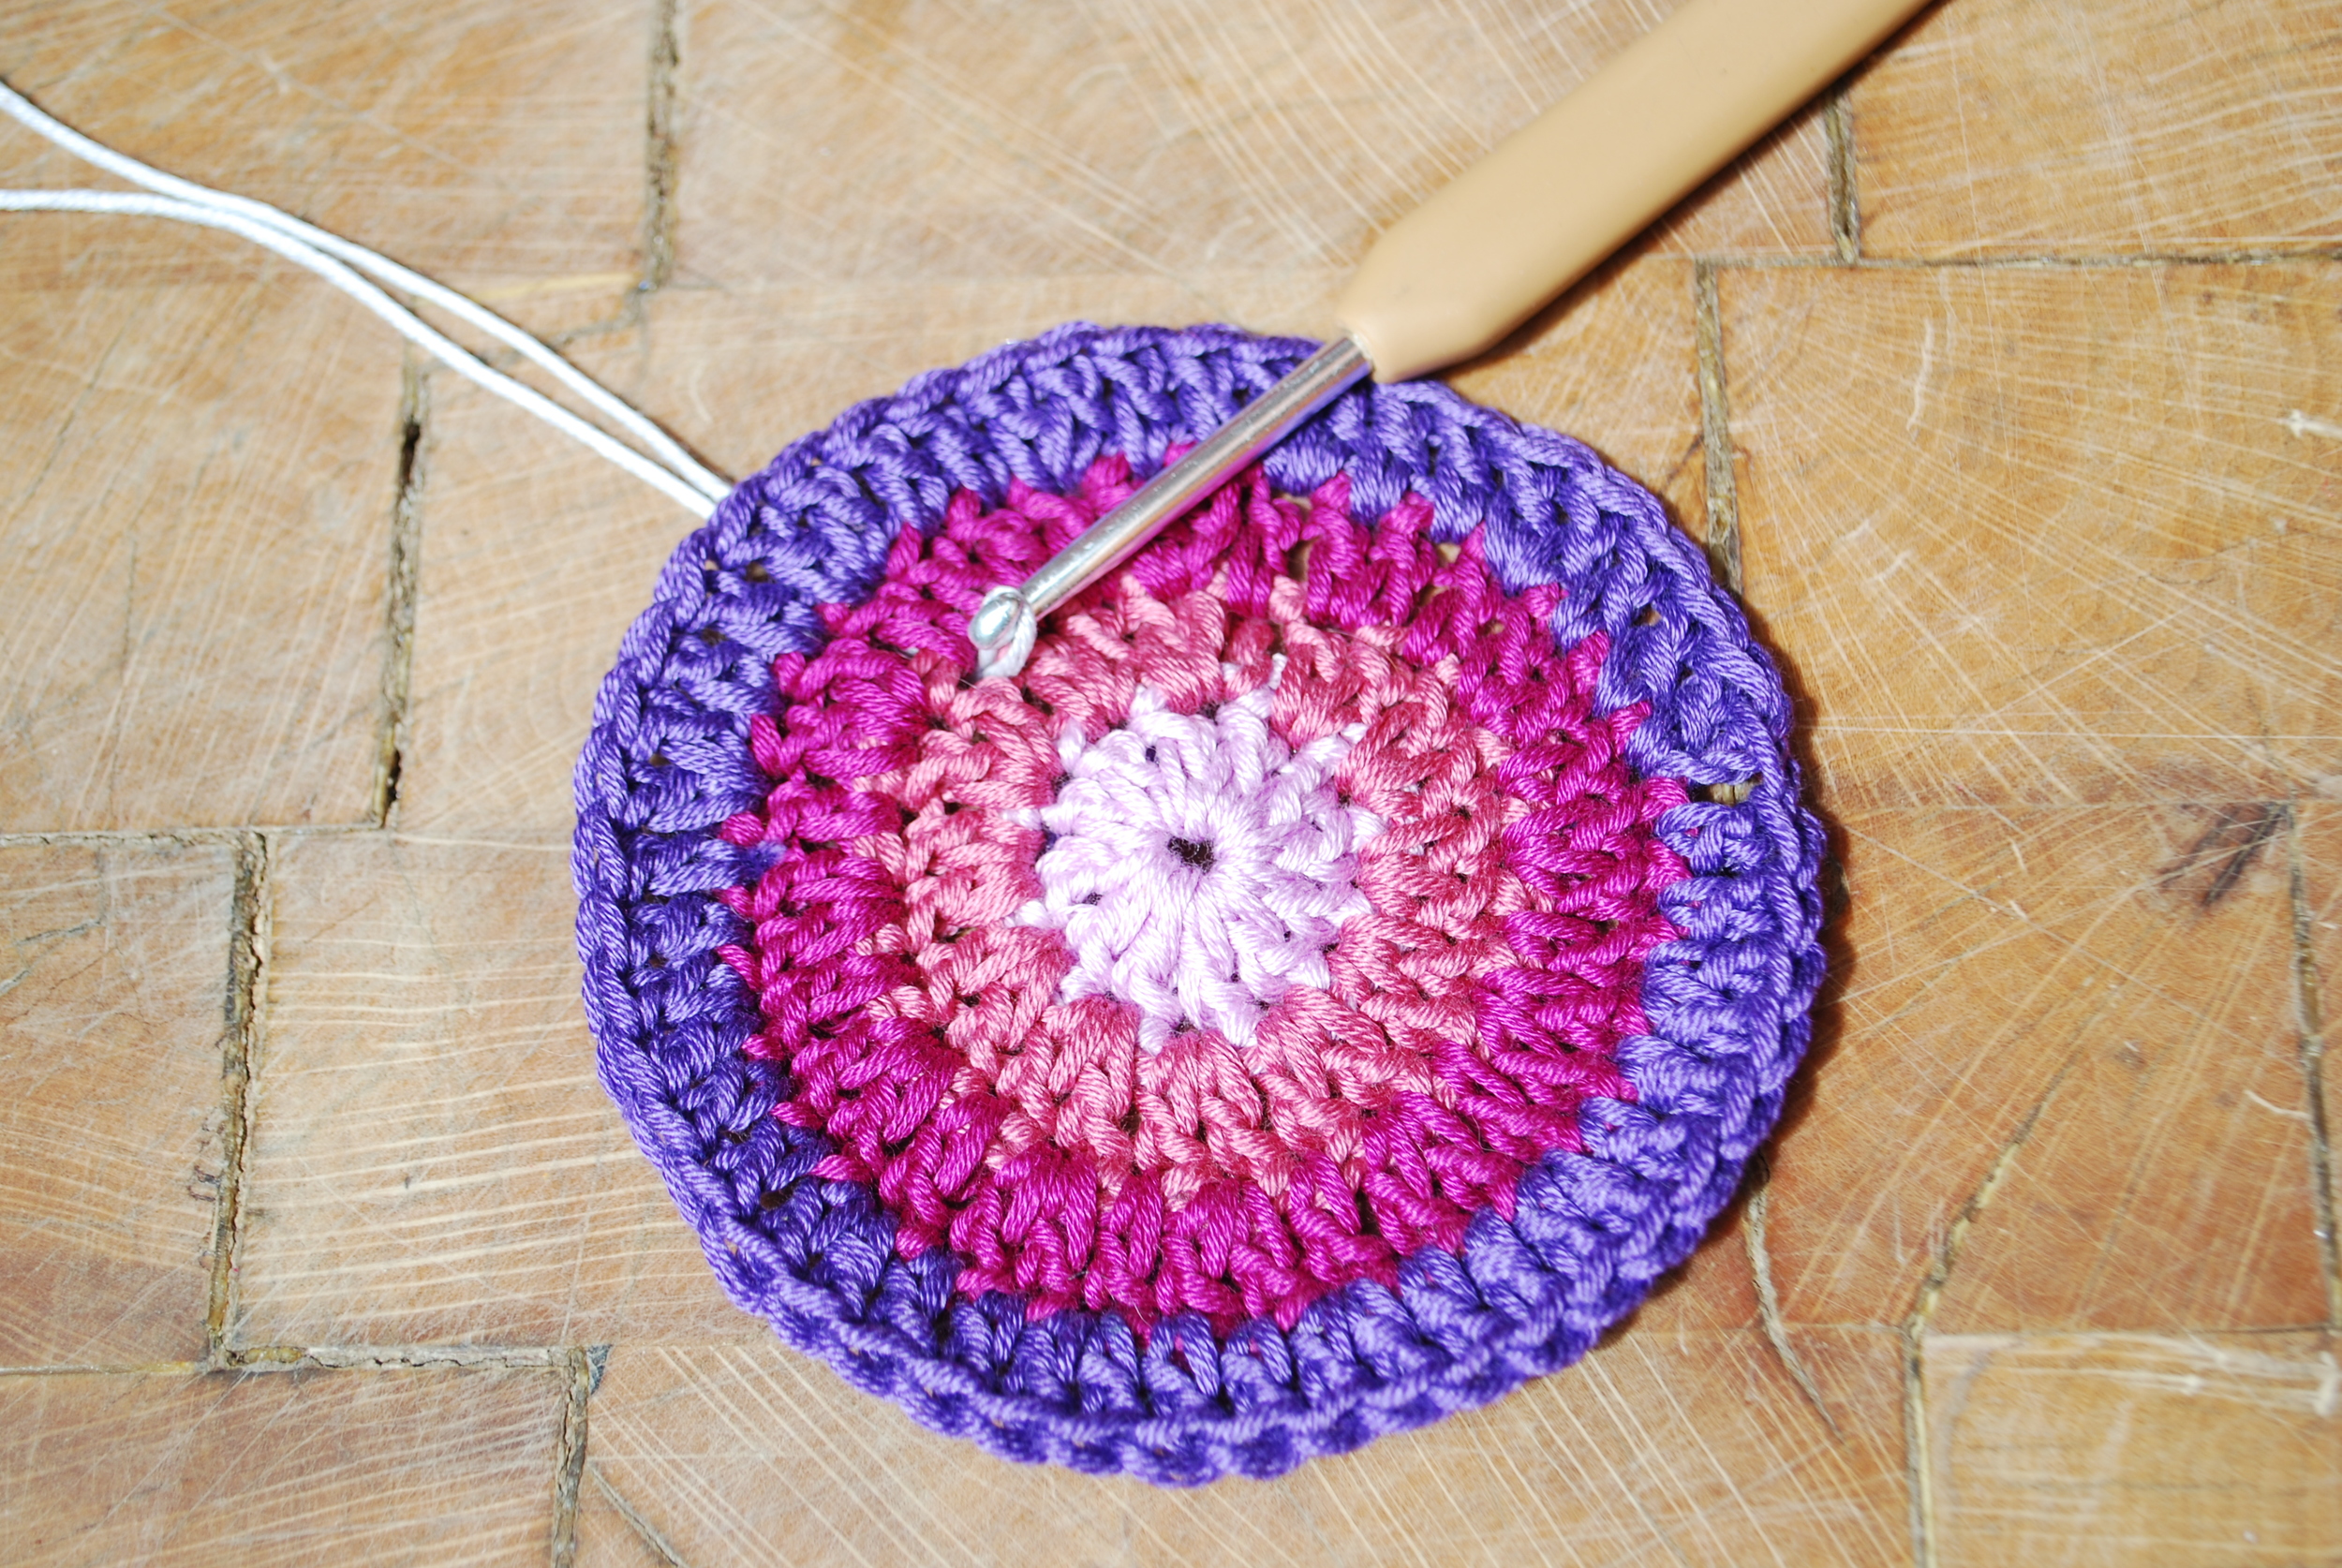
Begin by placing your hook from front to back and pulling your yarn through leaving a long enough tail on the reverse for you to sew in the ends once it is complete.
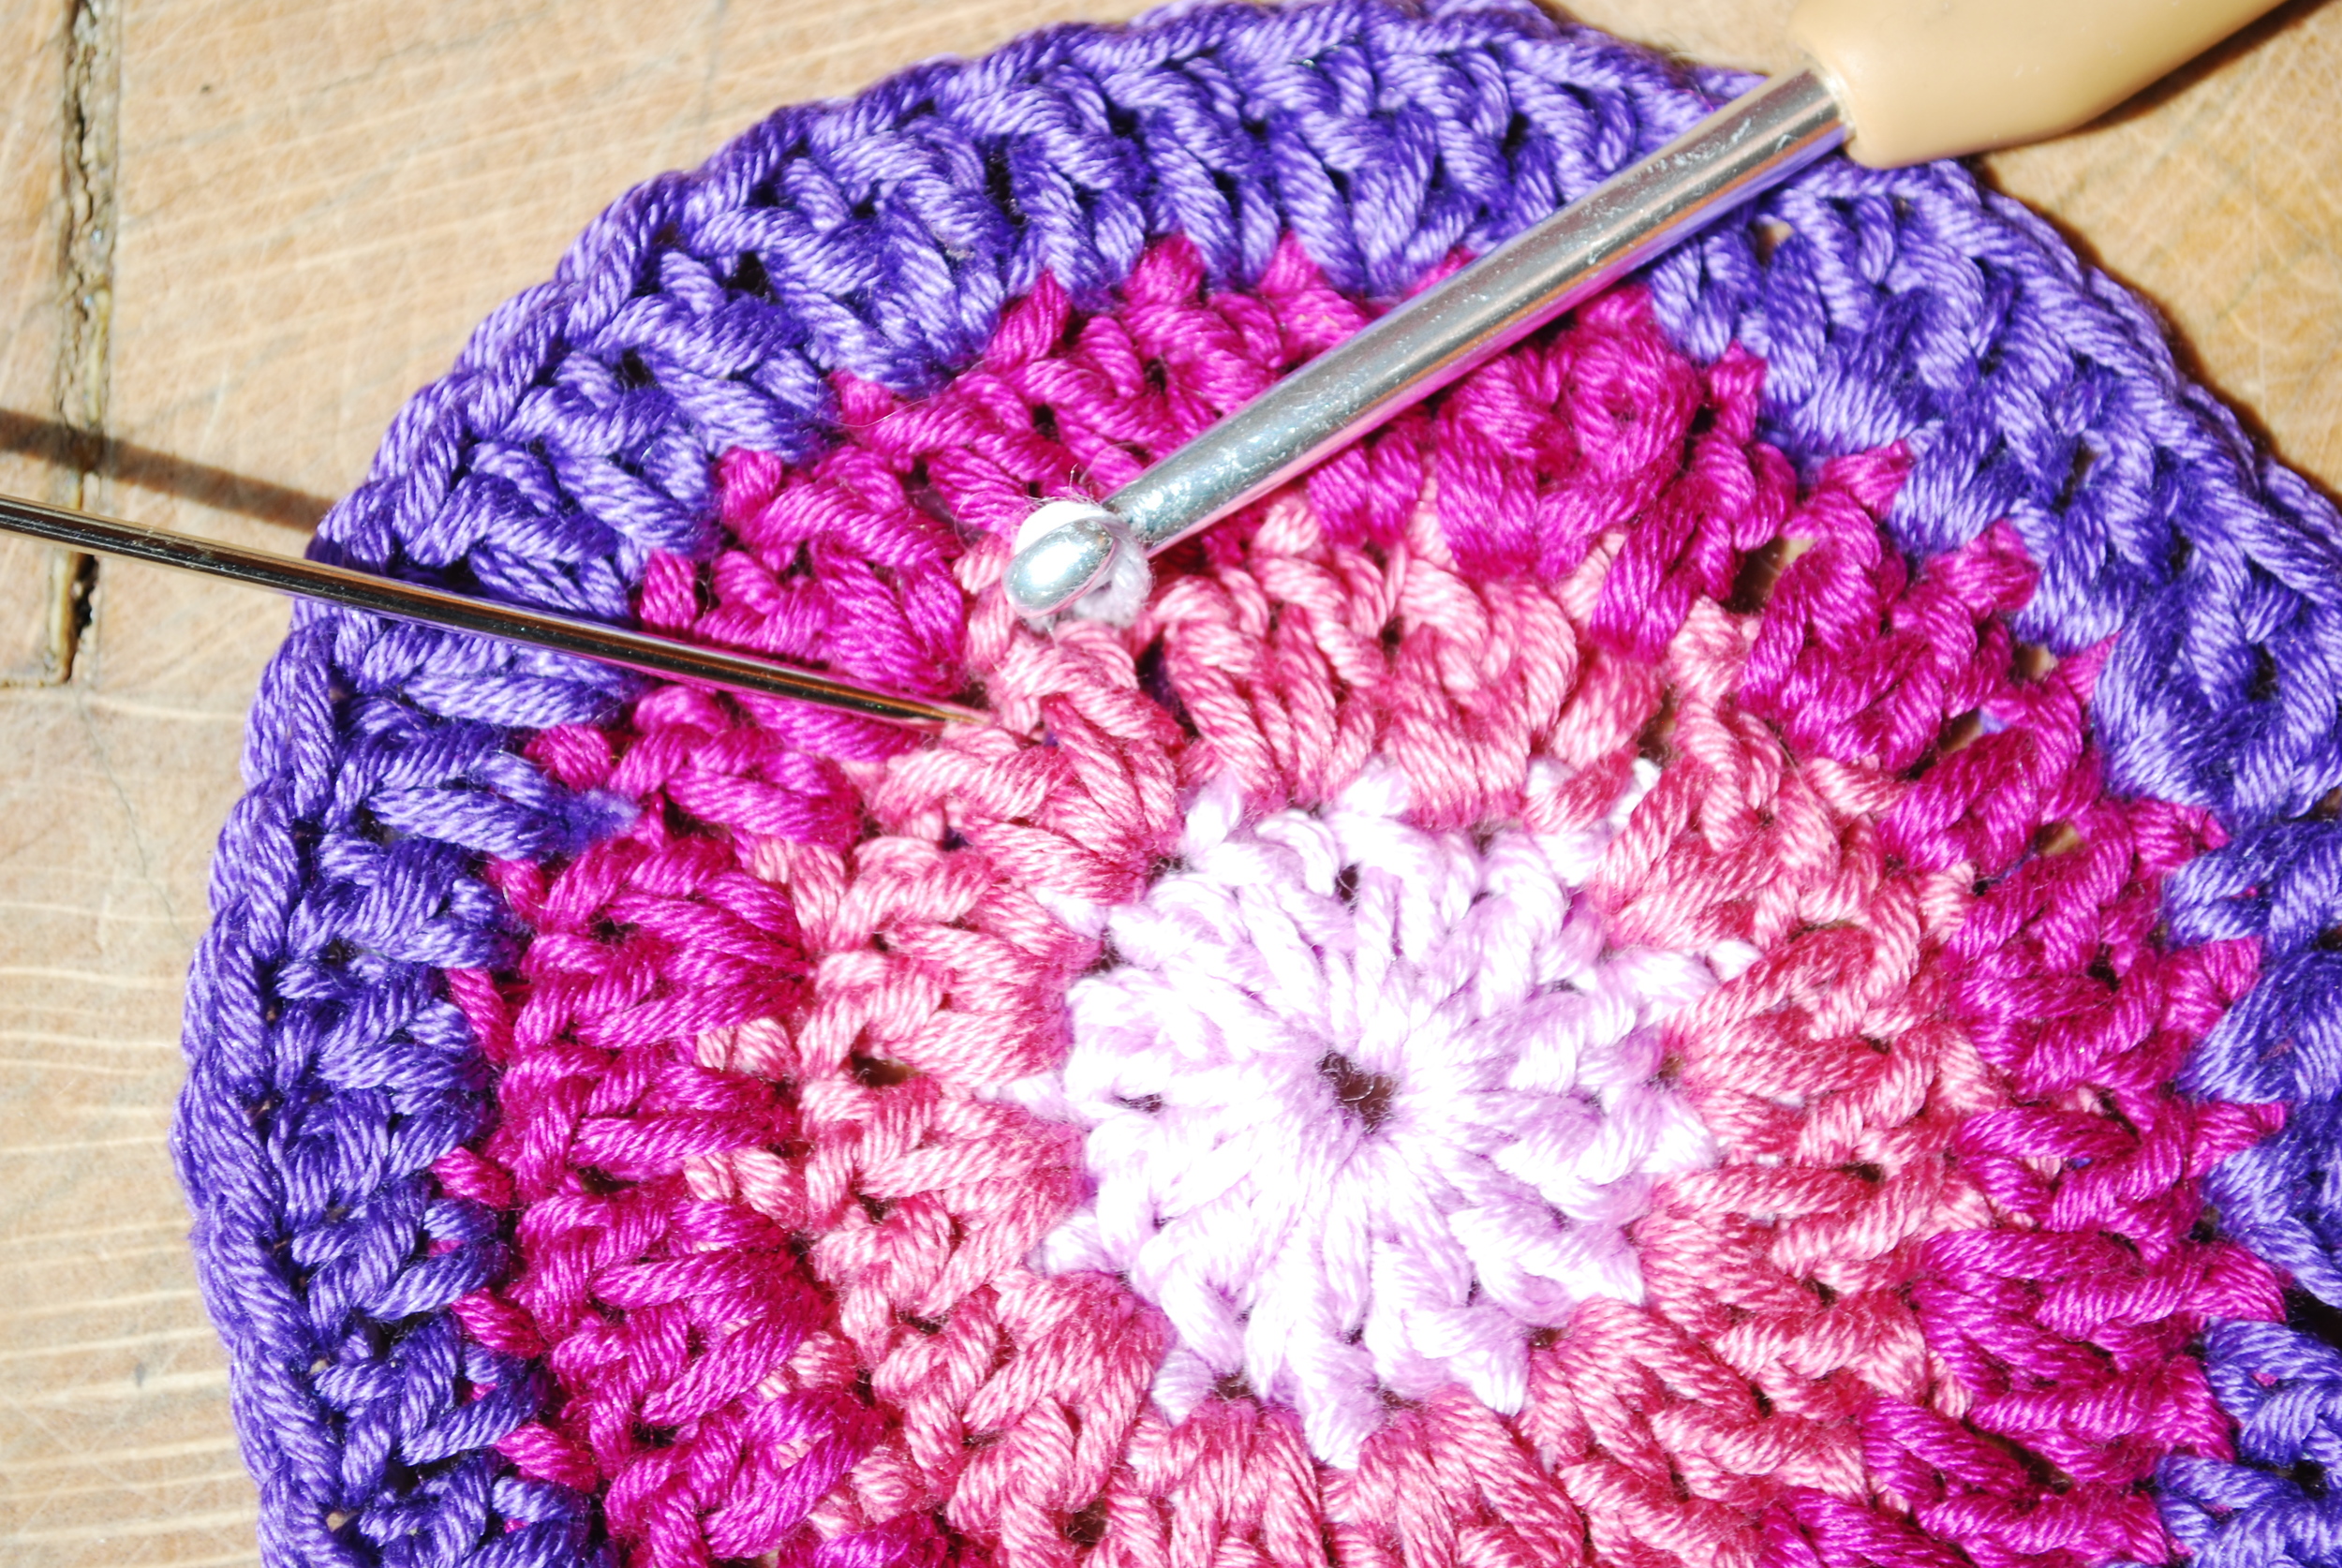
Place your hook into the next stitch hole as indicated here

Pick up your yarn from the back (yarn over) and pull it through. Then pull it through the stitch on the hook (slip stitch)

This is your first surface crochet slip stitch.
Now repeat the process again moving to the next space as indicated, hook in from front to back, yarn over, pull it through to the front and then pull it through the stitch on the hook.
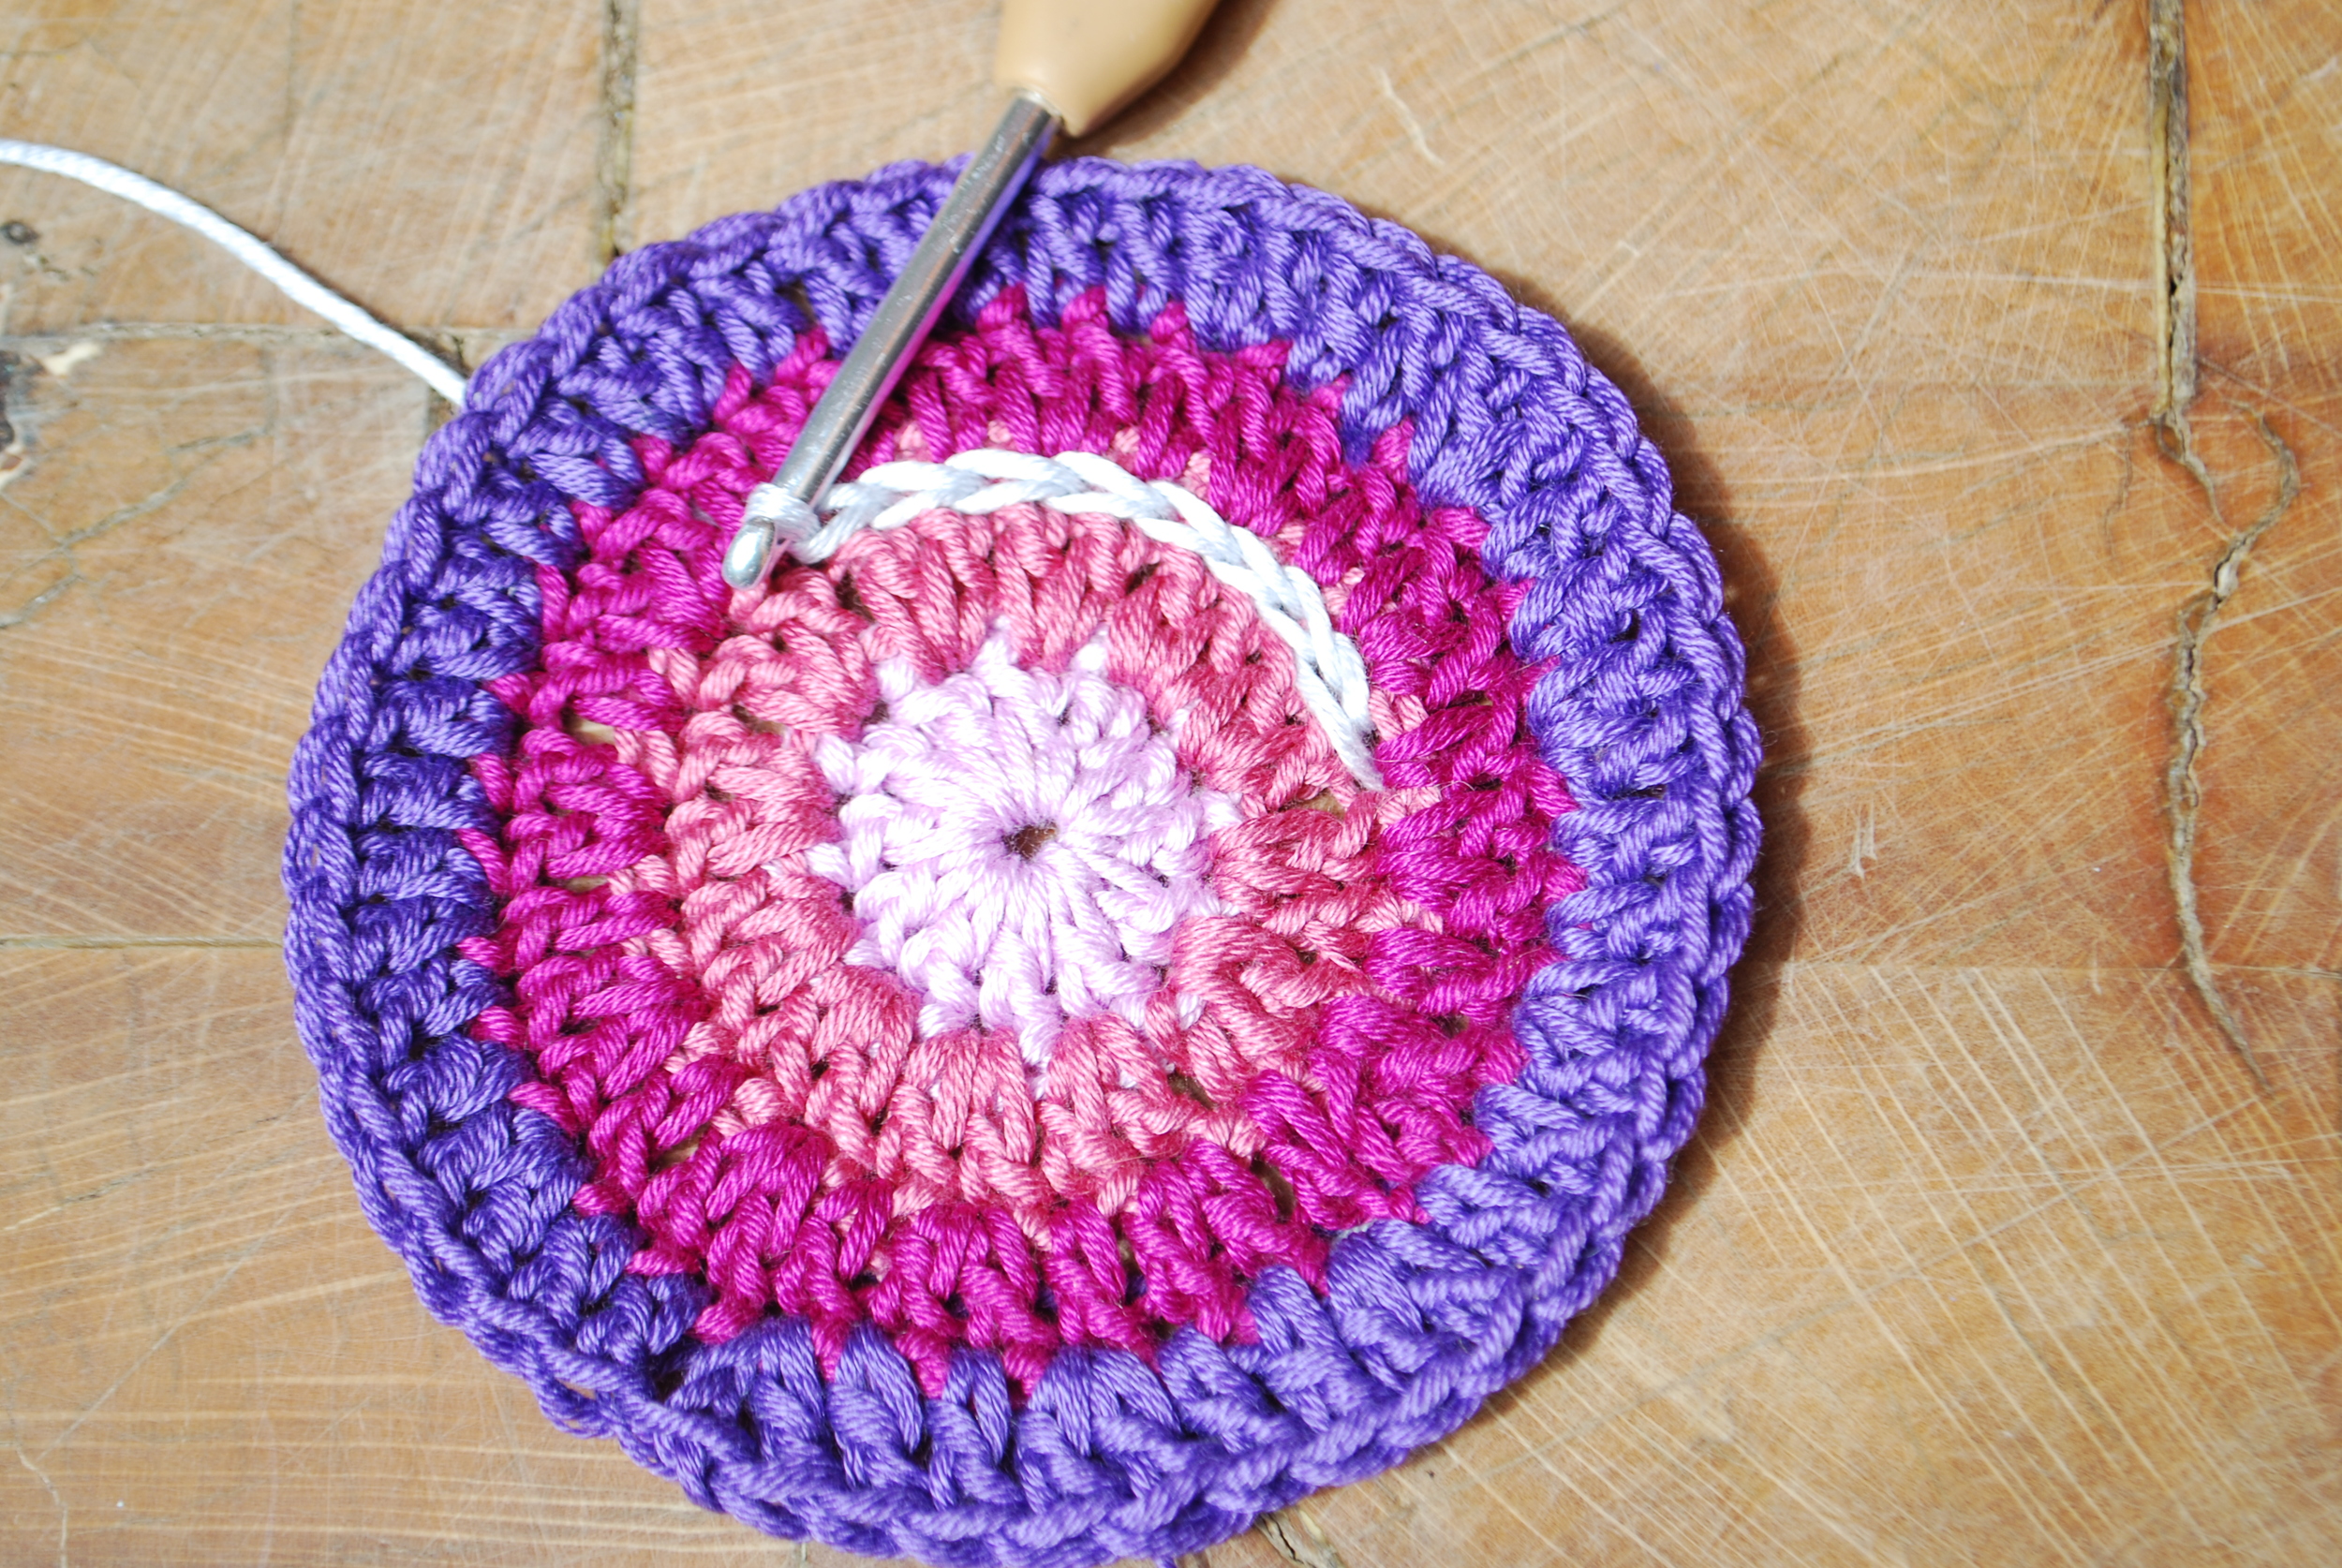
As you continue along you will see your surface crochet begin to take shape.
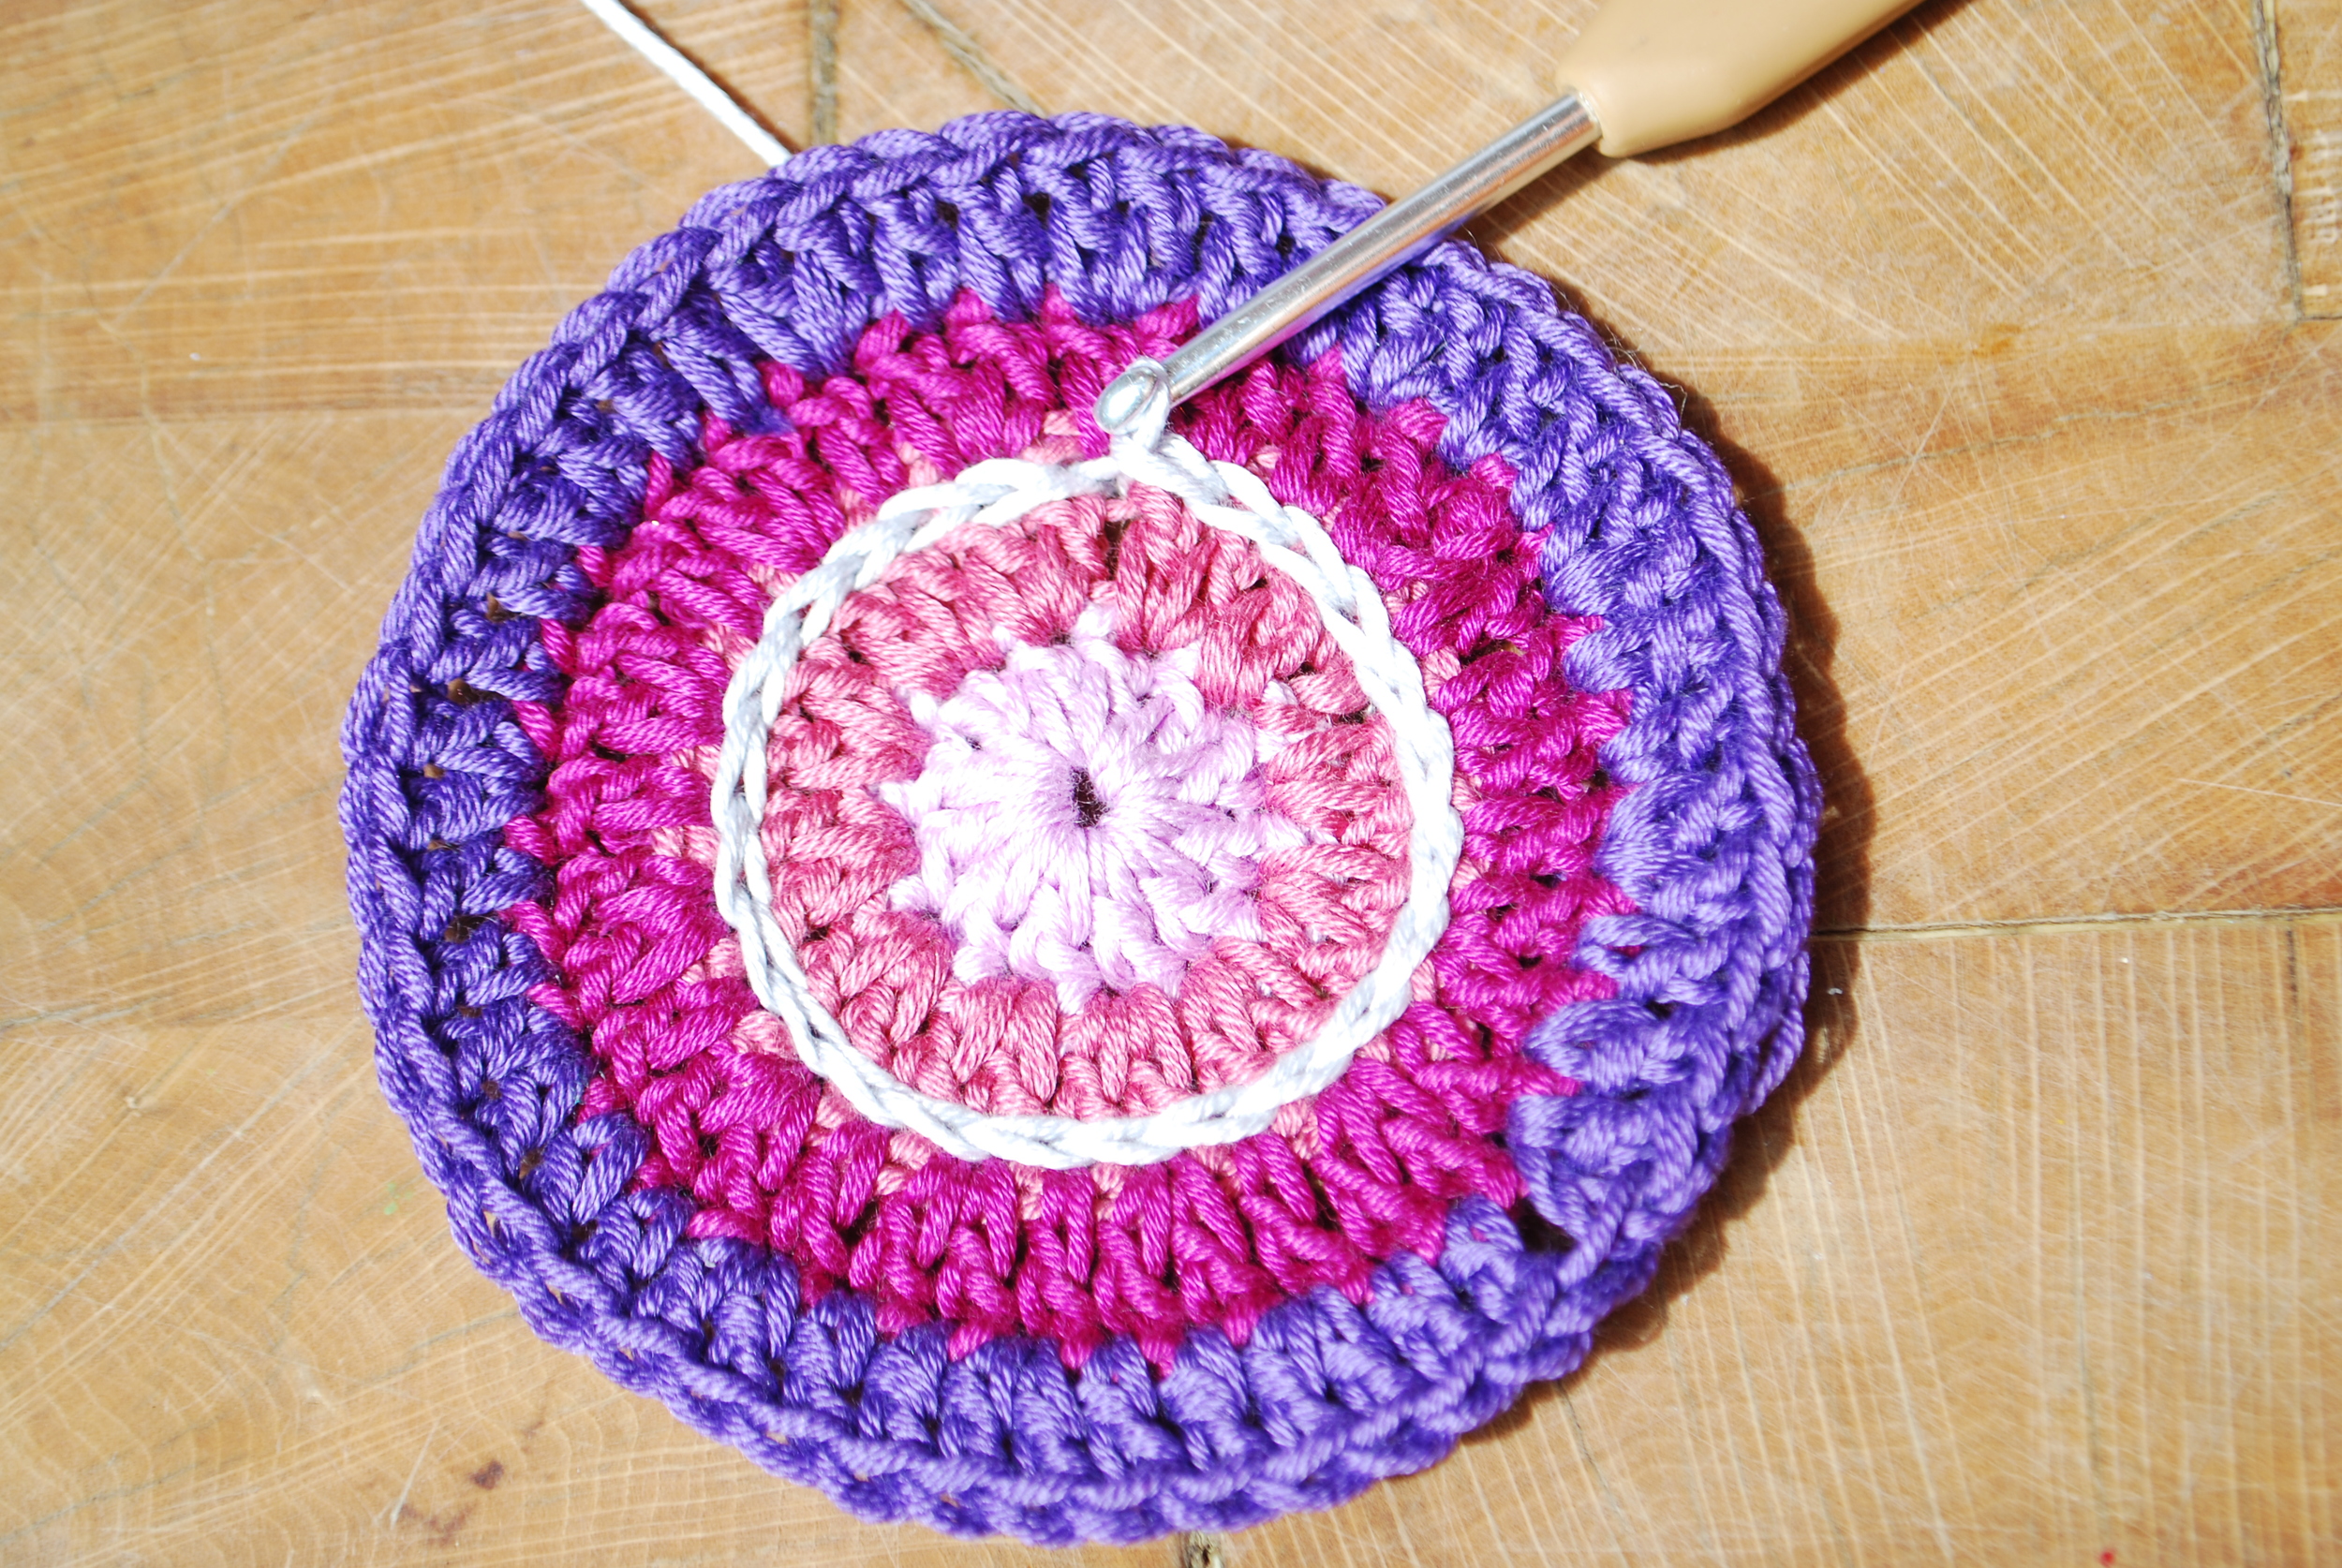
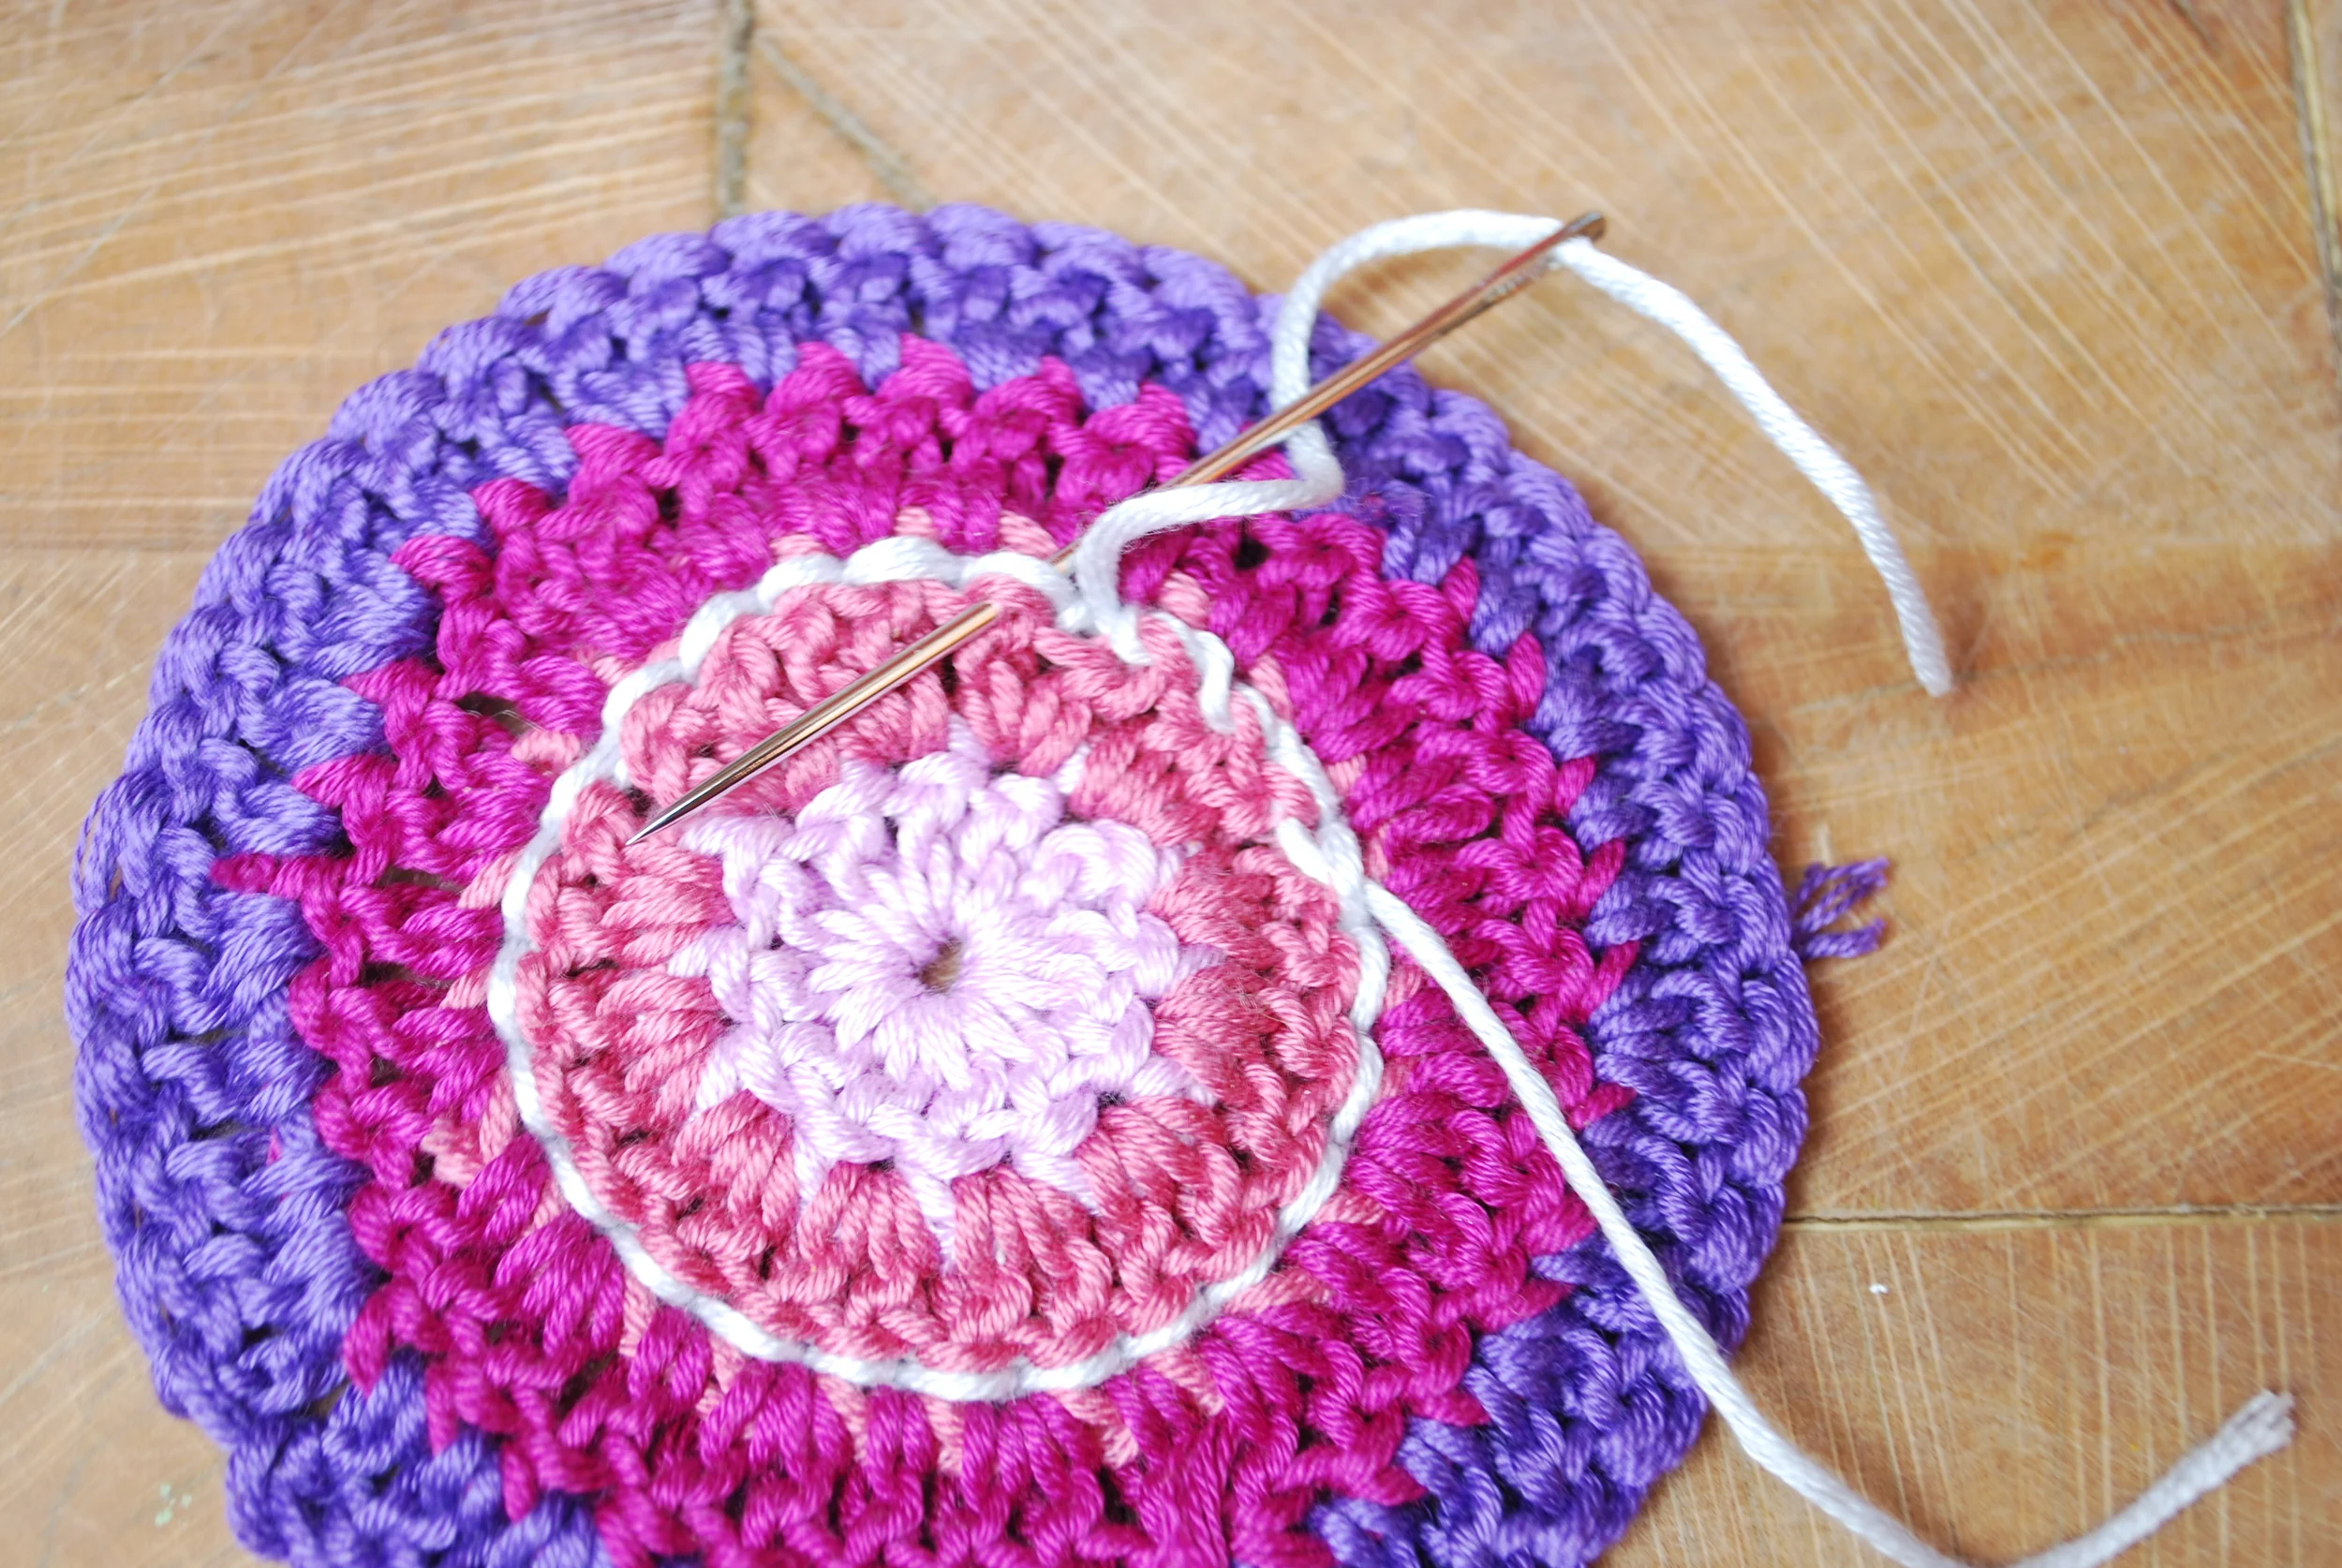
Once you have reached the end (or the beginning) cut your yarn (leave a tail long enough to thread a needle to sew in the ends)
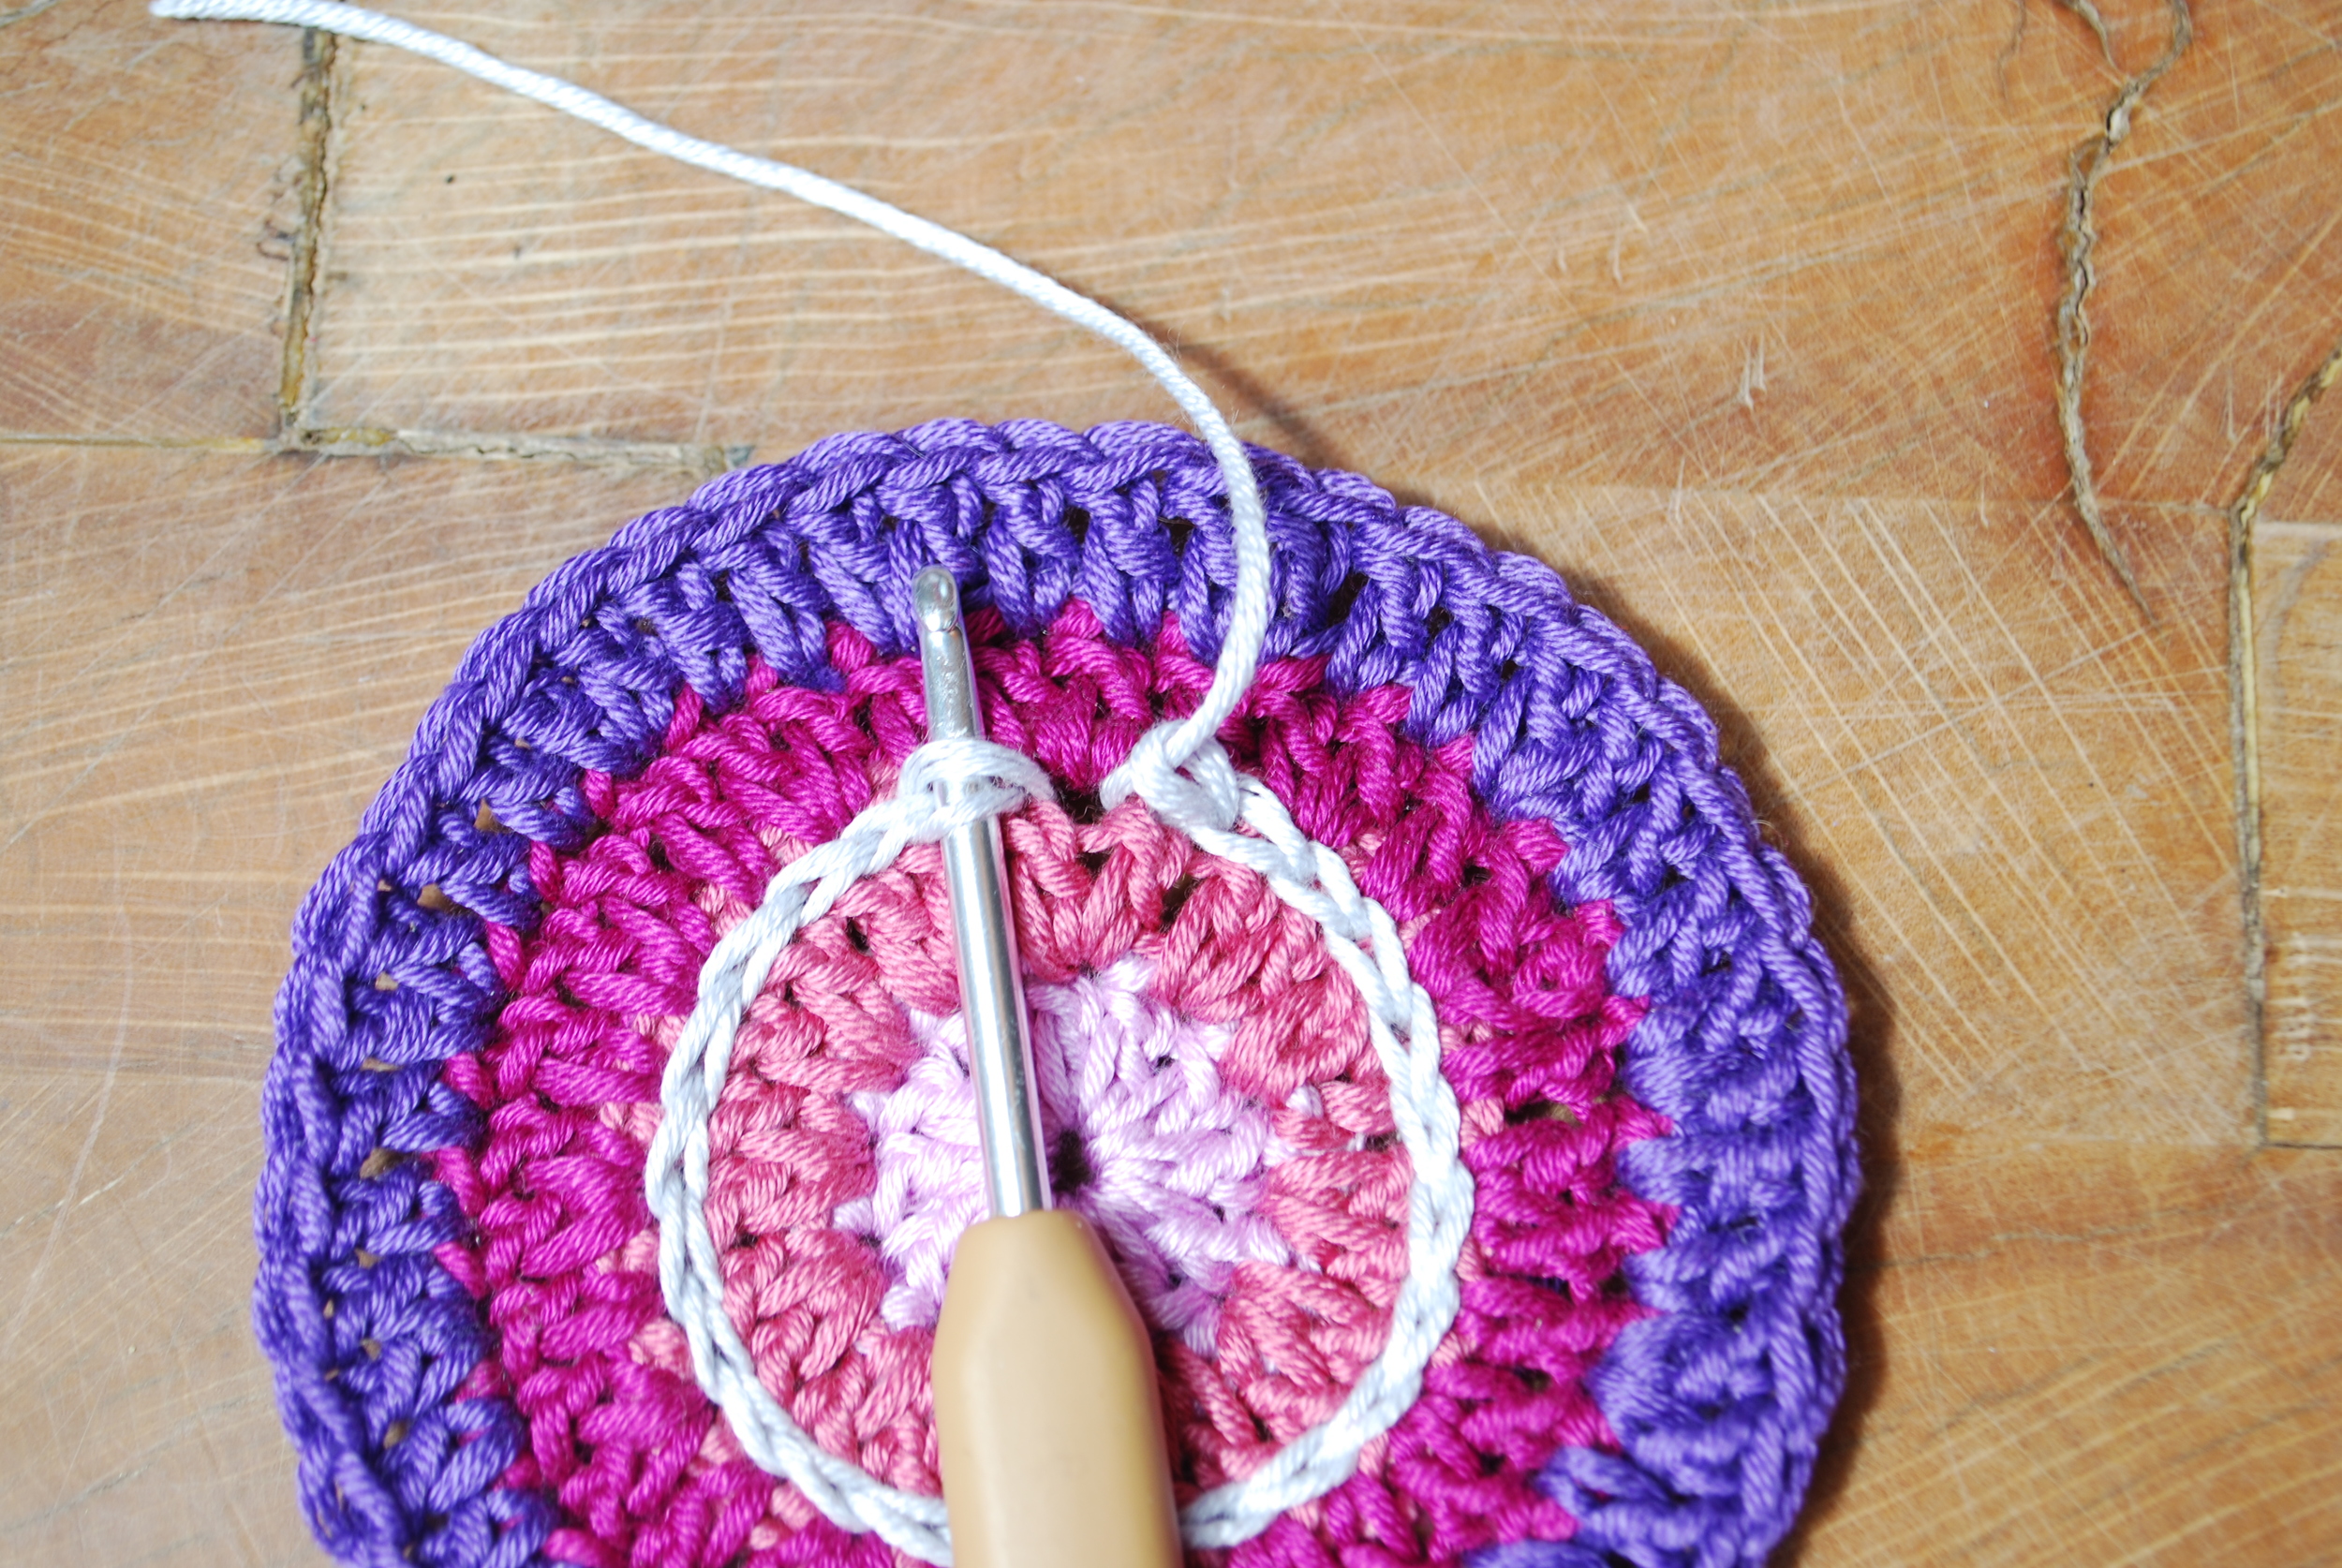
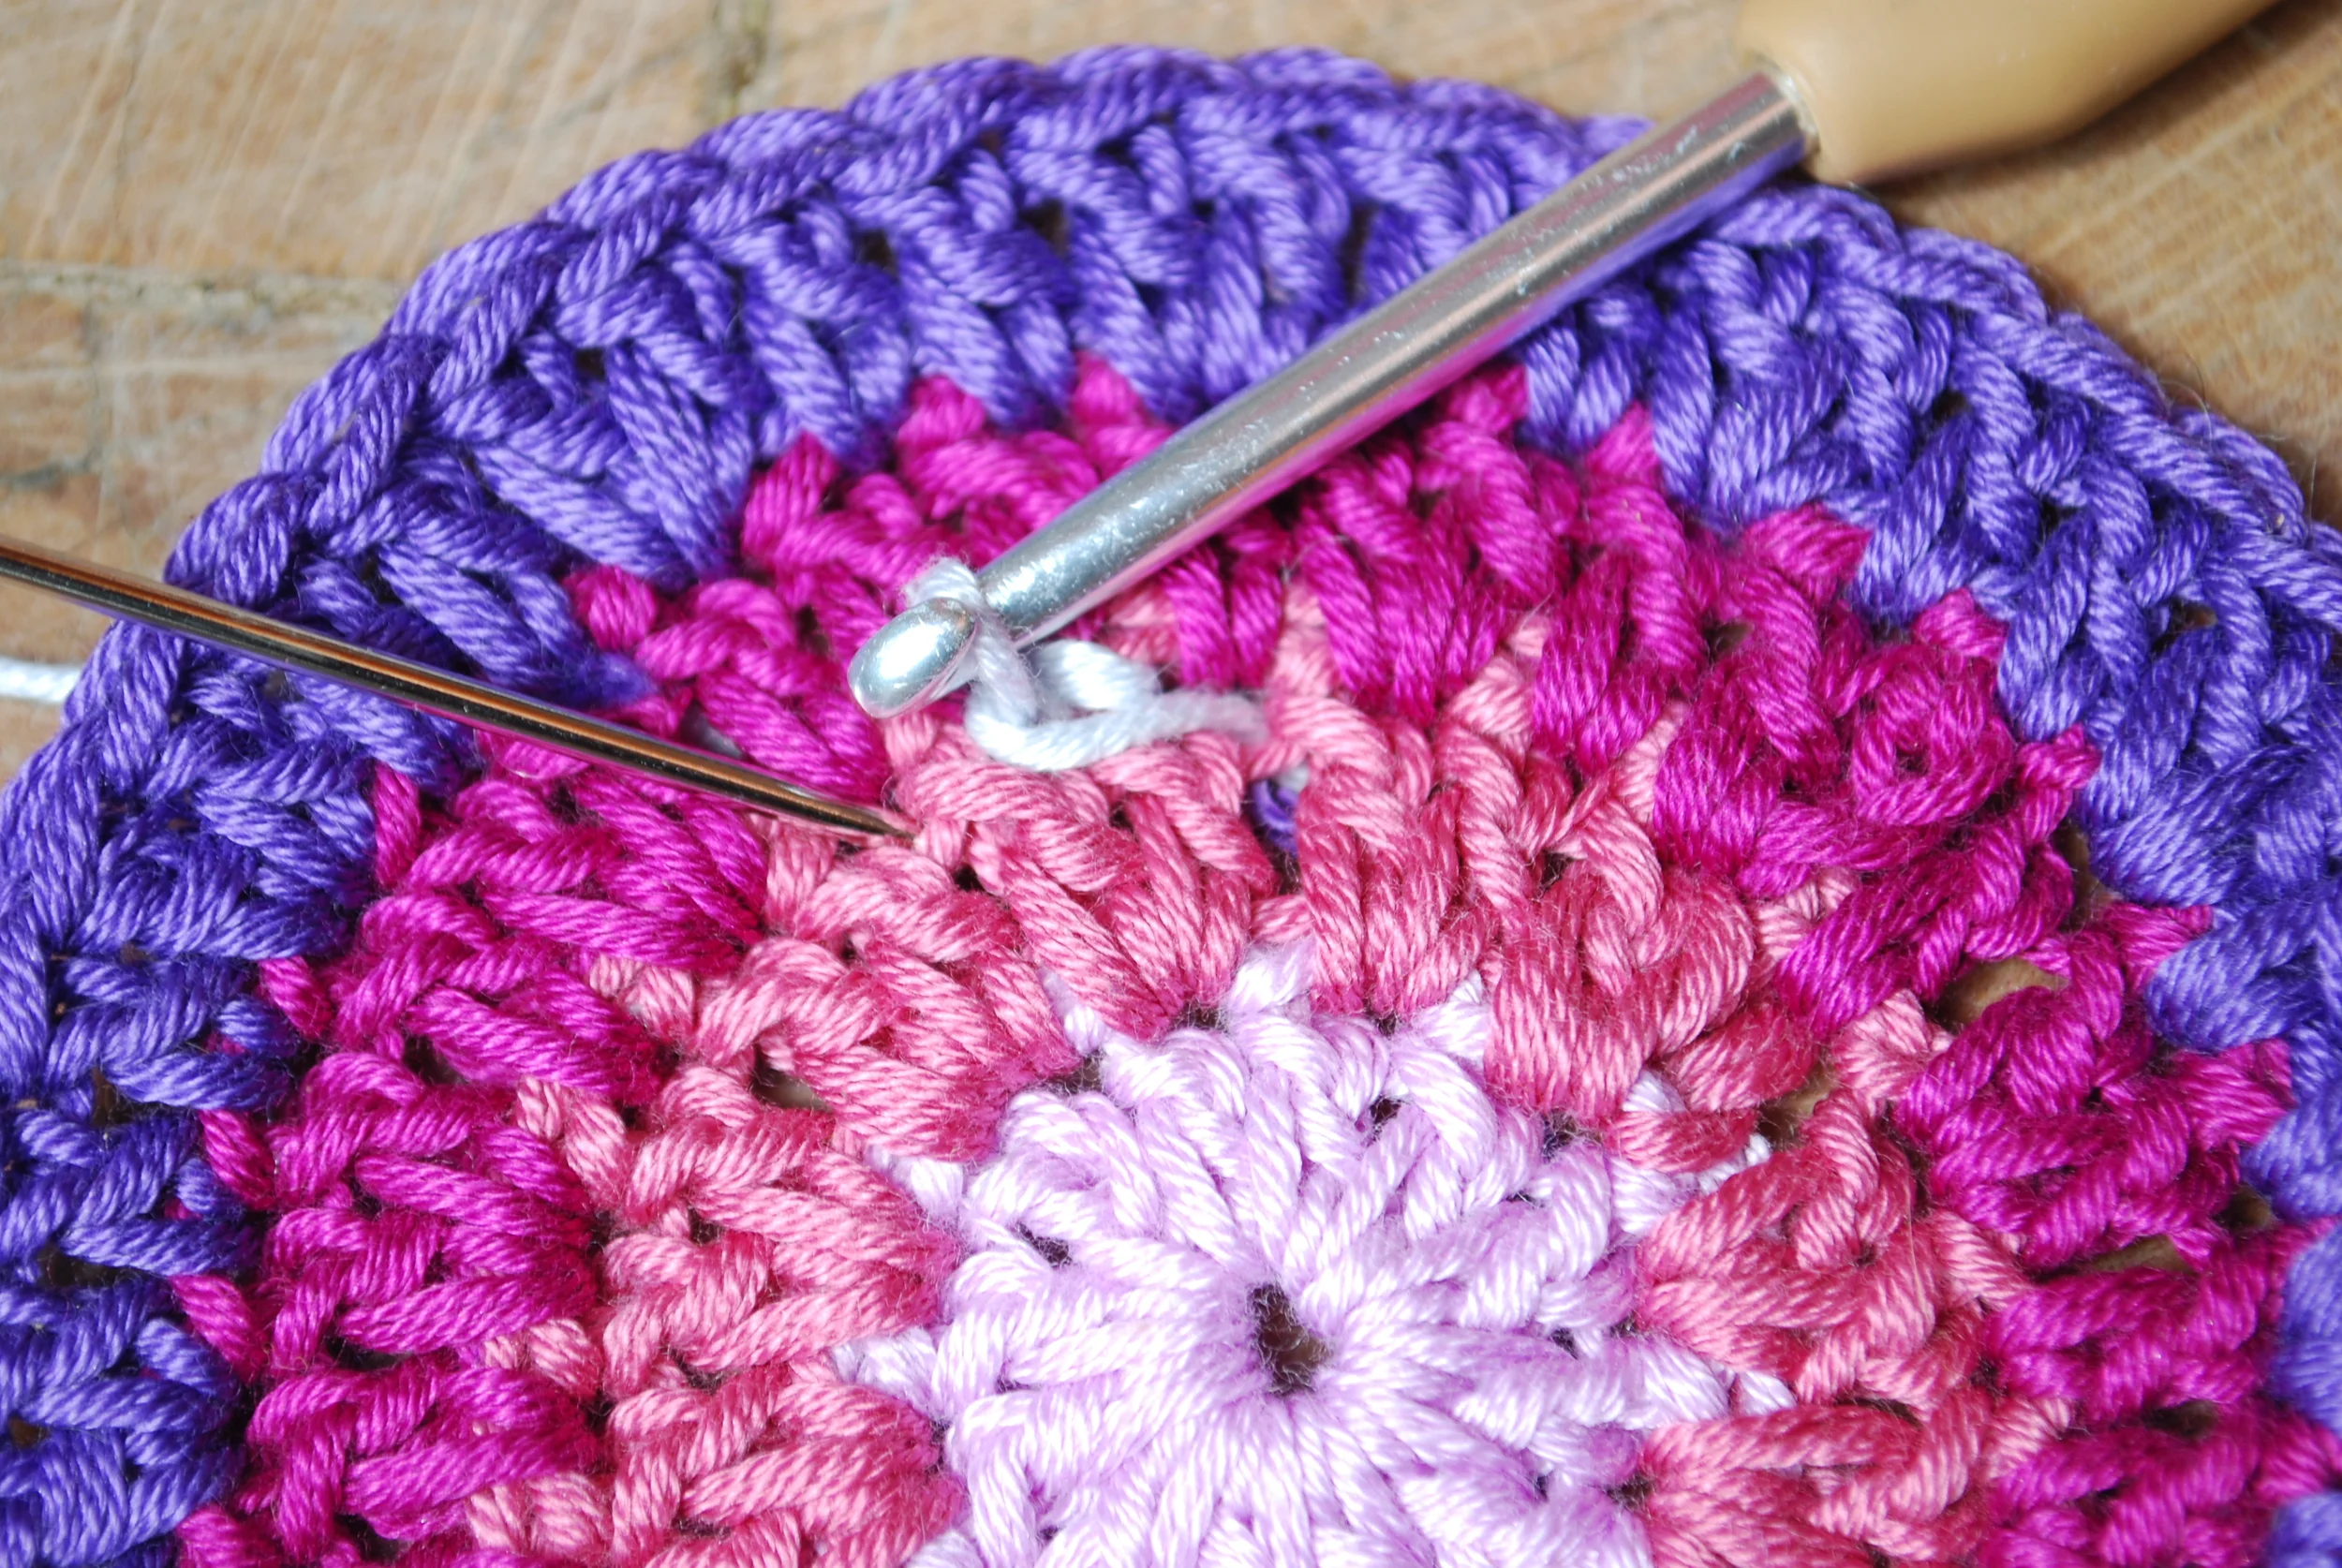
Now place your hook under both parts of the first stitch you made and yarn over to pull it through.

Like this! Pull it all the way through.
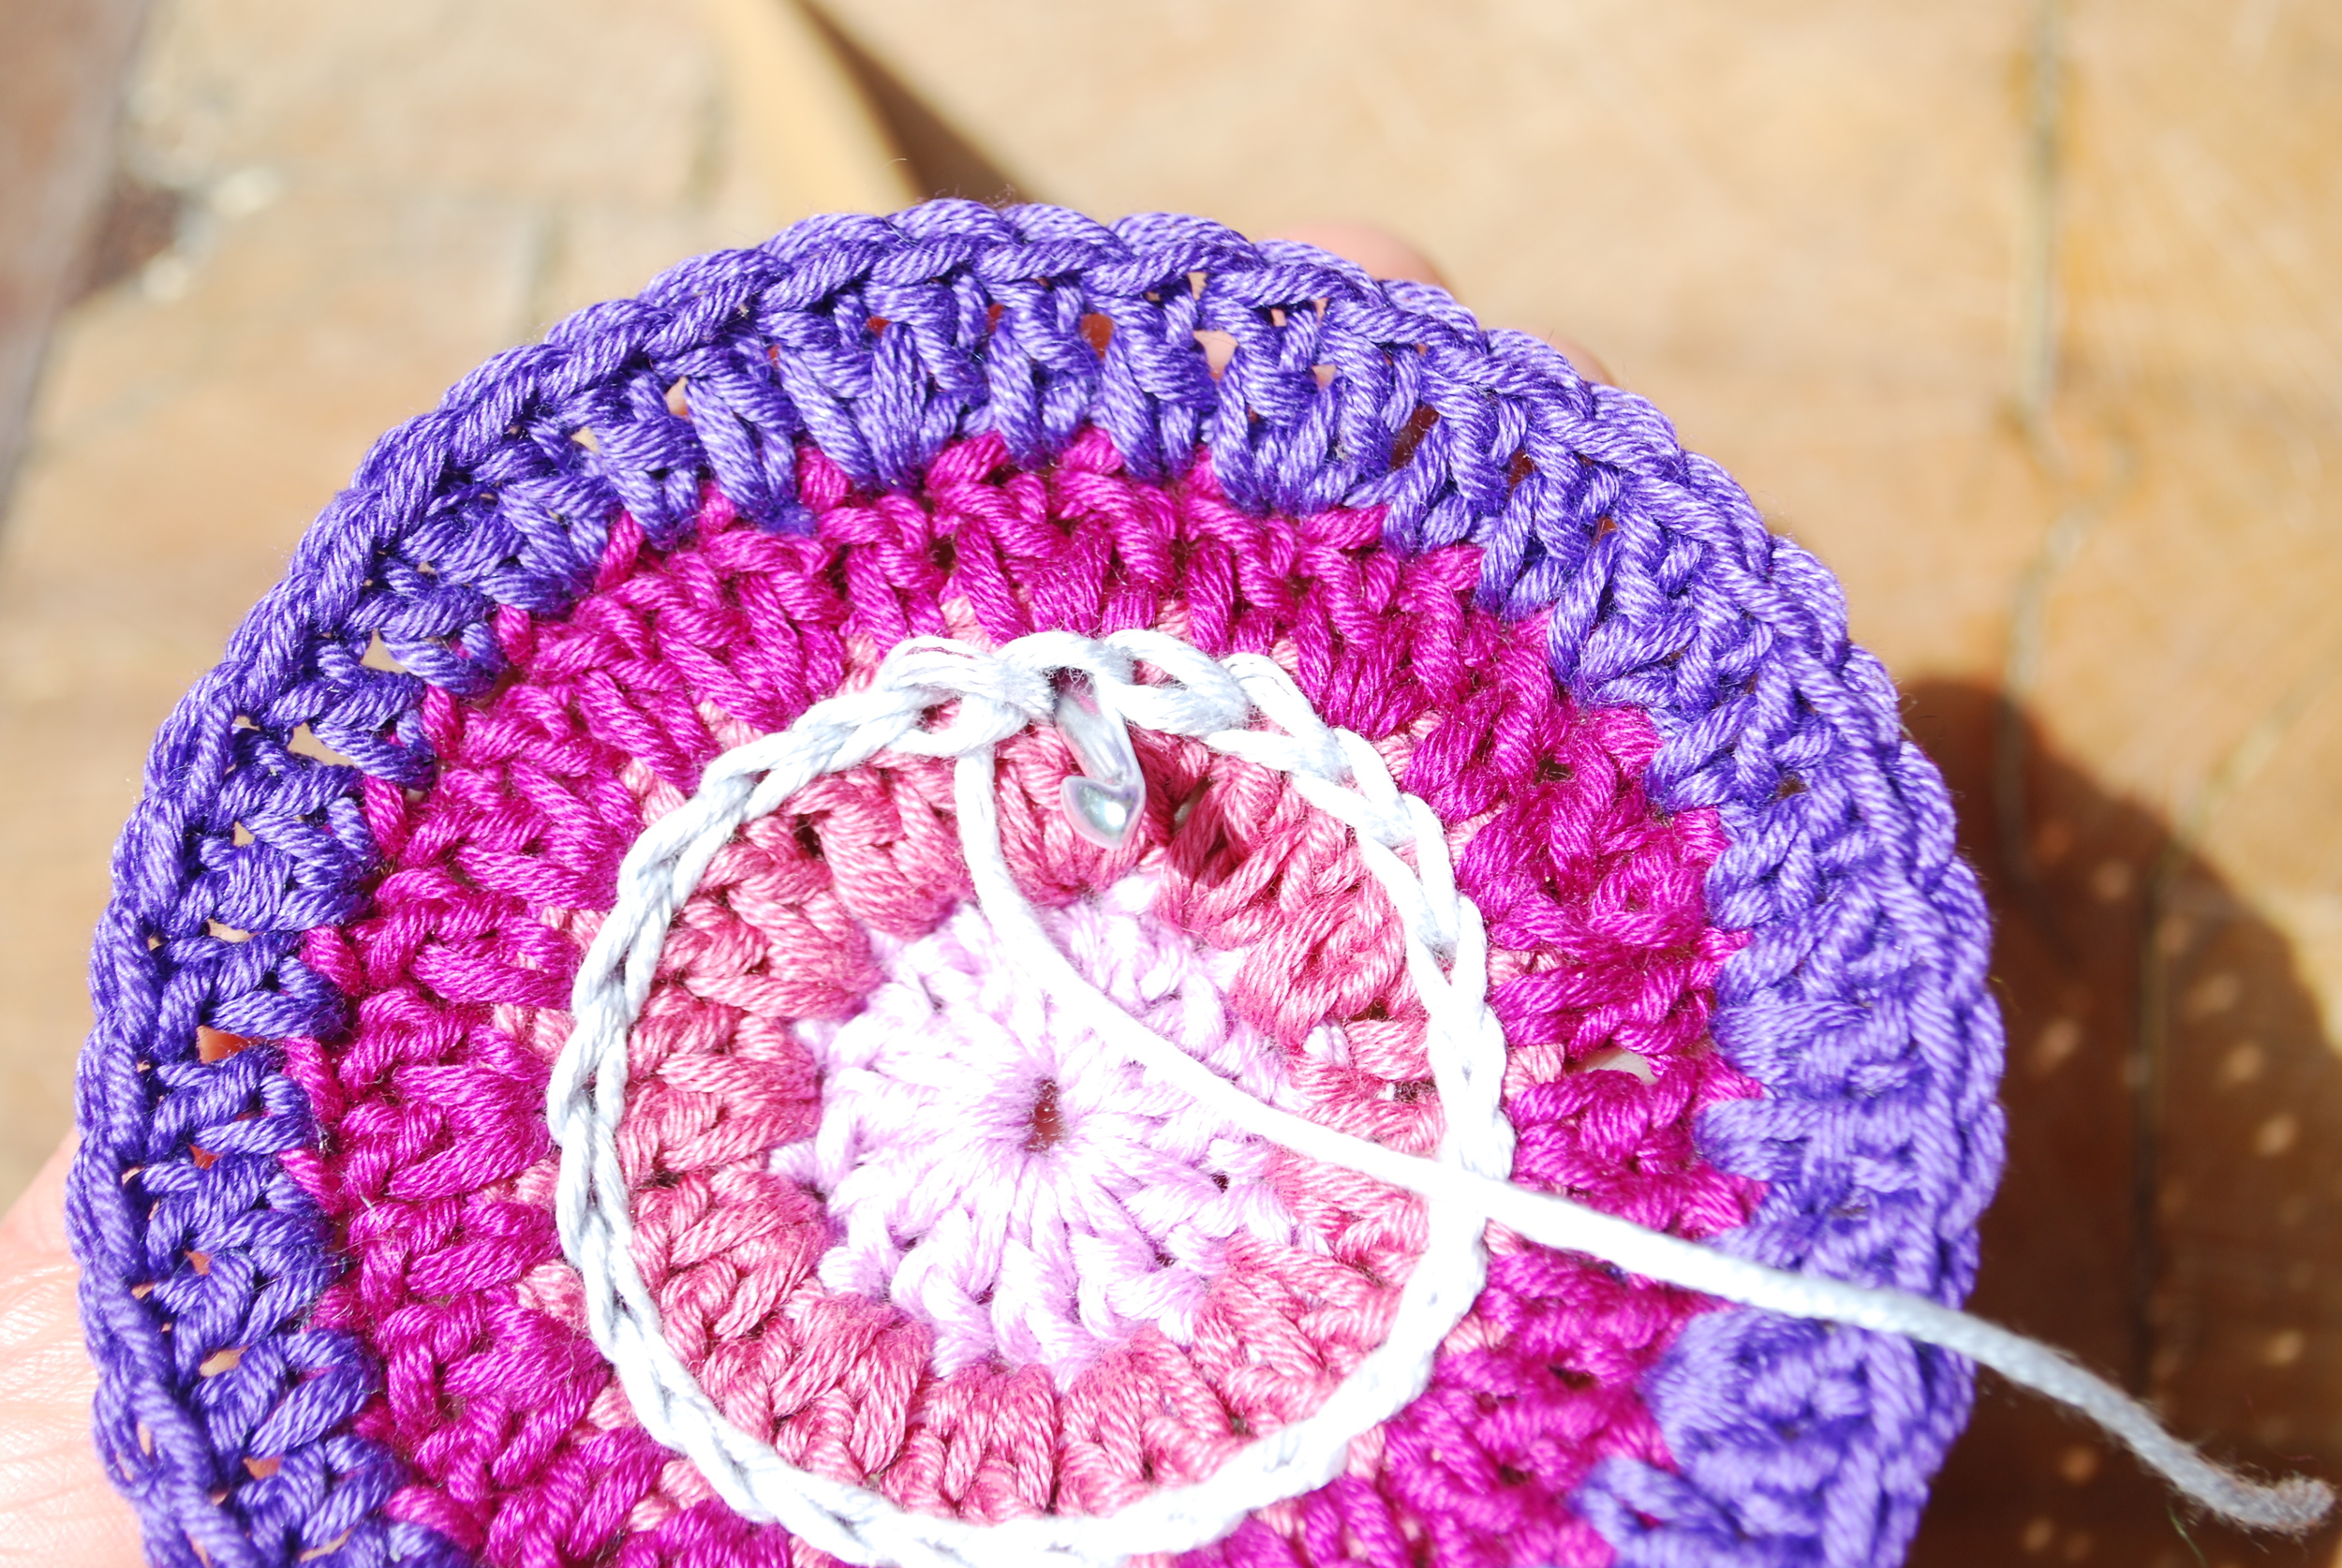
Now bring your hook up through the hole in the last stitch you made from the back to the front and pull your yarn through to the back.

This gives you a perfect 'invisible' join.
Now turn your work and sew in your ends to secure them.
