Welcome to your Paper Pet. This tutorial is designed to take you through the process step by step.
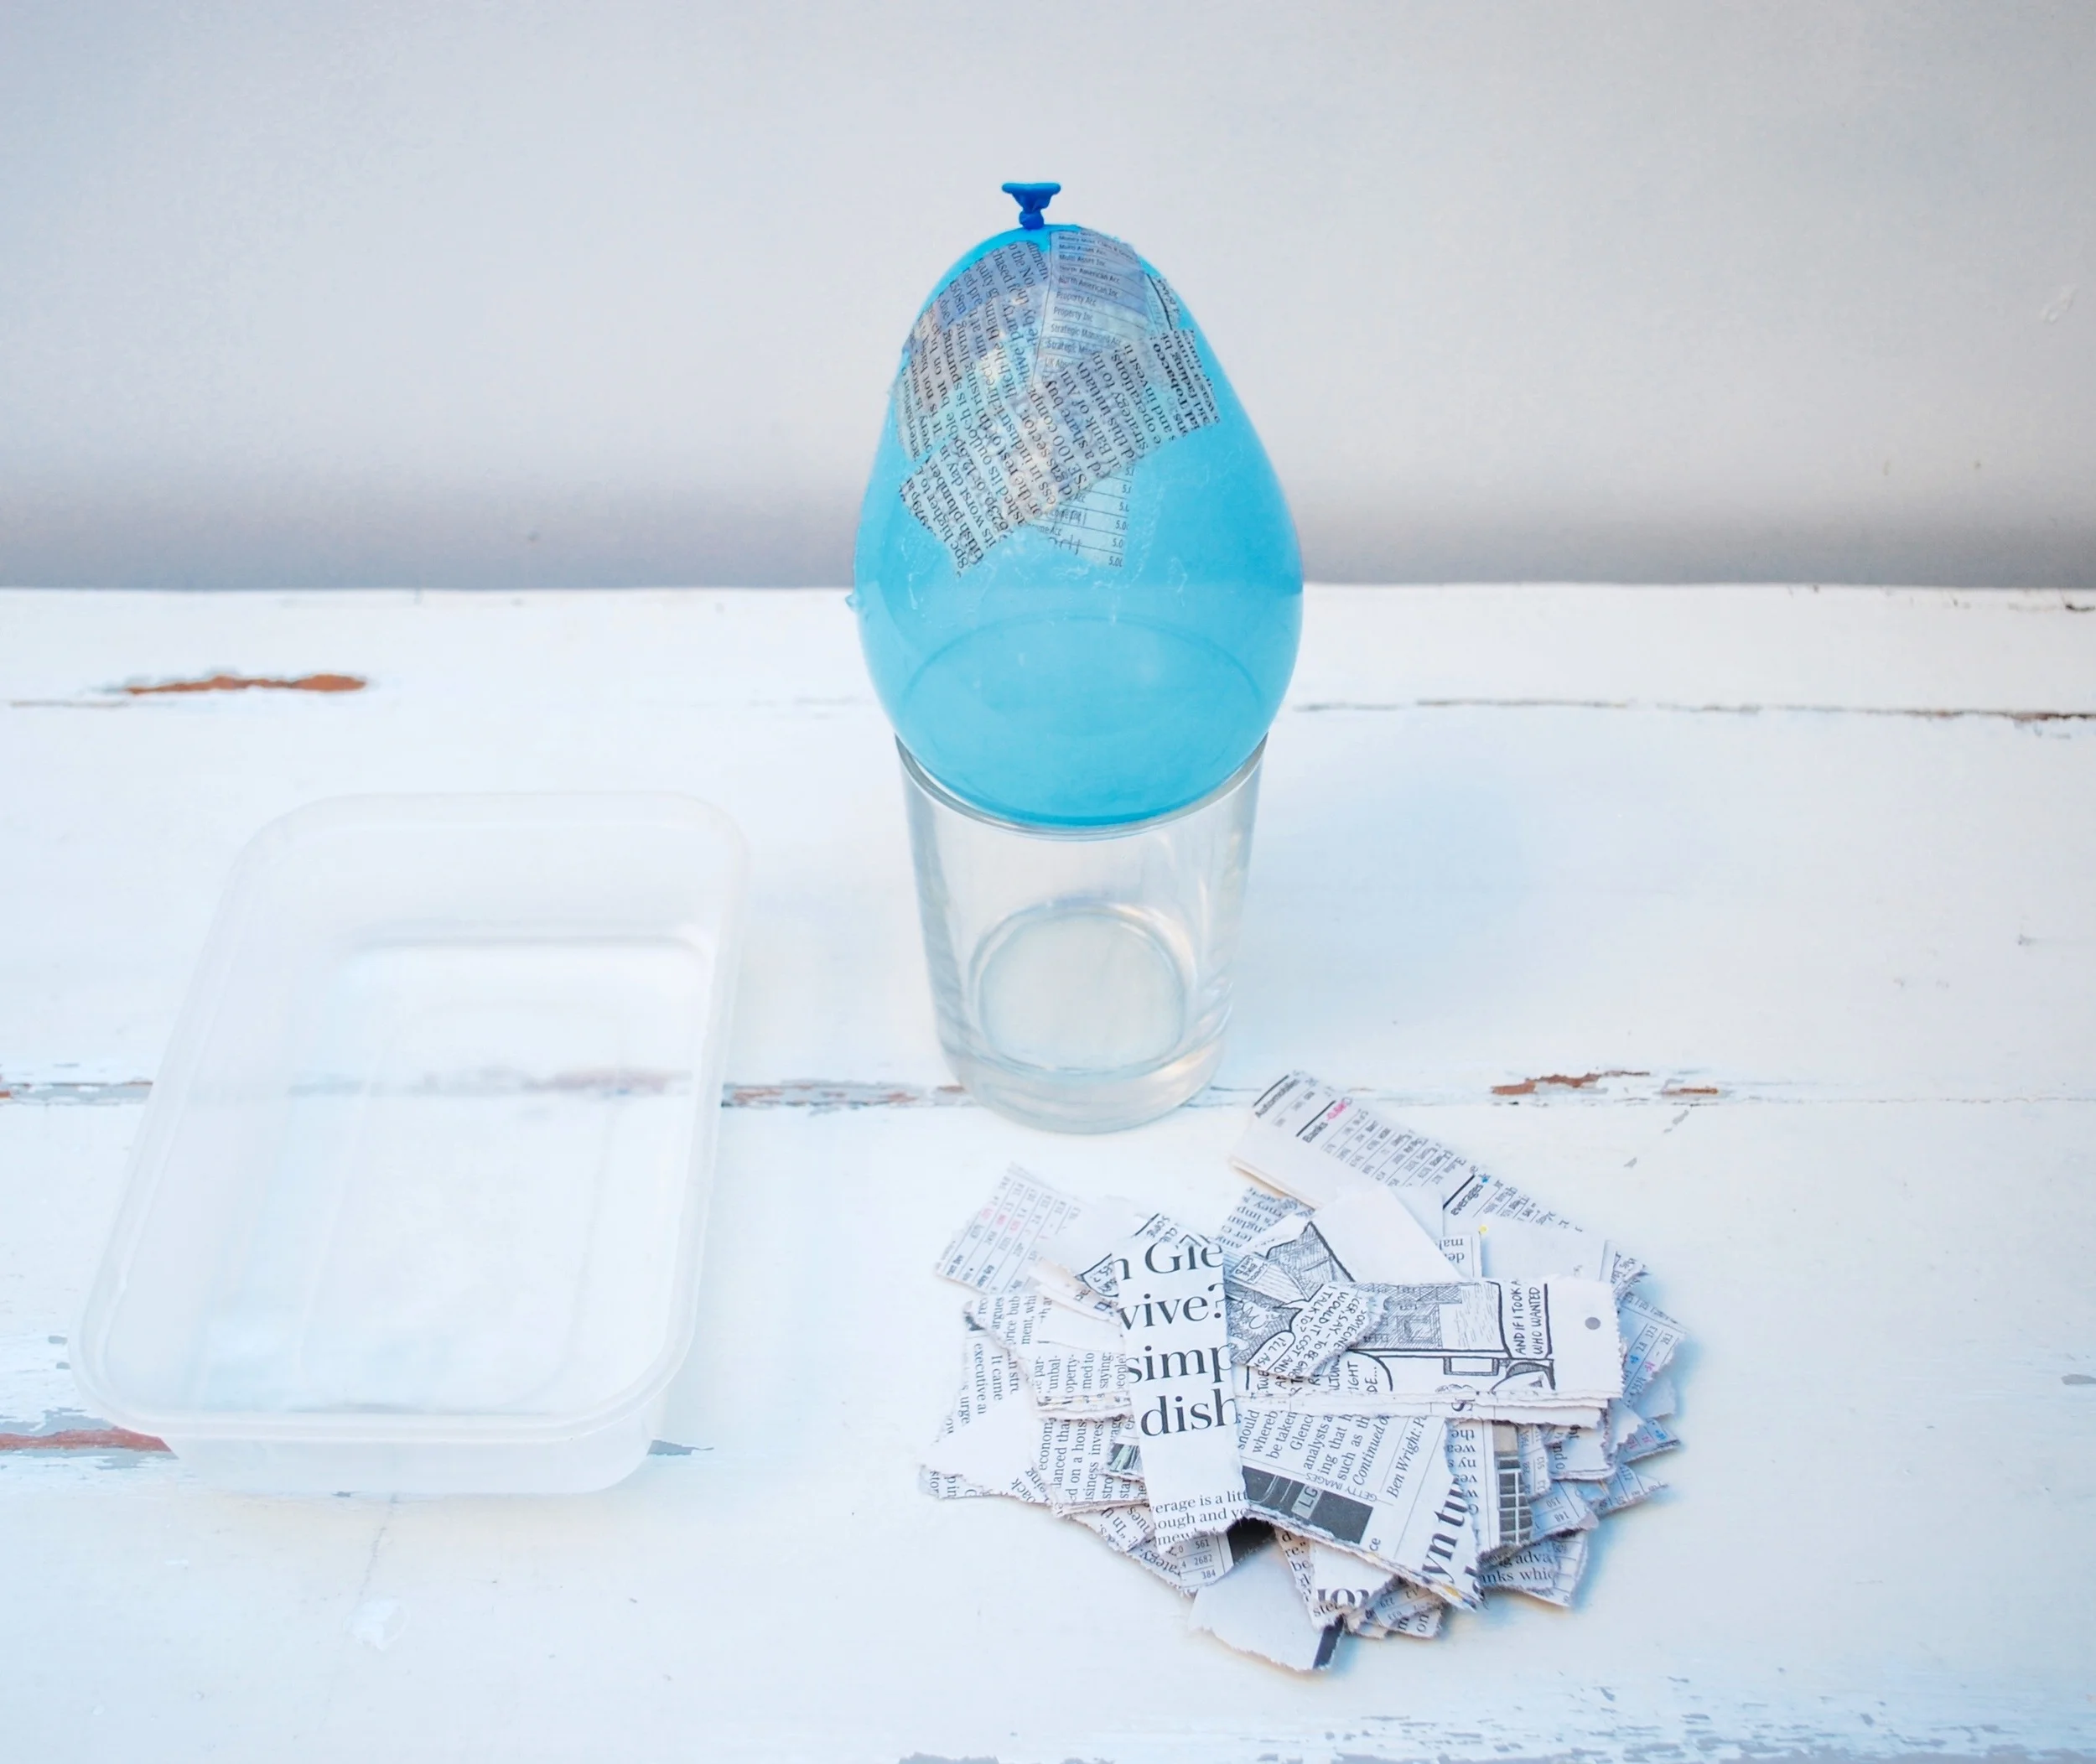
In addition to the contents of your kit you will need a glass to hold your inflated balloon in position, a small bowl to mix some of the paste and a pair of scissors to cut the templates.
Placing the inflated ballon in the glass makes it much easier to handle once you start to apply the paper mache. If you have some vaseline you can use this to cover the rim of the glass which helps stop the paper balloon sticking to the glass. Don't worry if you don't have it as I didn't have any for this tutorial and everything was fine!

Cut out your templates and put them to one side for later.
Tear some old newspaper into small pieces.
Mix a little of the paste with some water (about a teaspoon to 100ml water) and dip the news paper into the paste and cover the balloon.
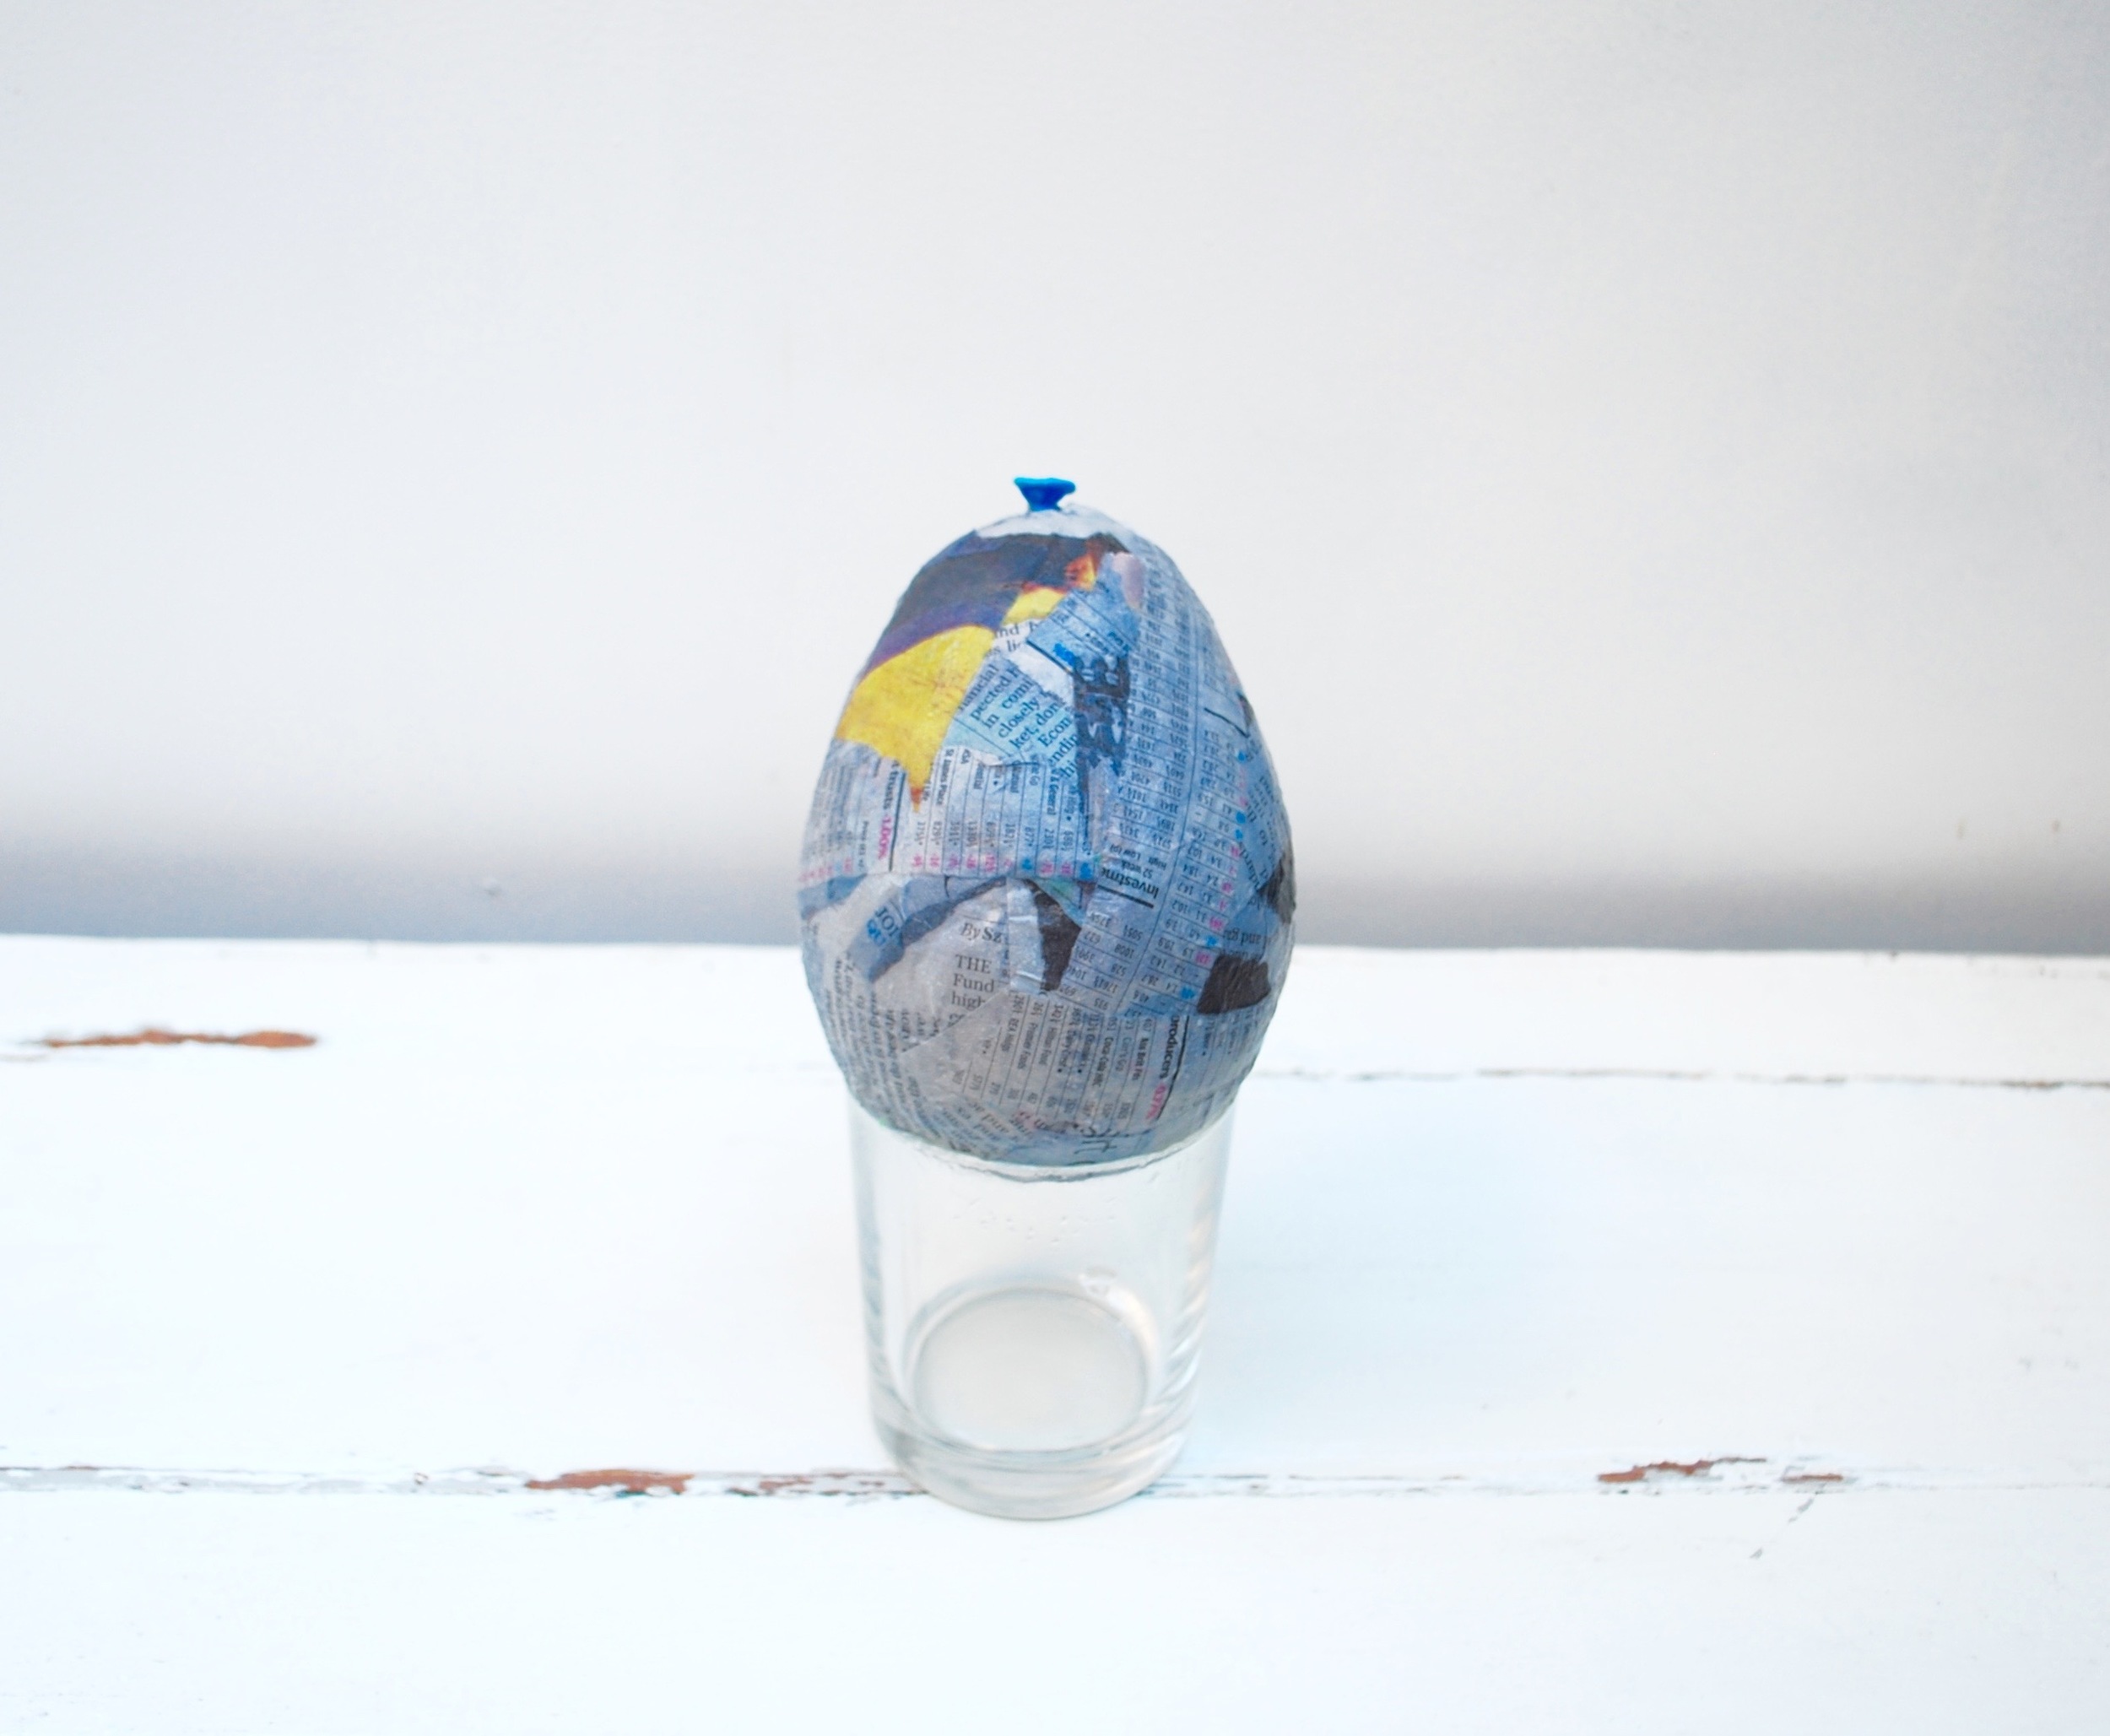
It's a good idea to build up at least 5 layers of paper all over your balloon so that it is nice and solid once it's dried. The thicker the layers the longer it will take to dry BUT the easier it will be to apply the templates!
Now you need to let all of this dry. This can take several days depending upon where it is placed and how many layers there are.
Stage 2 - Fixing the templates to the body
Once your balloon is completely dry the next step is to apply the templates to the body by fixing them in place using the self adhesive tabs.
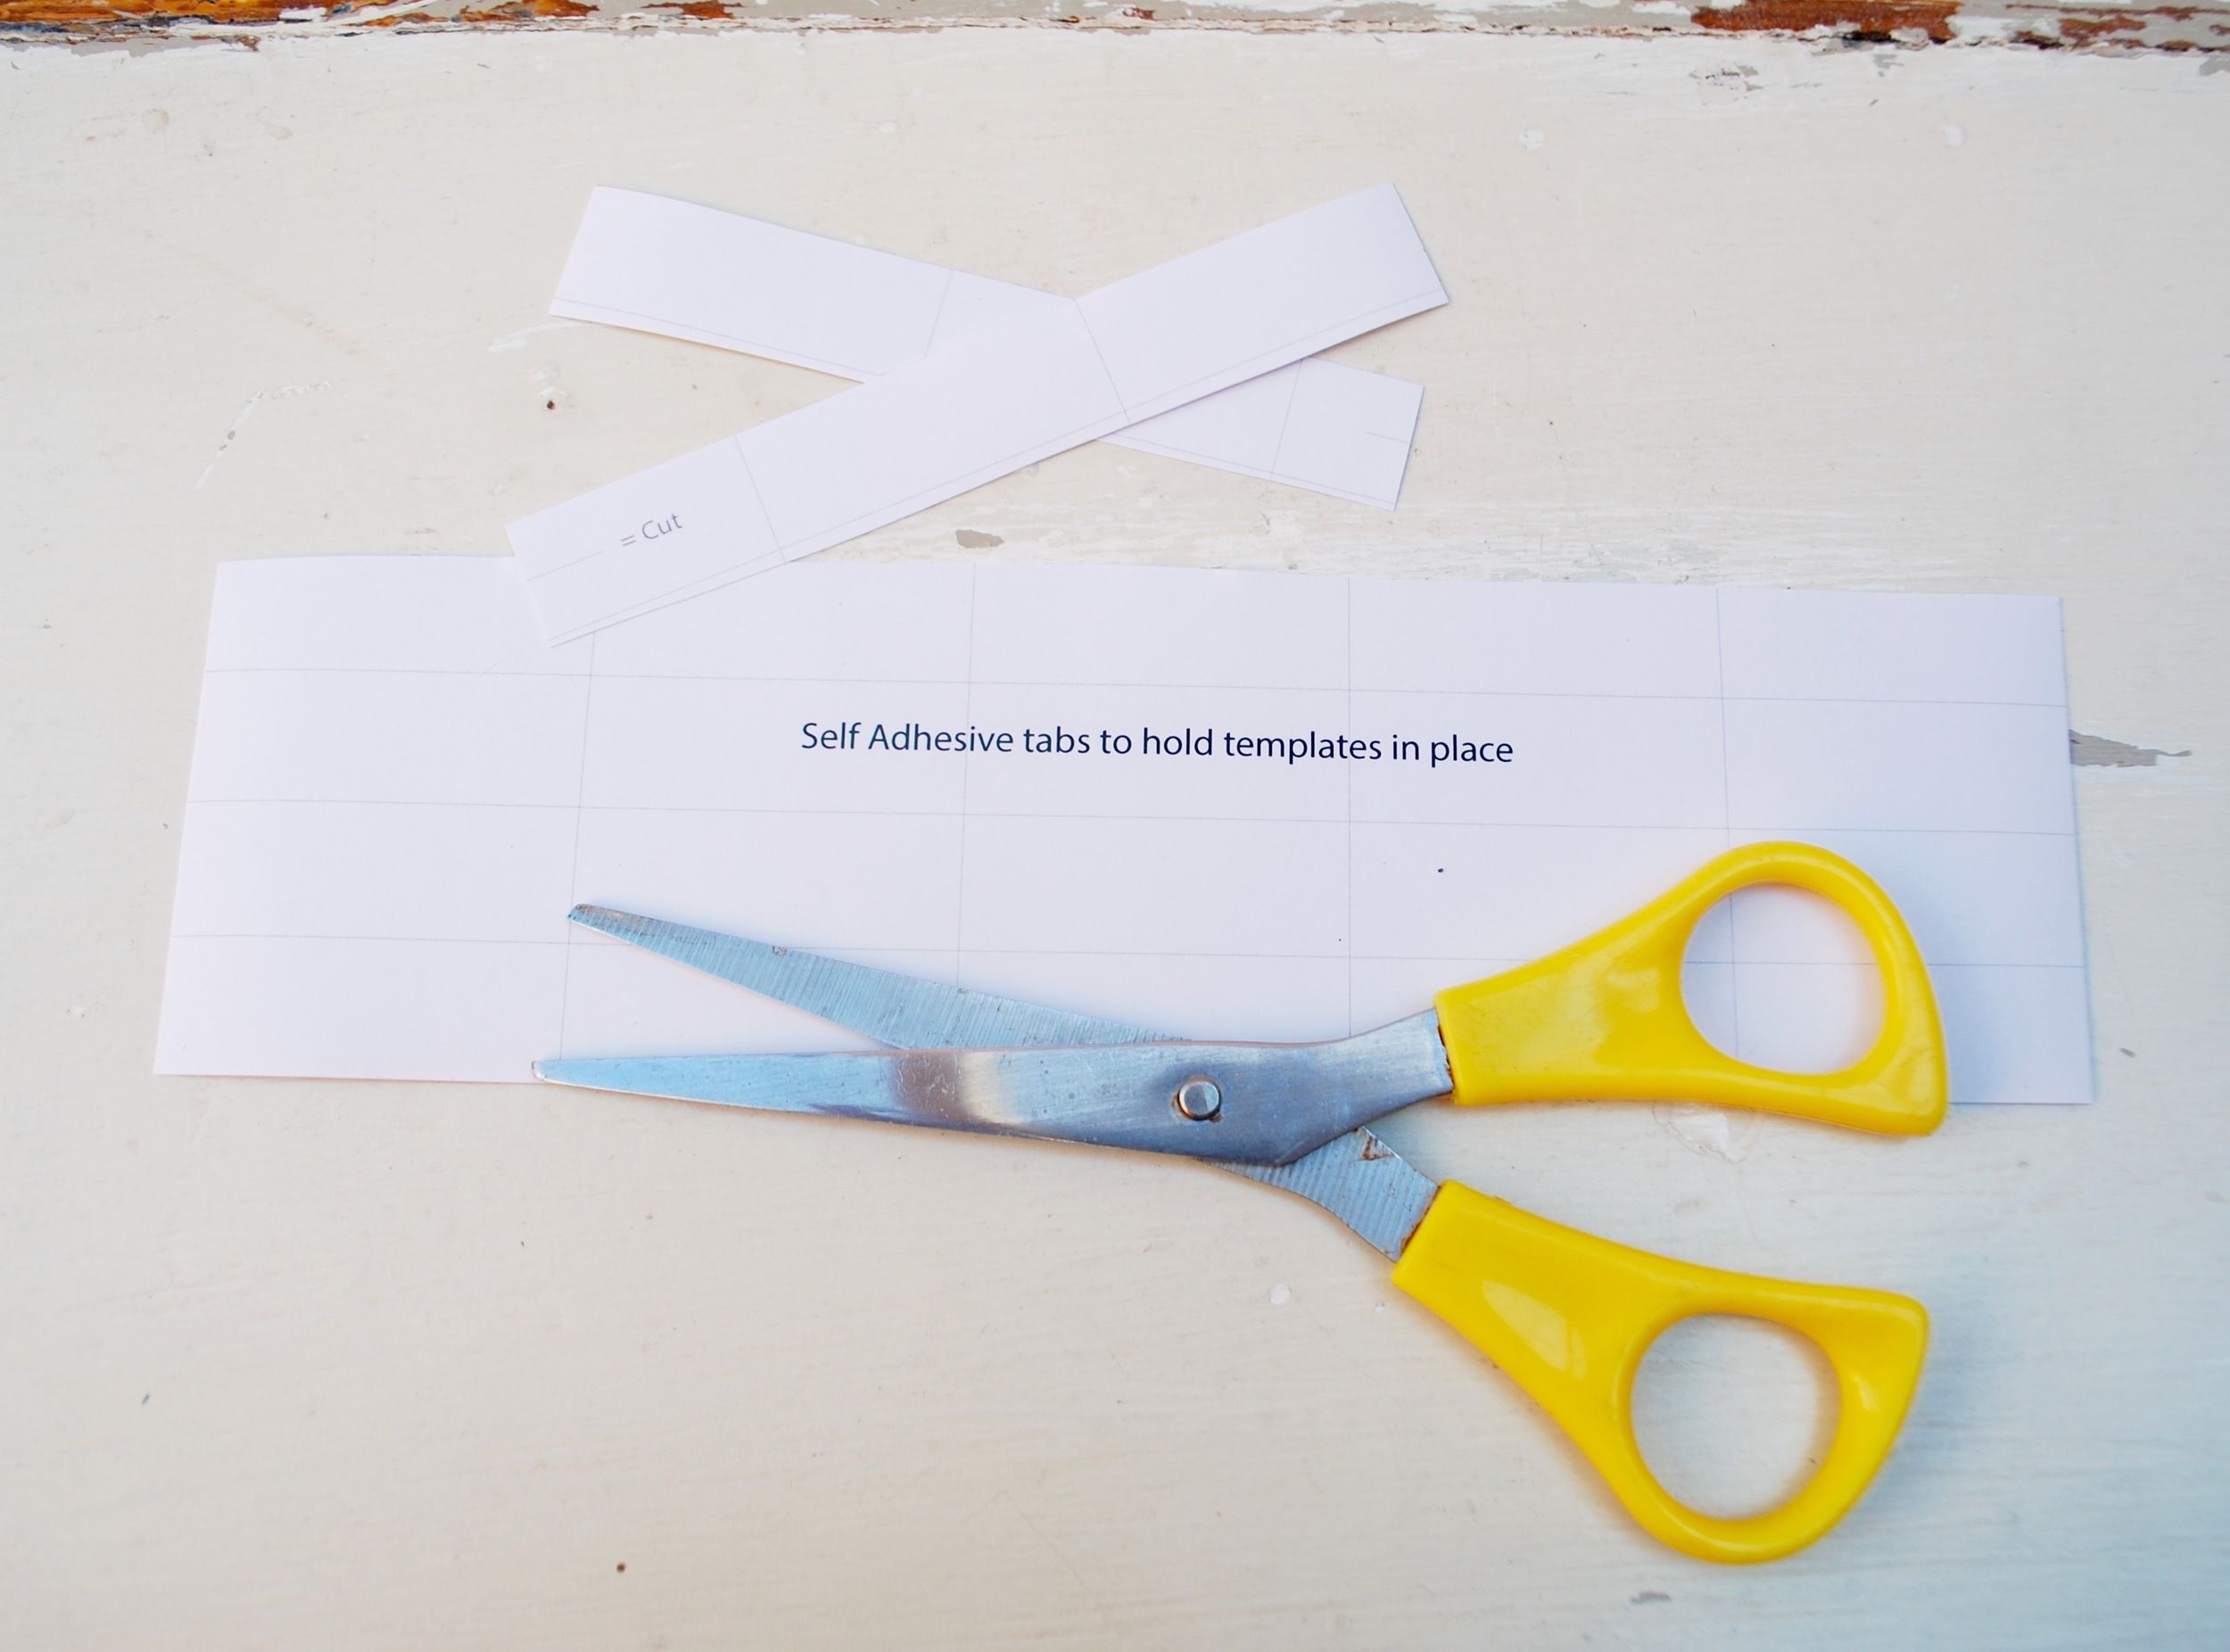
Cut your self adhesive tabs into strips.
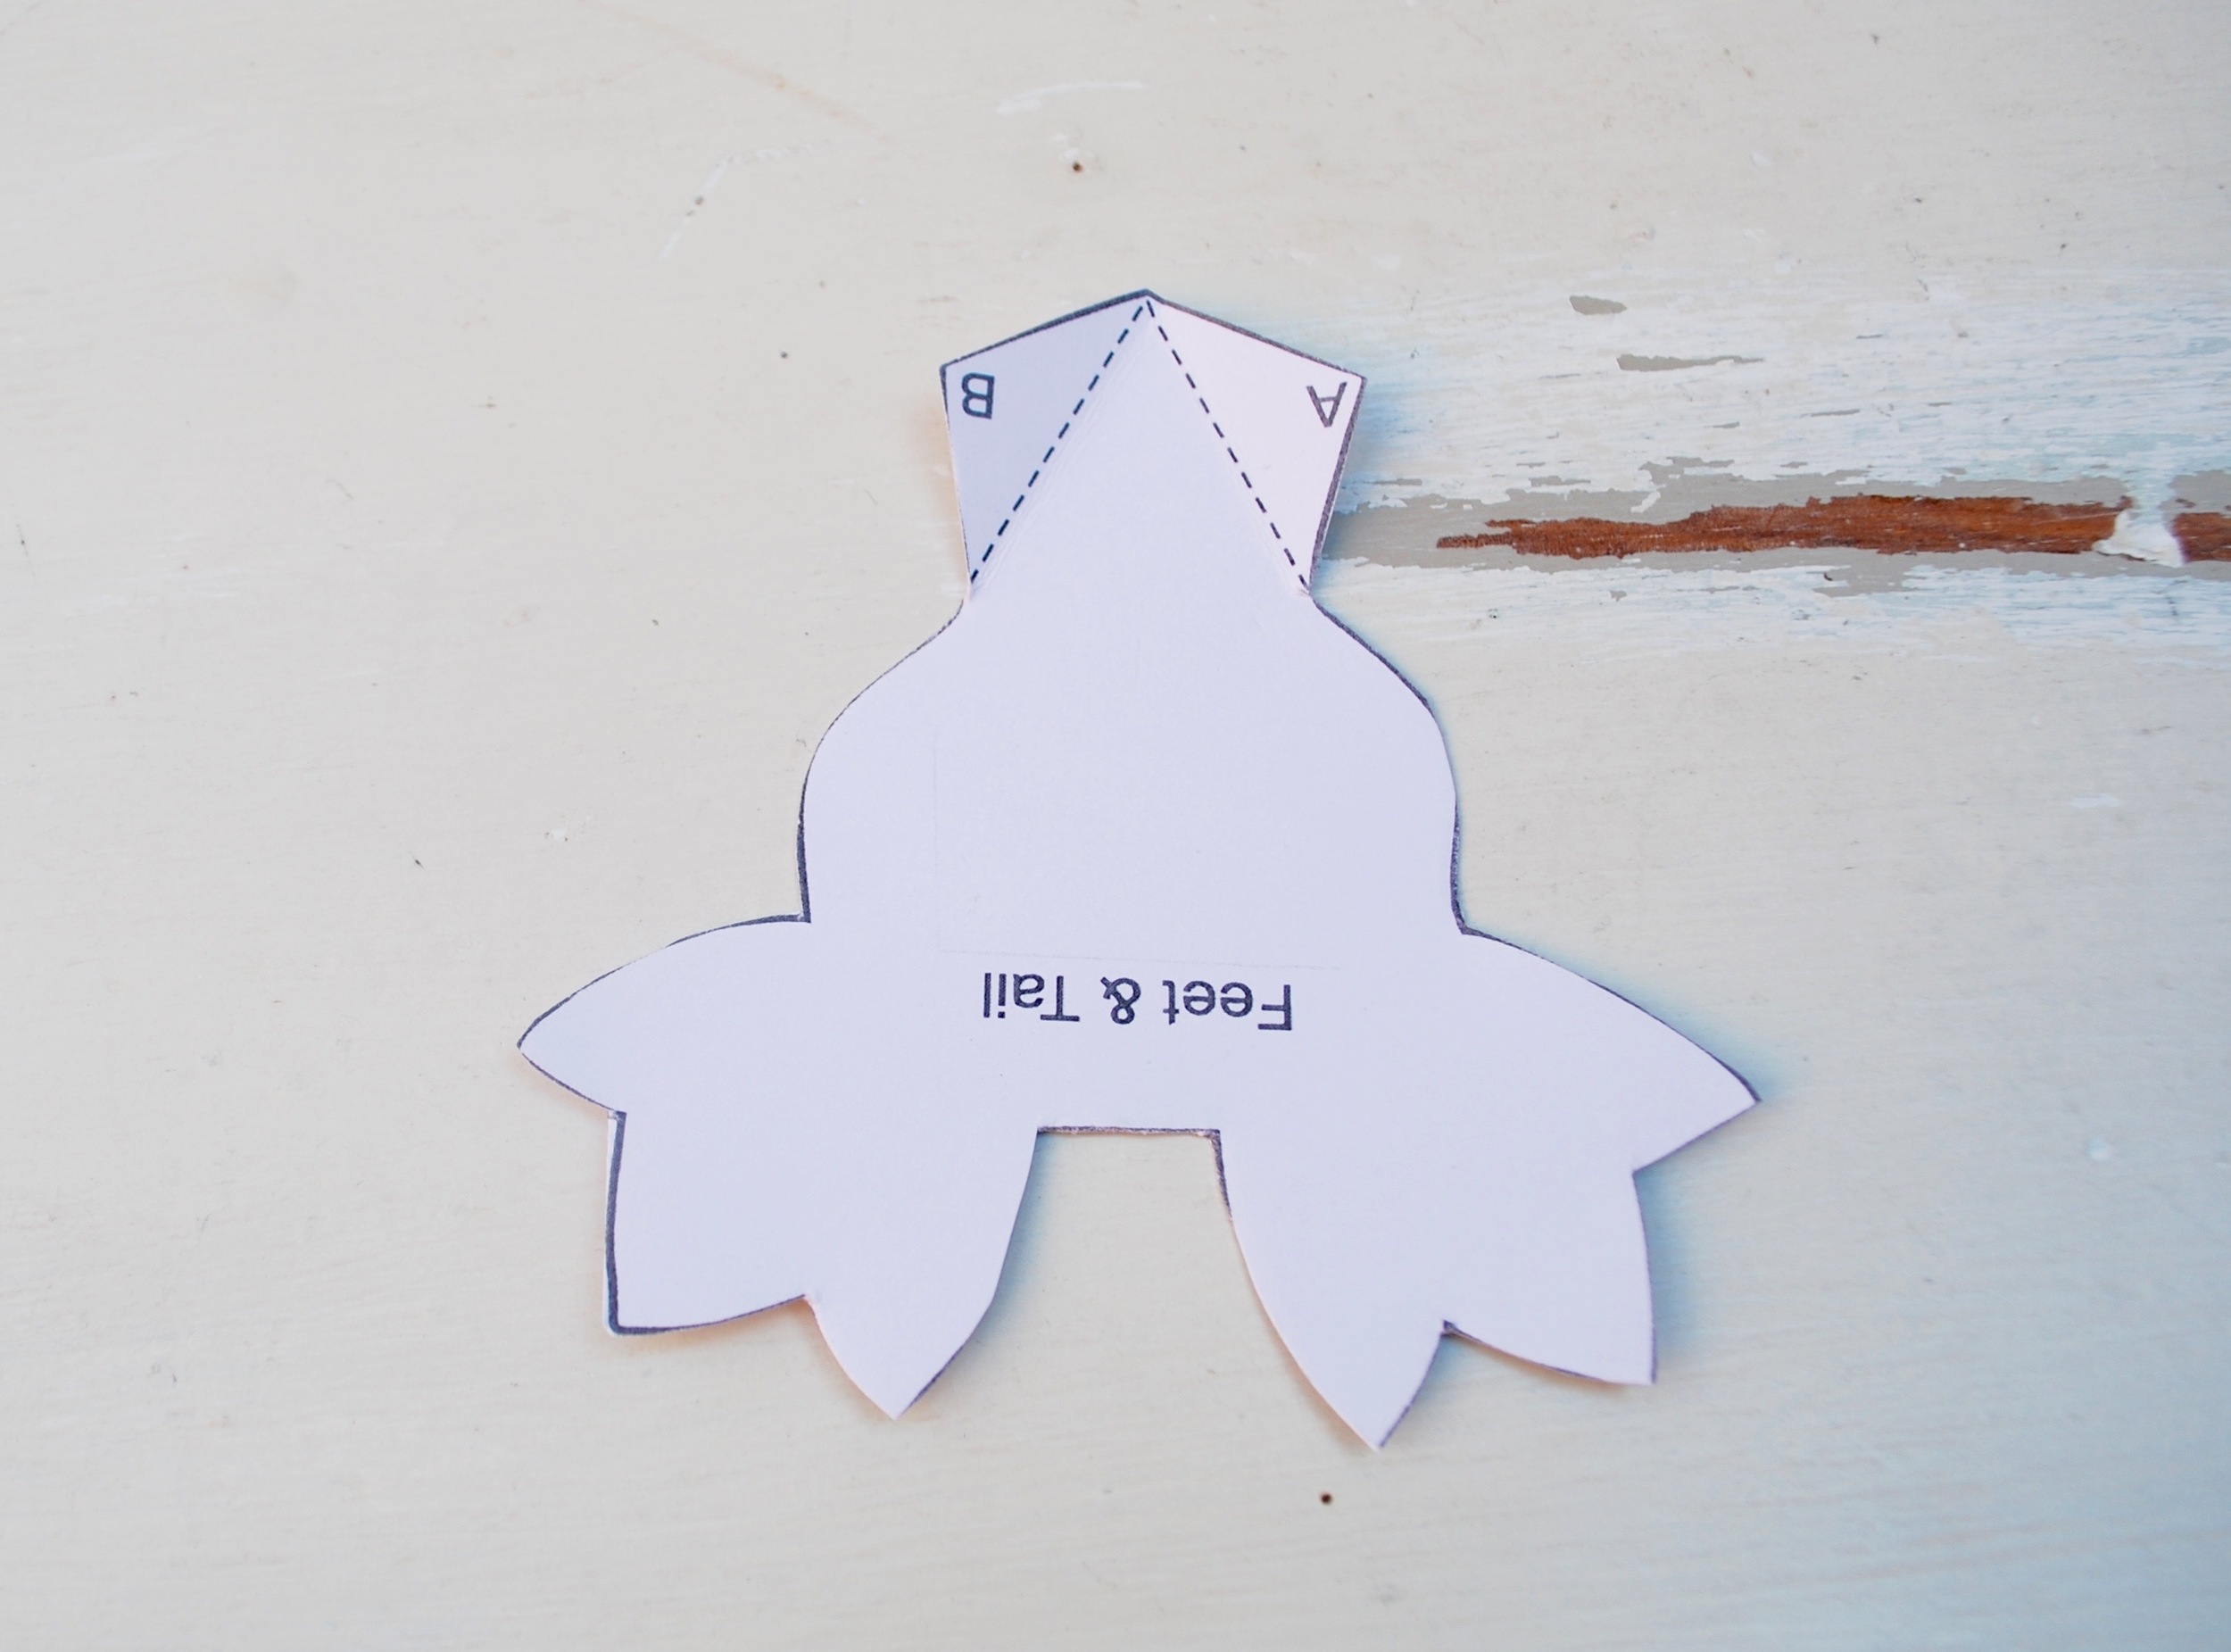
Begin with the feet and tail template by folding along the dotted line.
Using a self adhesive tab stick the tail together as shown

Notice how the paper can appear a bit wrinkly once it's dried. this is completely normal and will disappear once you have applied more layers of paper mache to the model.
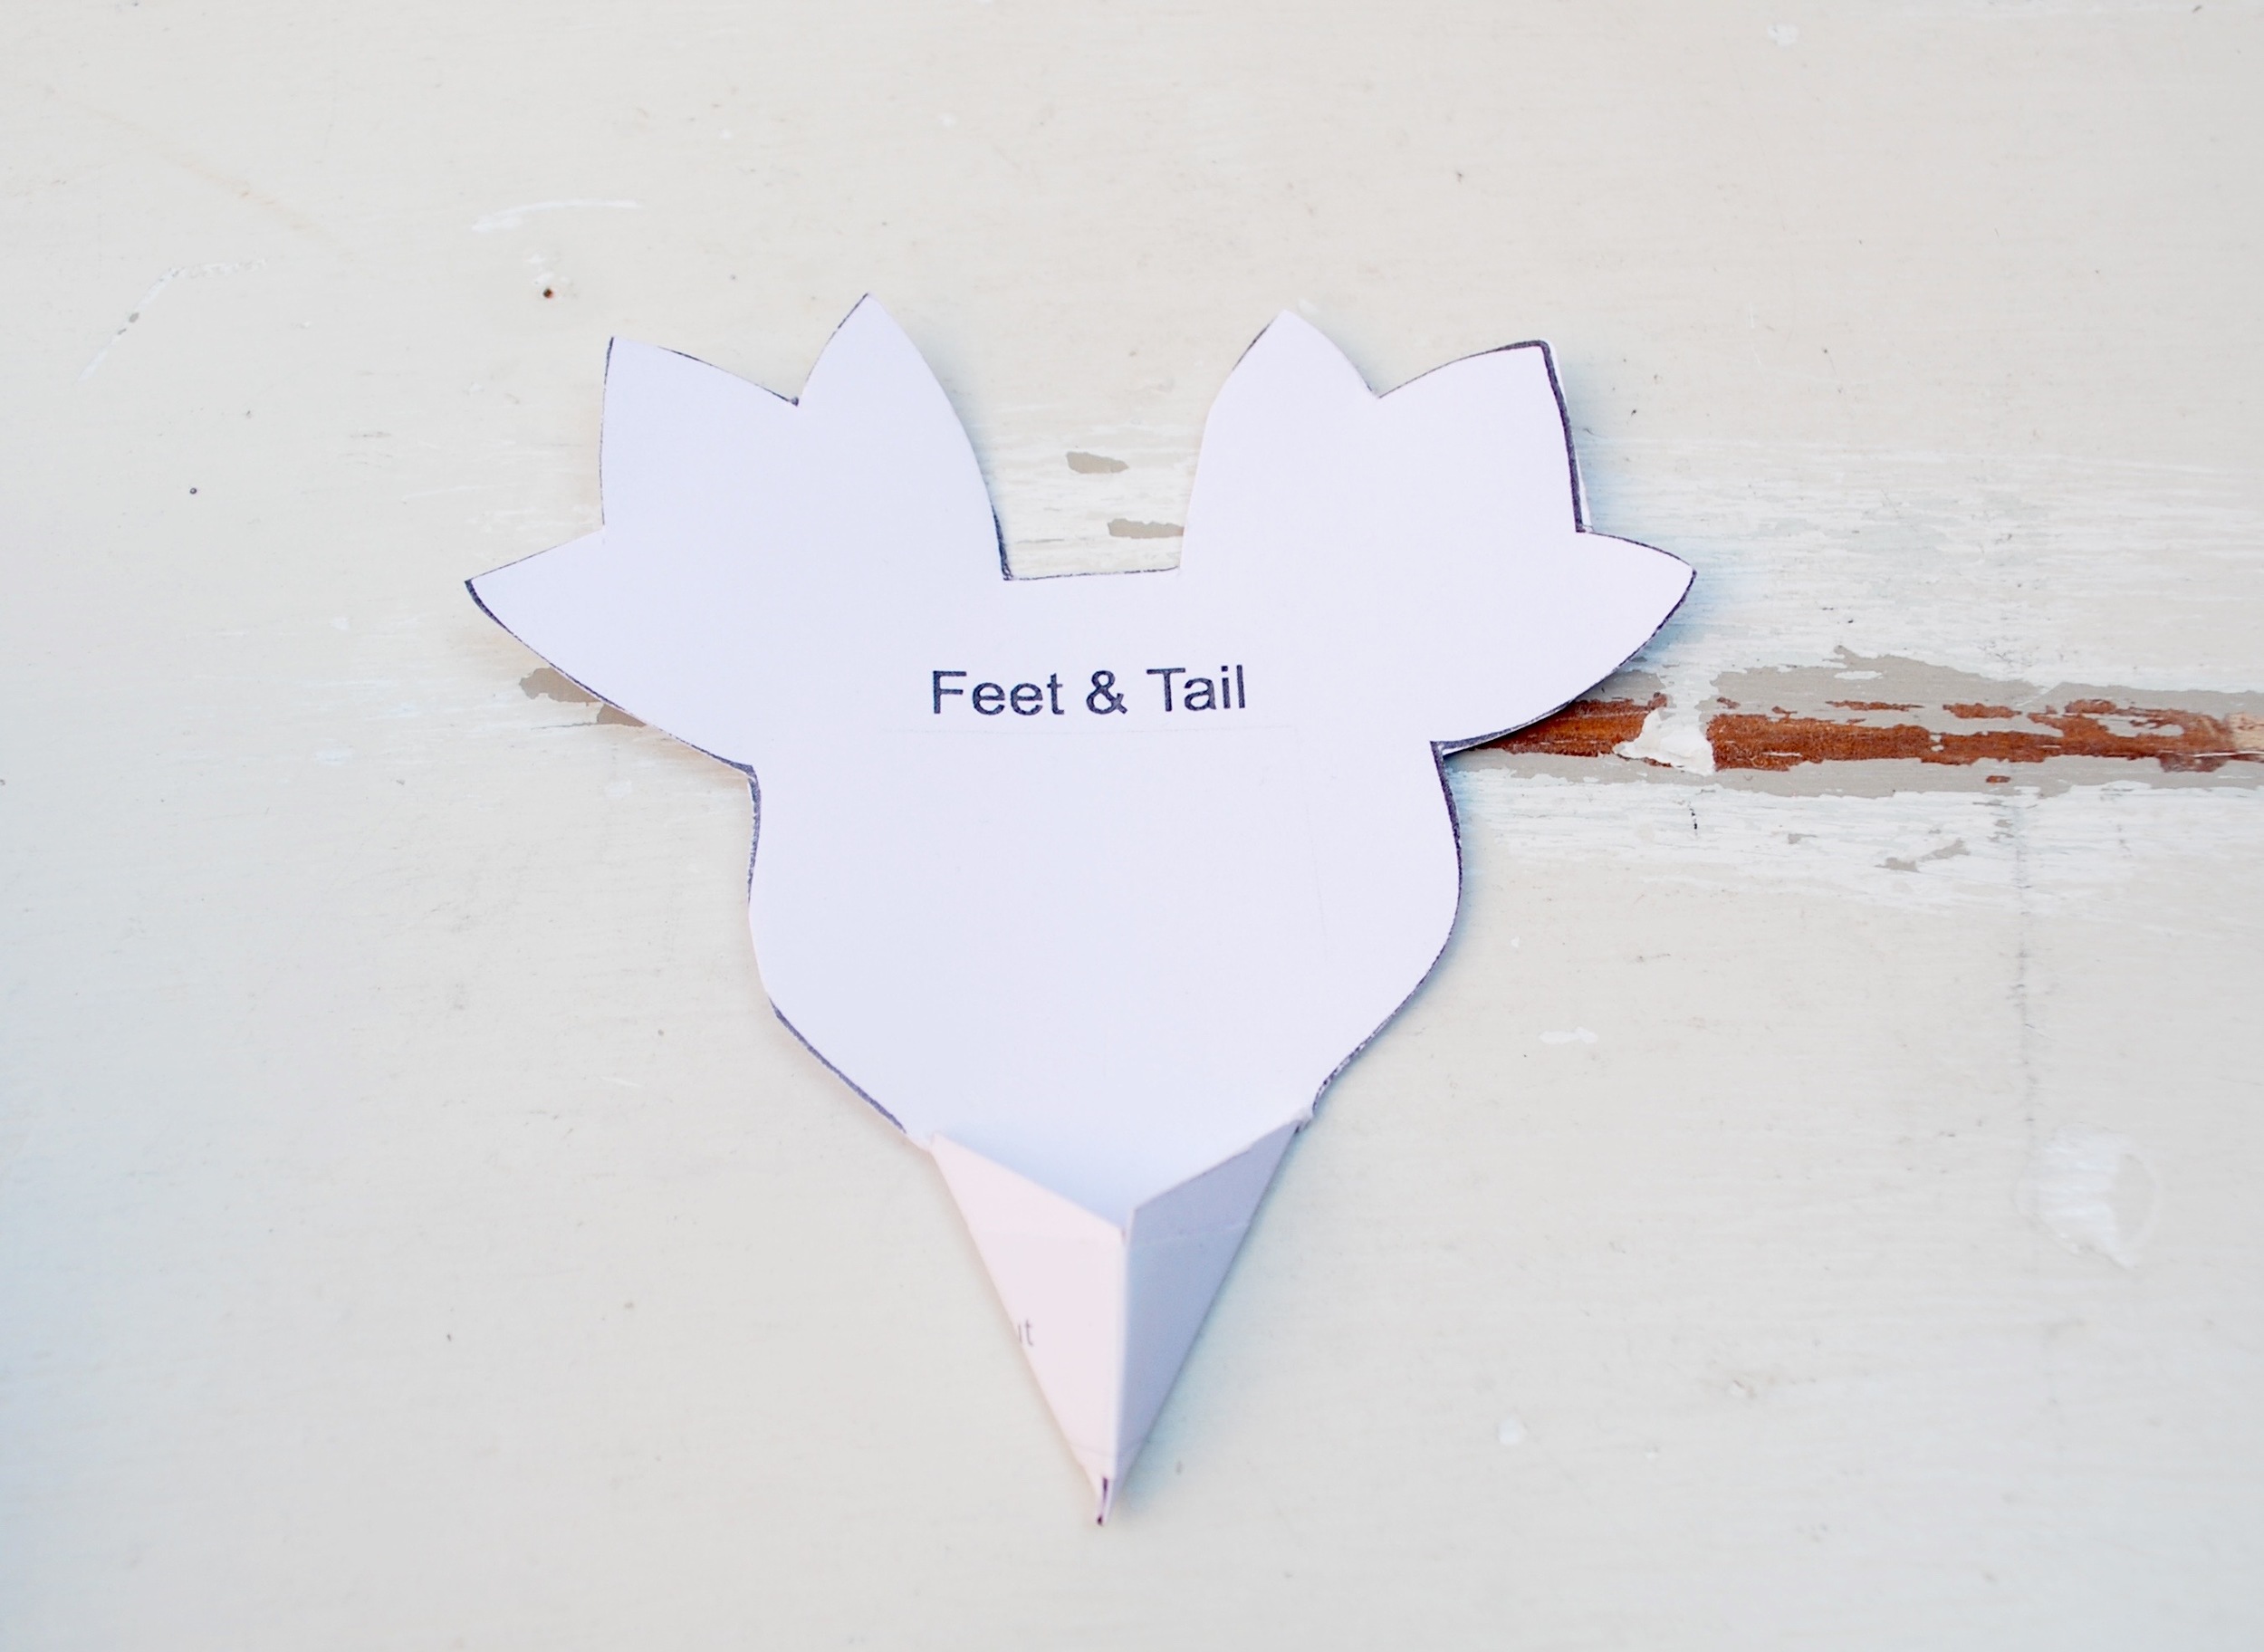
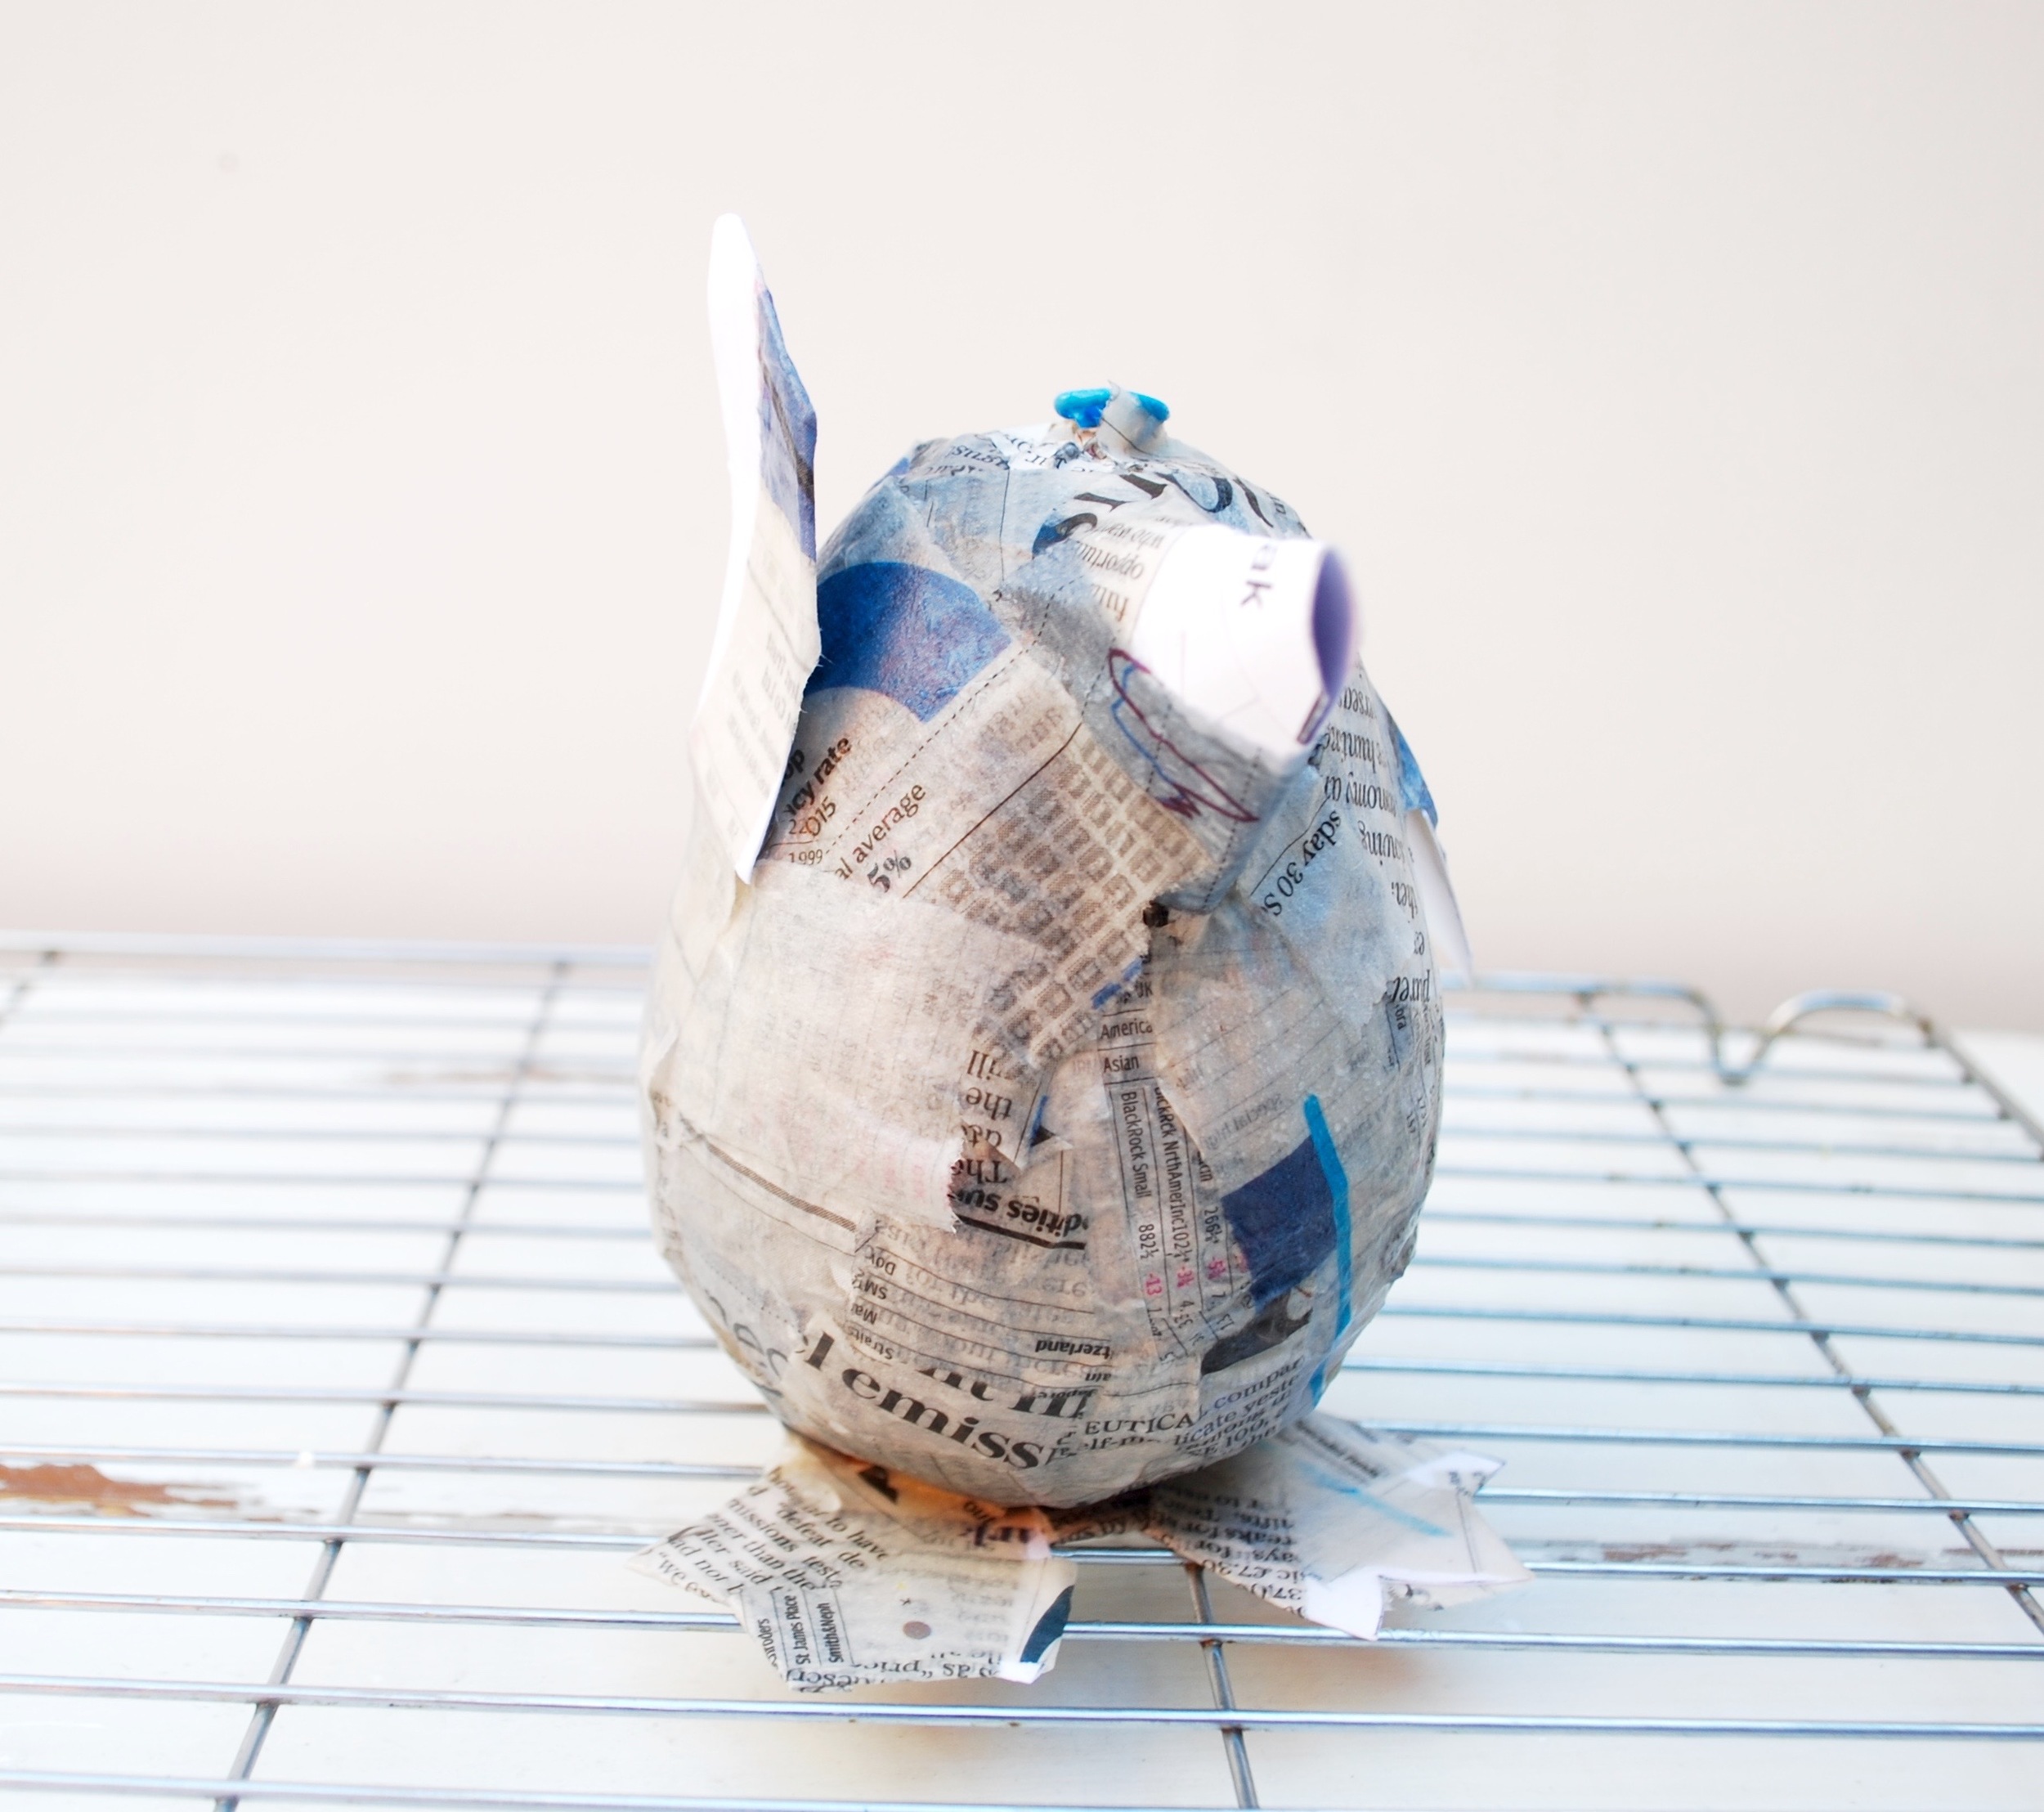
Position the body onto the feet and tail template making sure the tail rests against the base of the balloon body.
Notice the fat end of the balloon forms the base of the body.

Gently.....GENTLY (!) press the body onto the feet and tail template so that the balloon very slightly flattens. This helps the penguin stand up straight (although there is nothing wrong with a wonky penguin!)
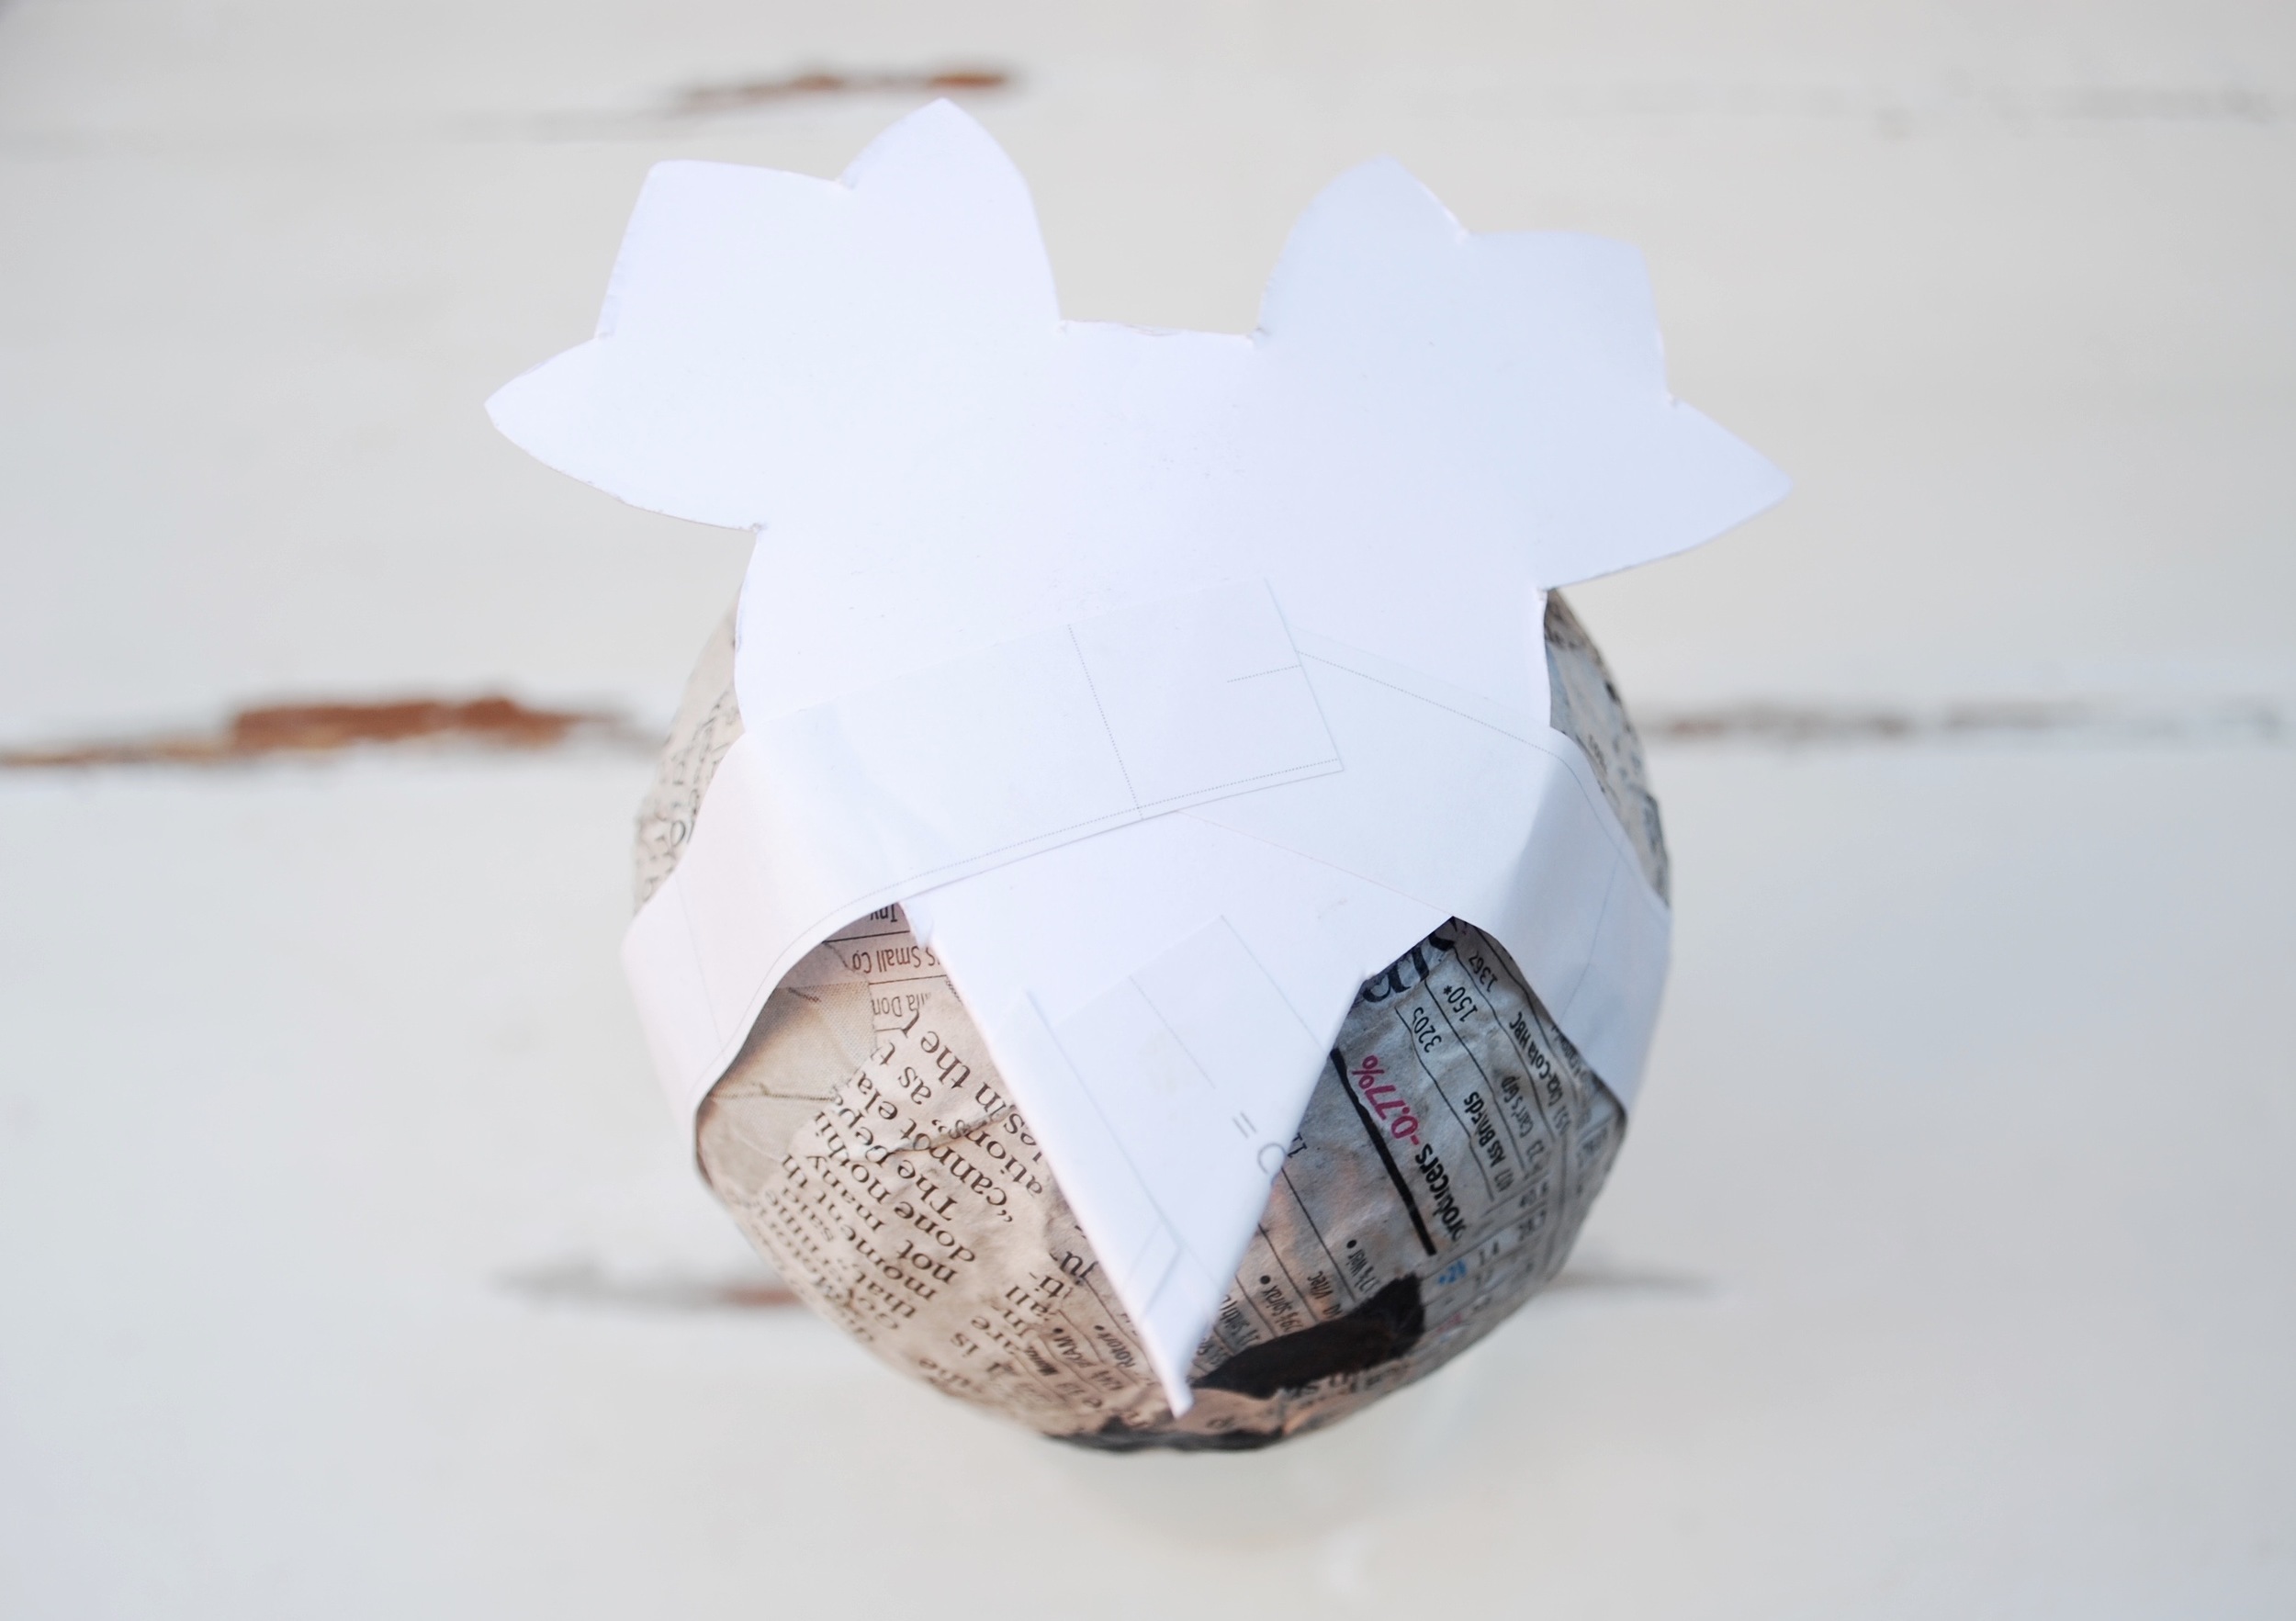
Fix the tail and feet template into position using long strips of the adhesive tabs.
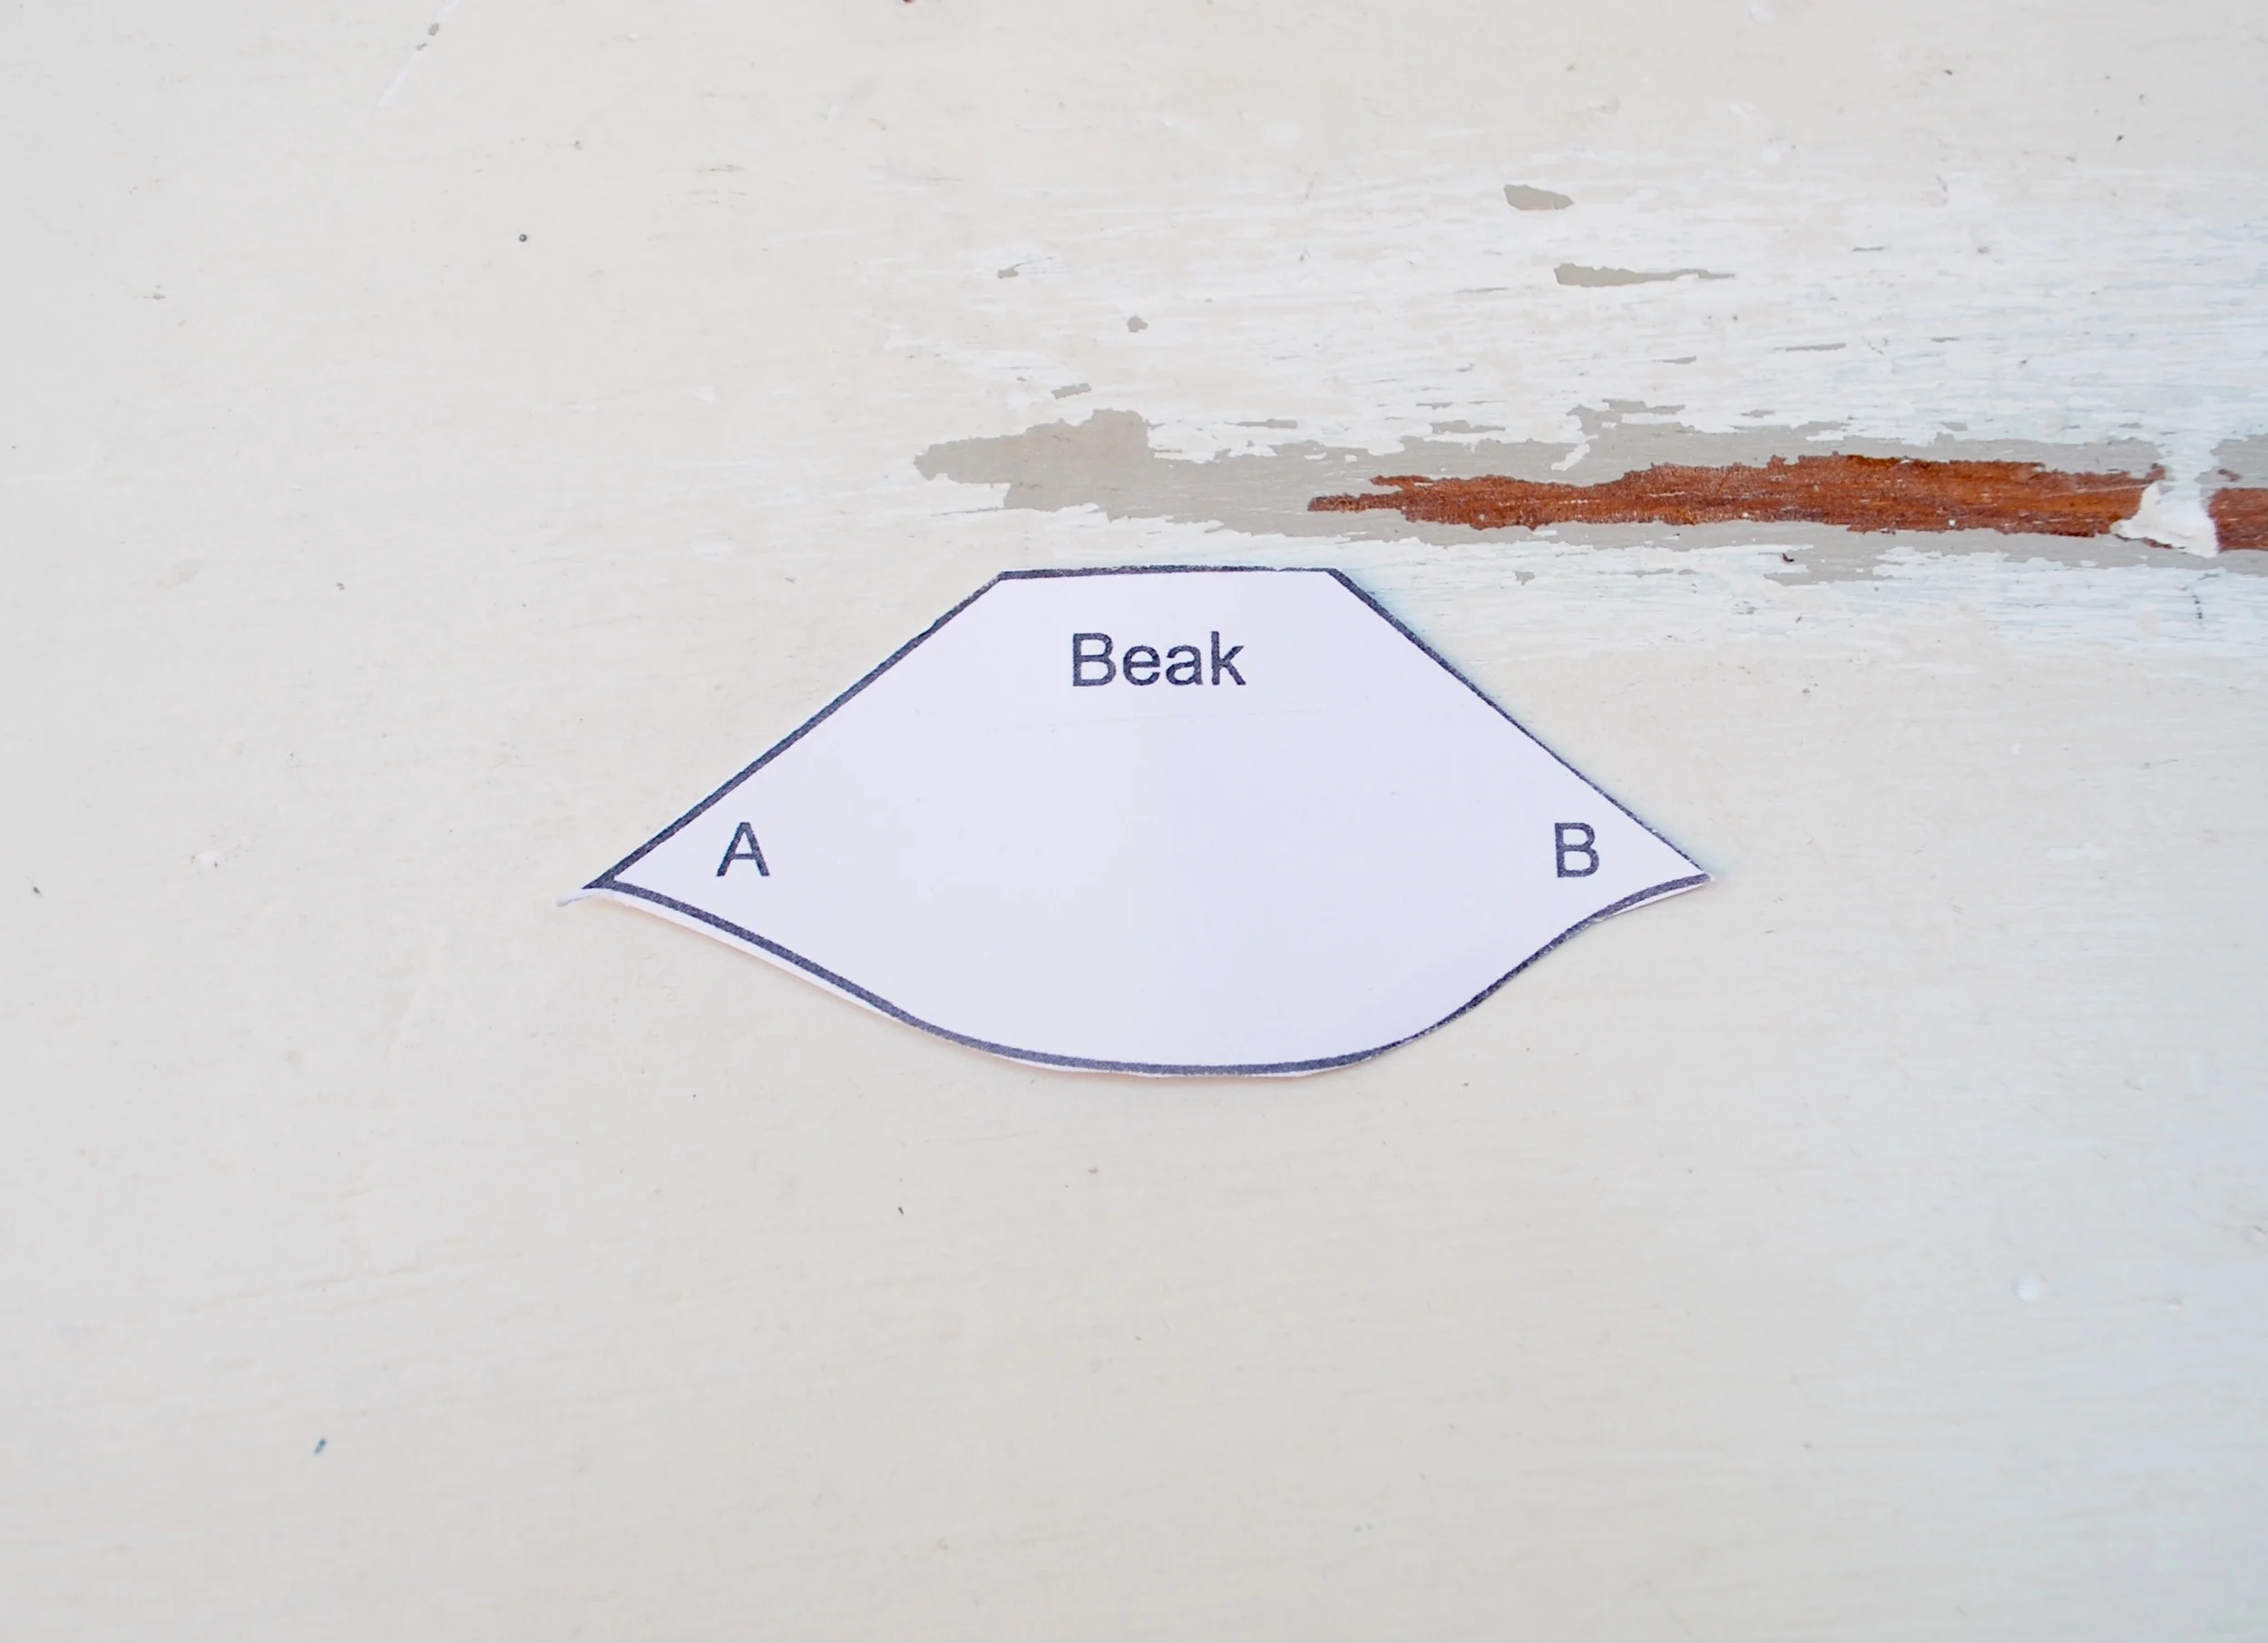
Next you need to take the beak template and join A to B. Try to avoid folding it with a crease.
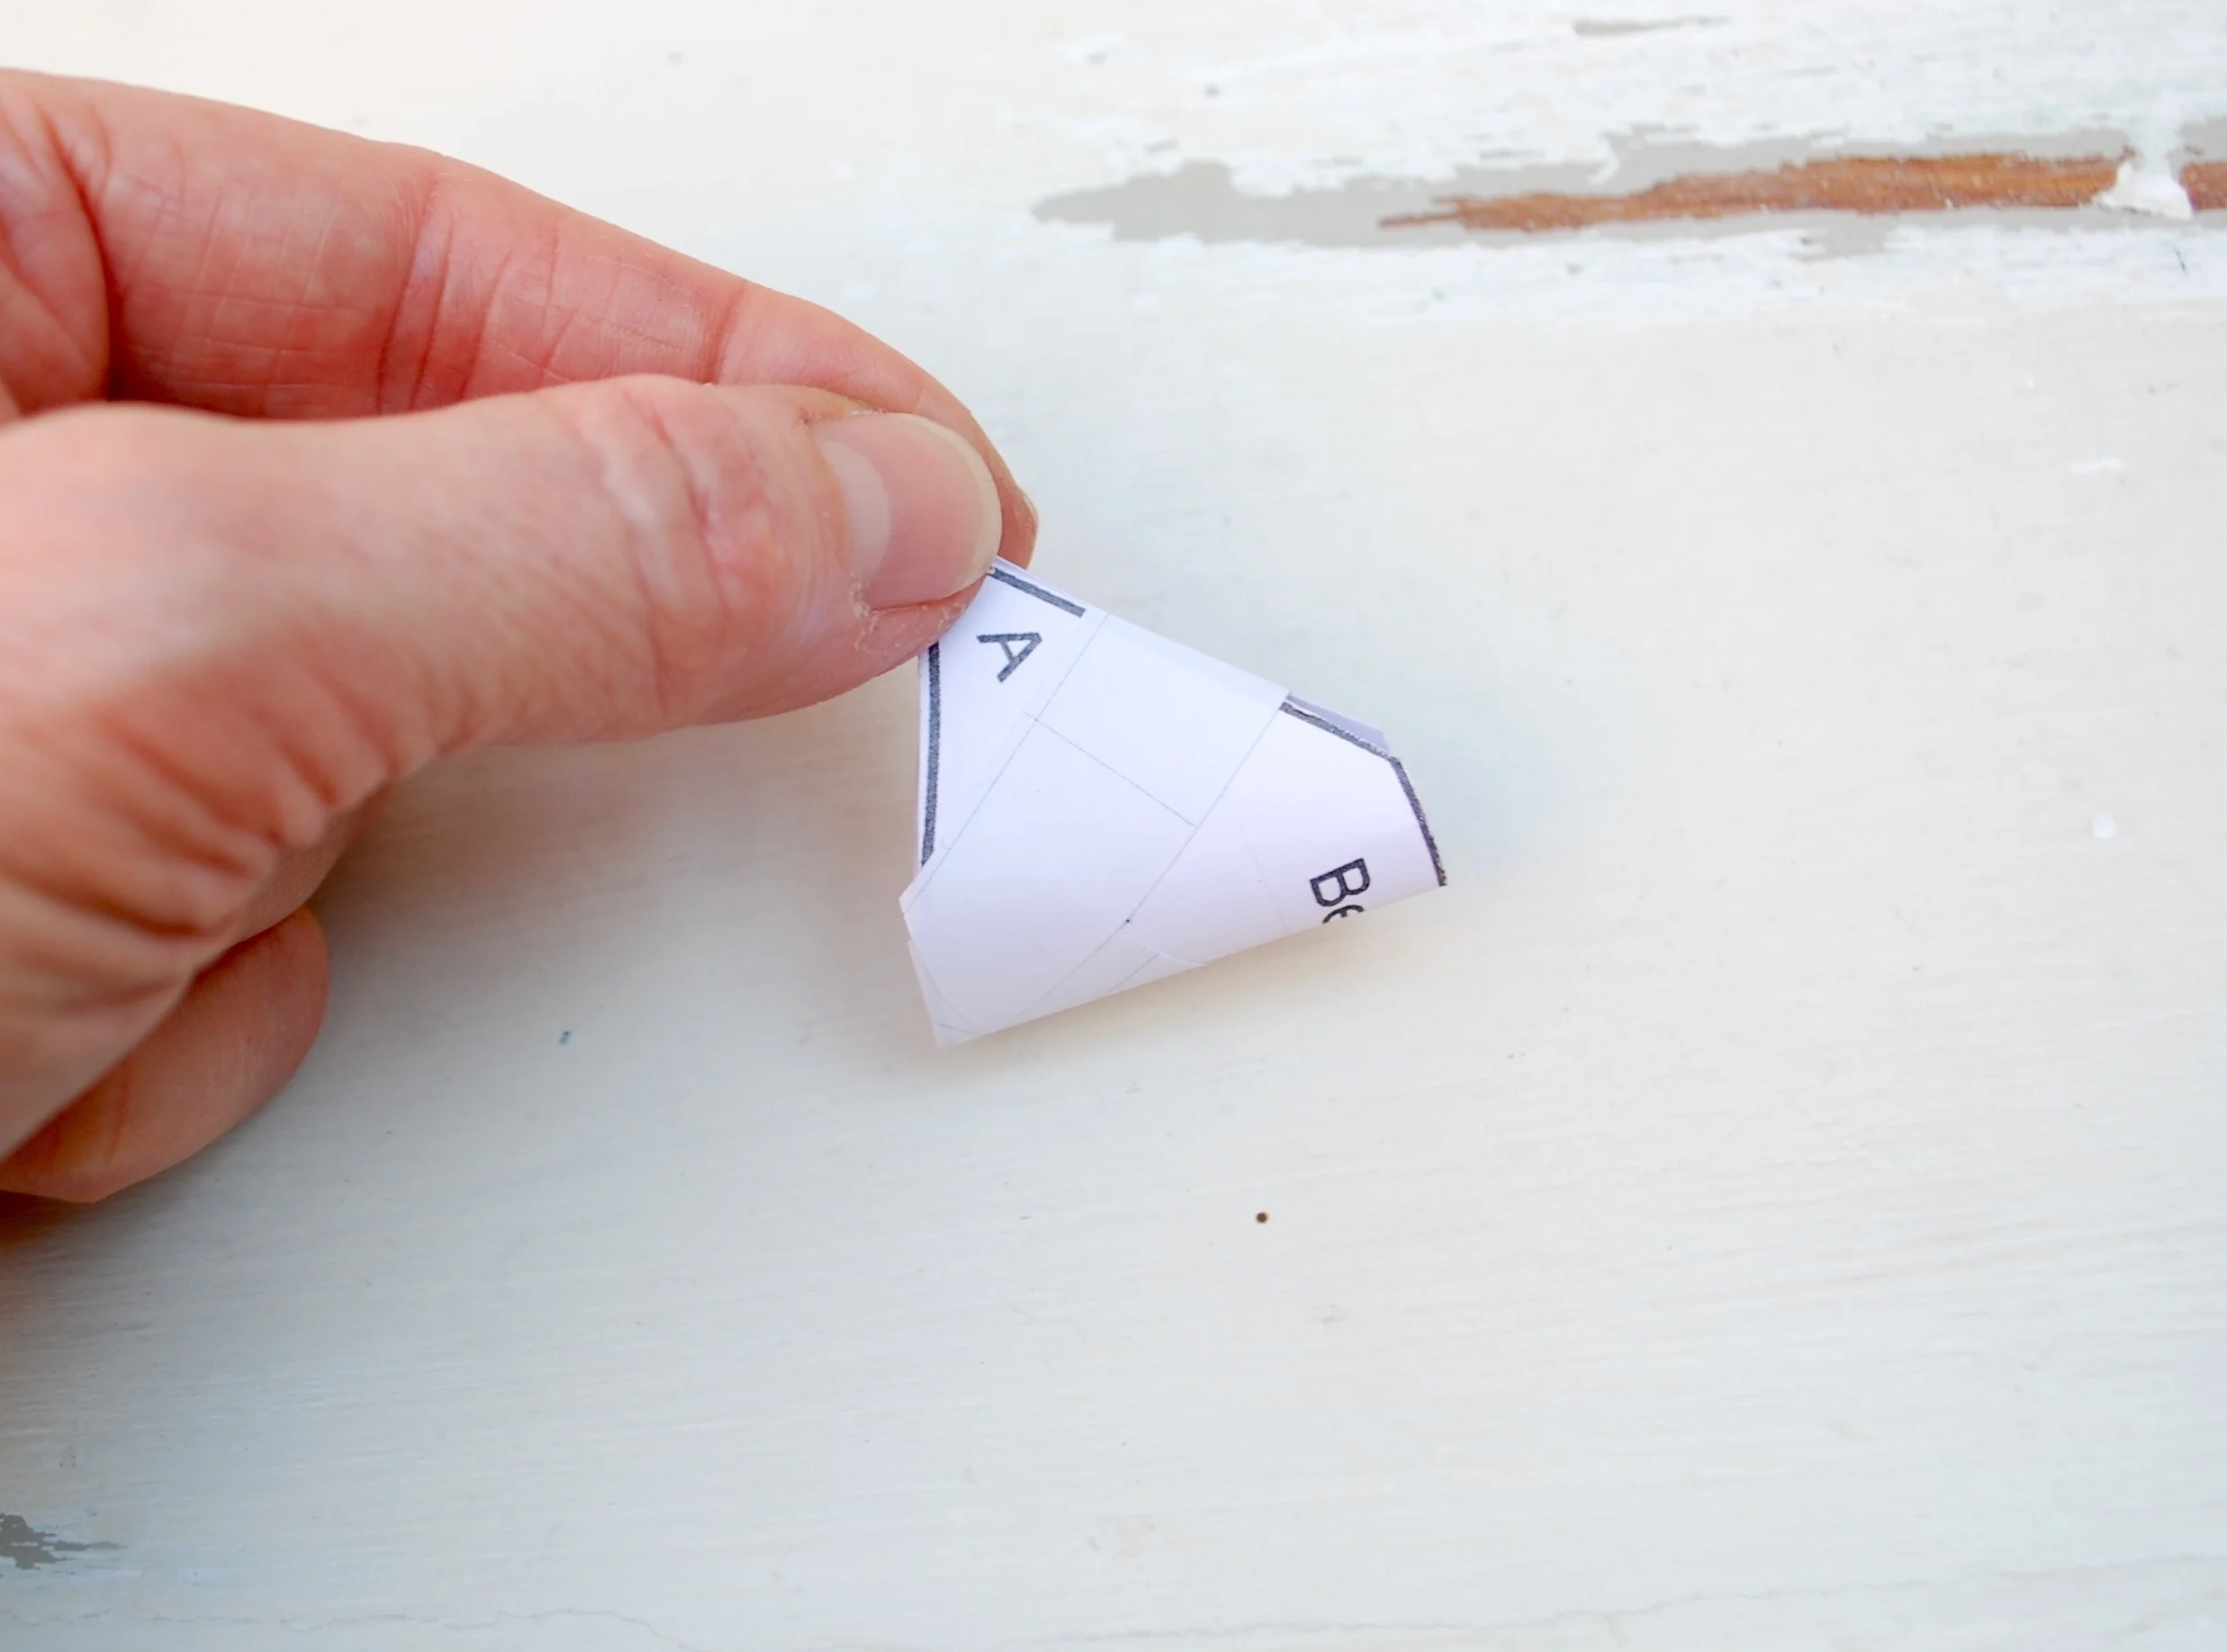
Secure A to B using the adhesive tabs.

See how the two edges are joined creating a curved beak template.
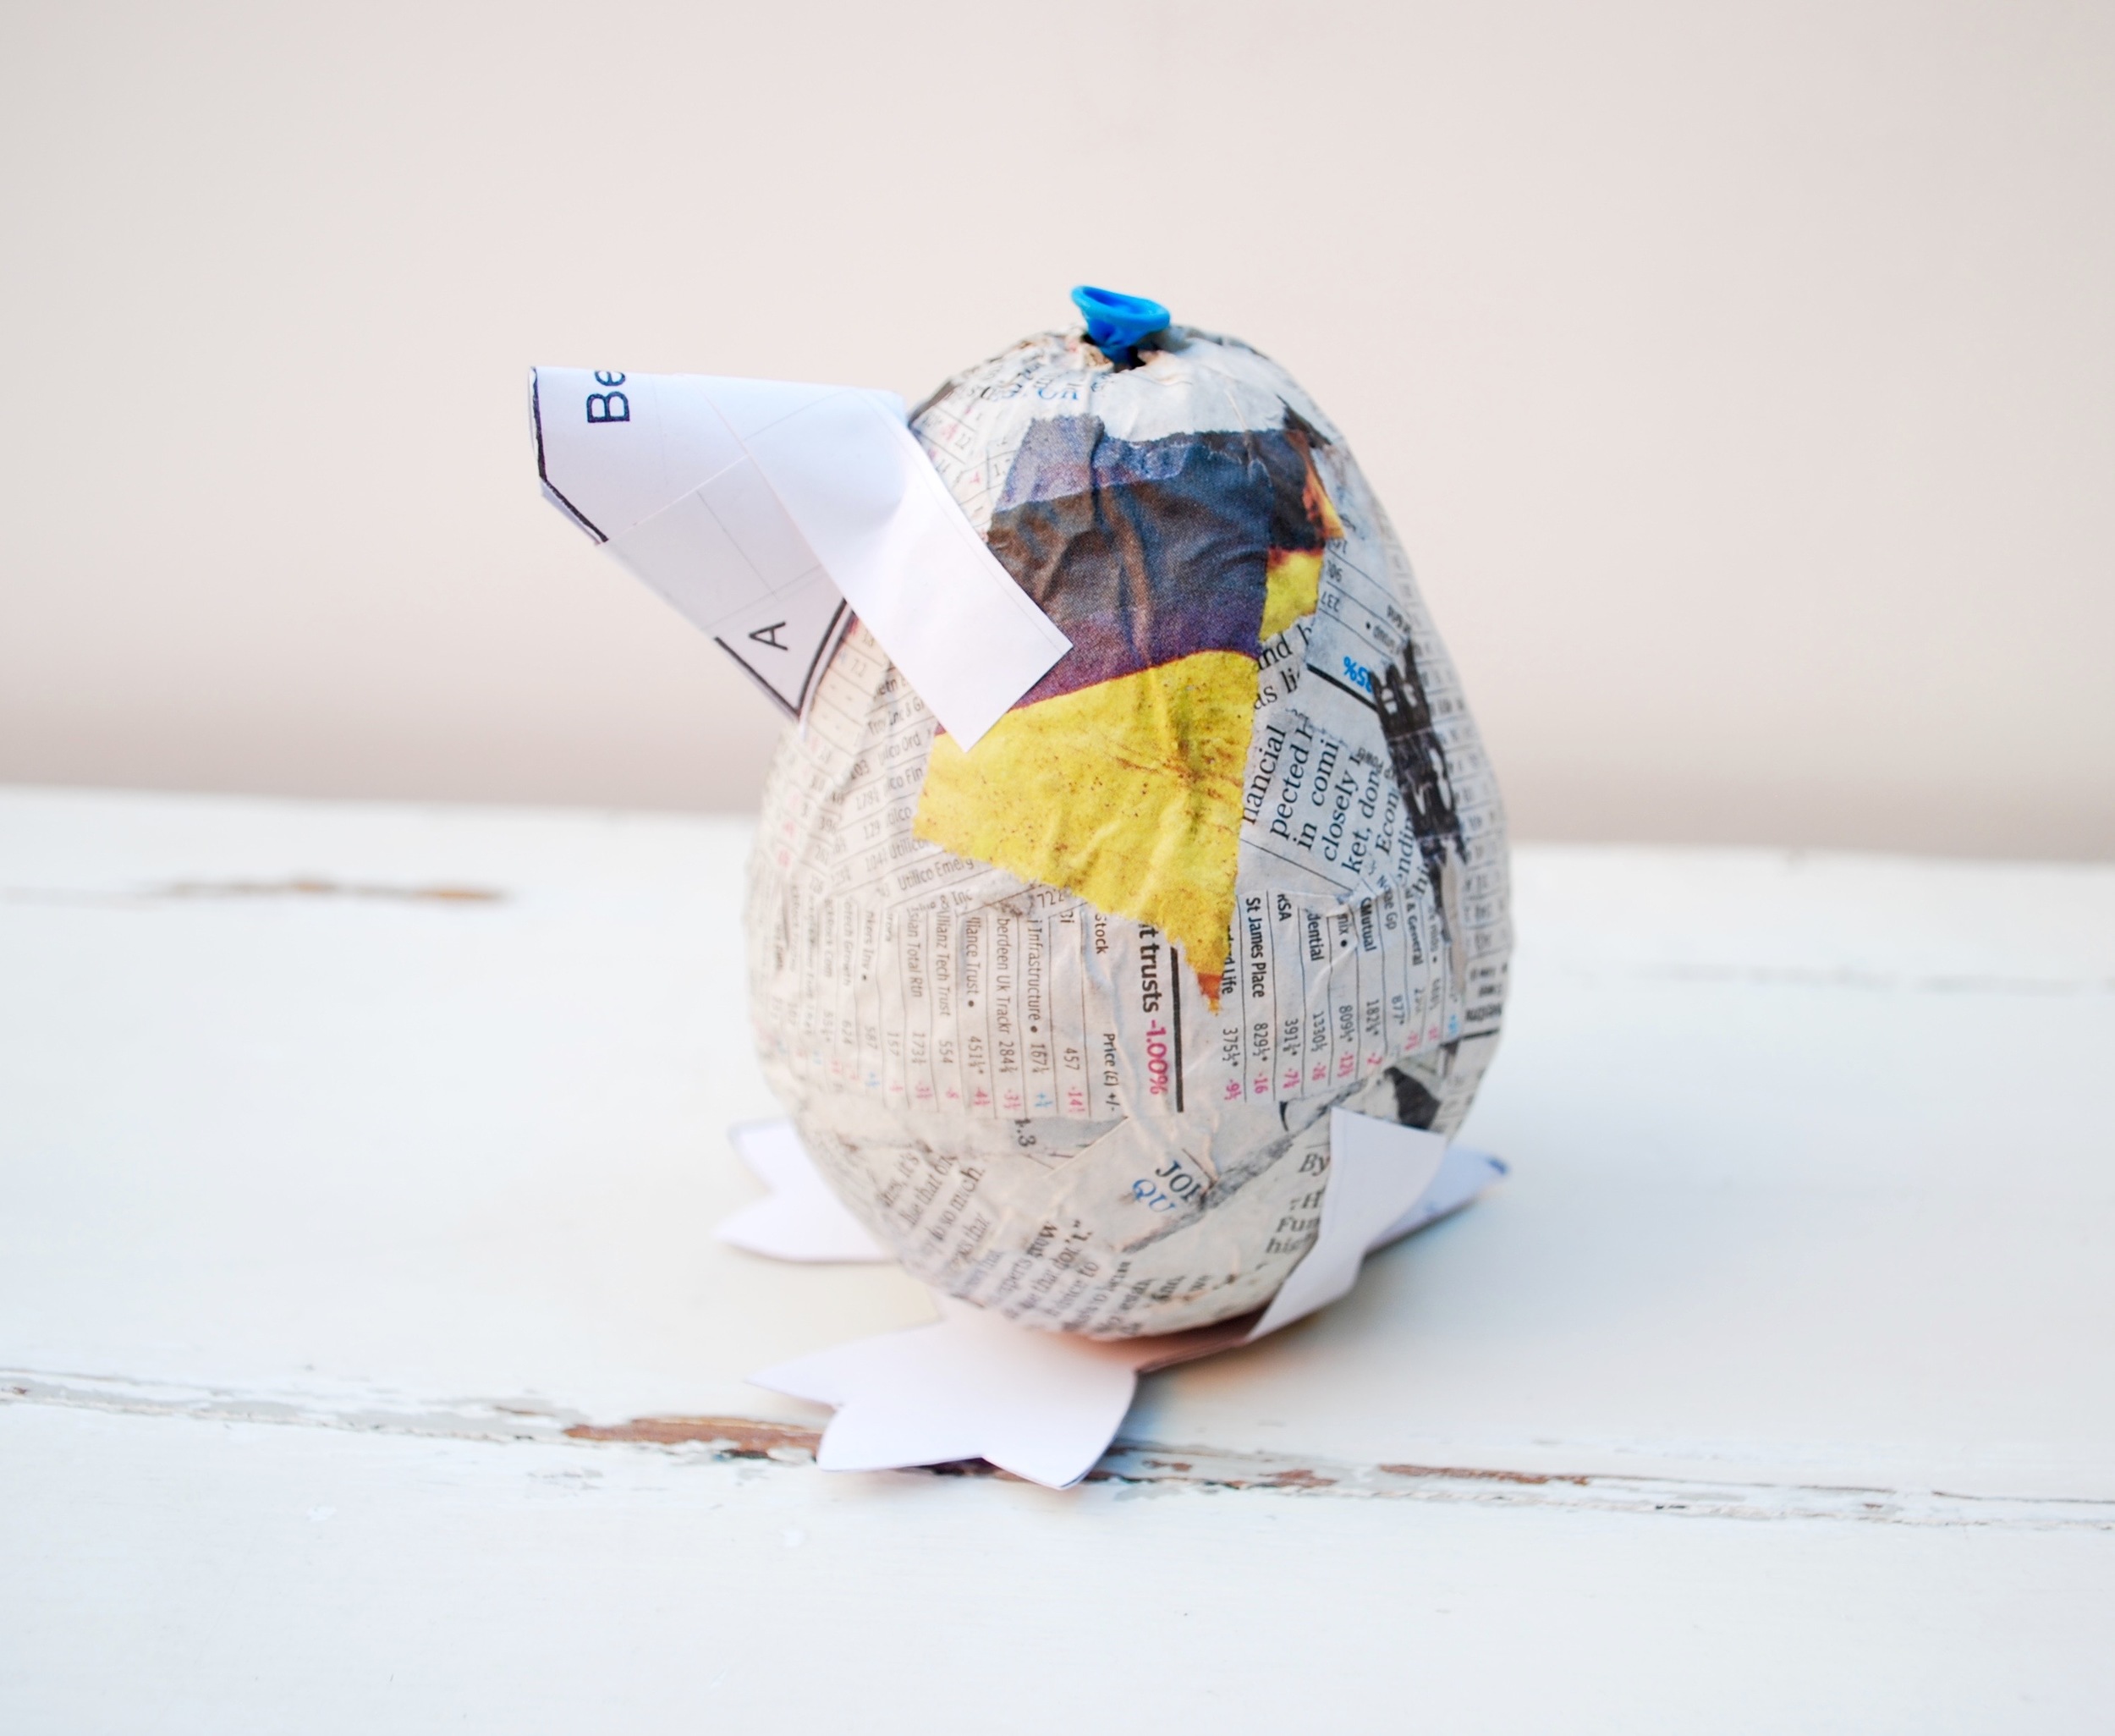
Using the adhesive tabs, fix the beak to the ballon to create the head.

Poor Penguin....he looks like he's all bandaged up!

Dip strips of news paper into the paste and paper over the templates.
If the body part gets too wet from the freshly applied paste you may find it goes soft and collapses slightly under your fingers. If this happens stop what you are doing and allow the model to dry before continuing.
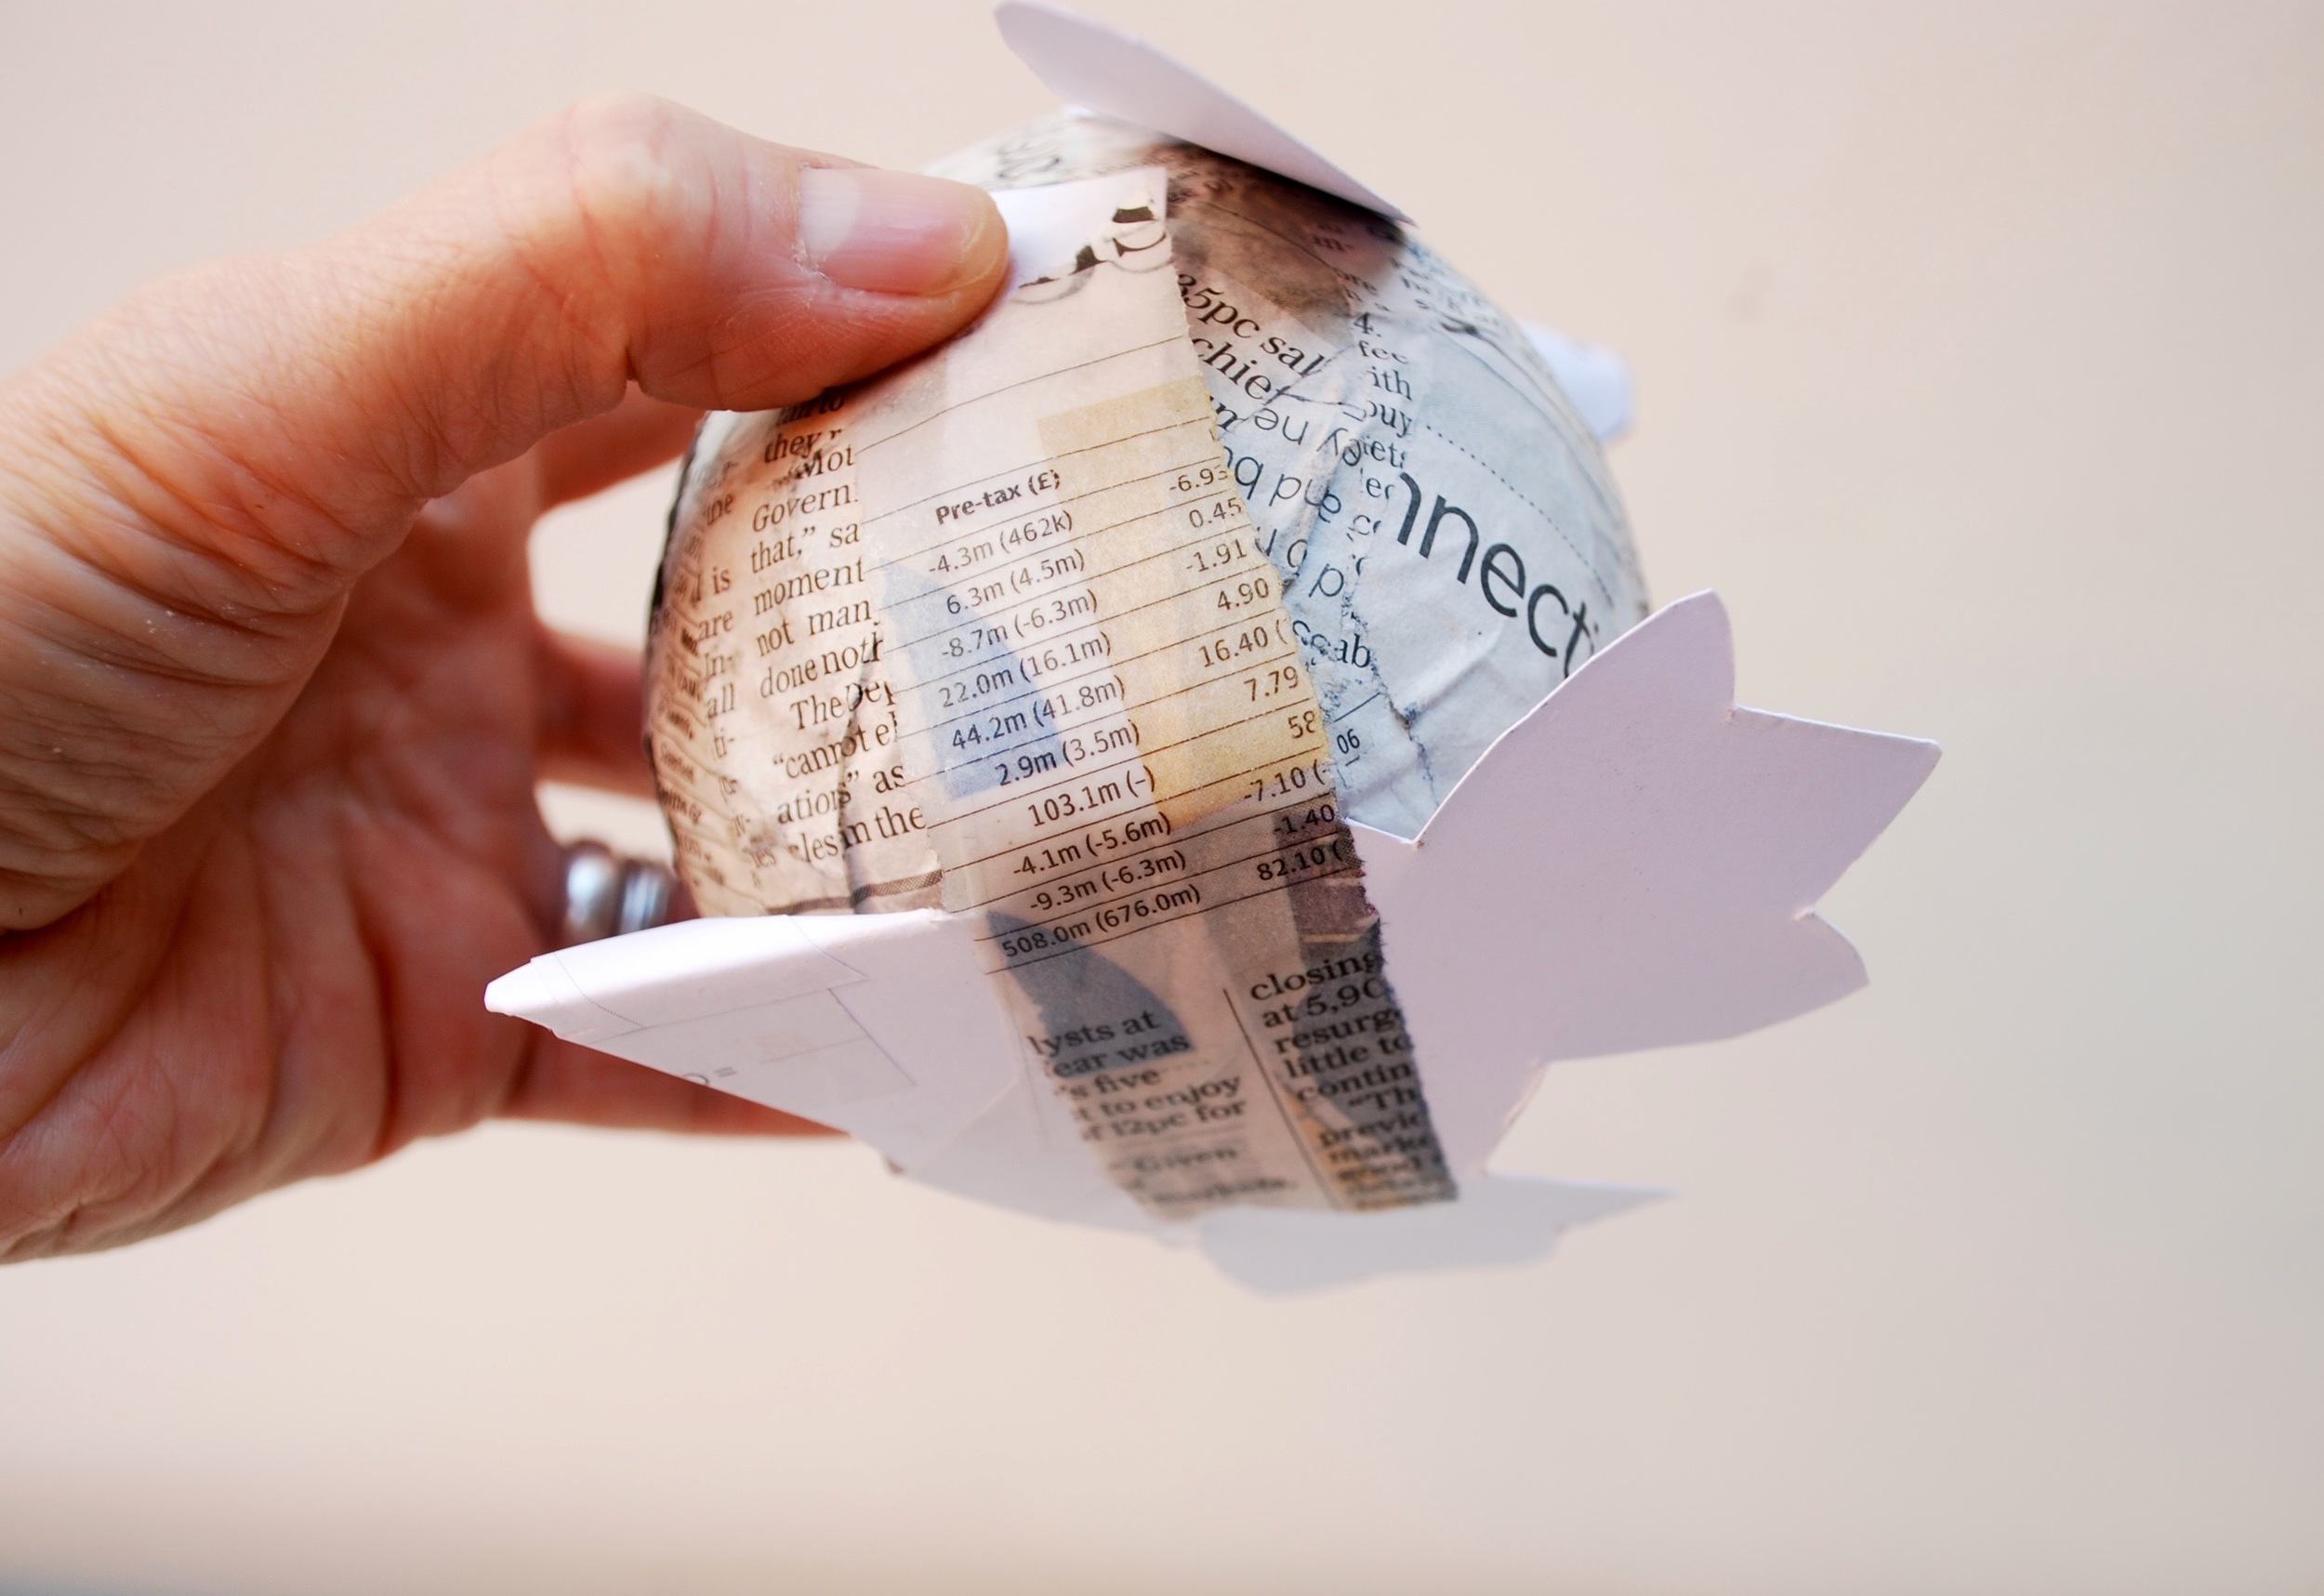
Use long strips of newspaper dipped into paste to secure the templates to the body.
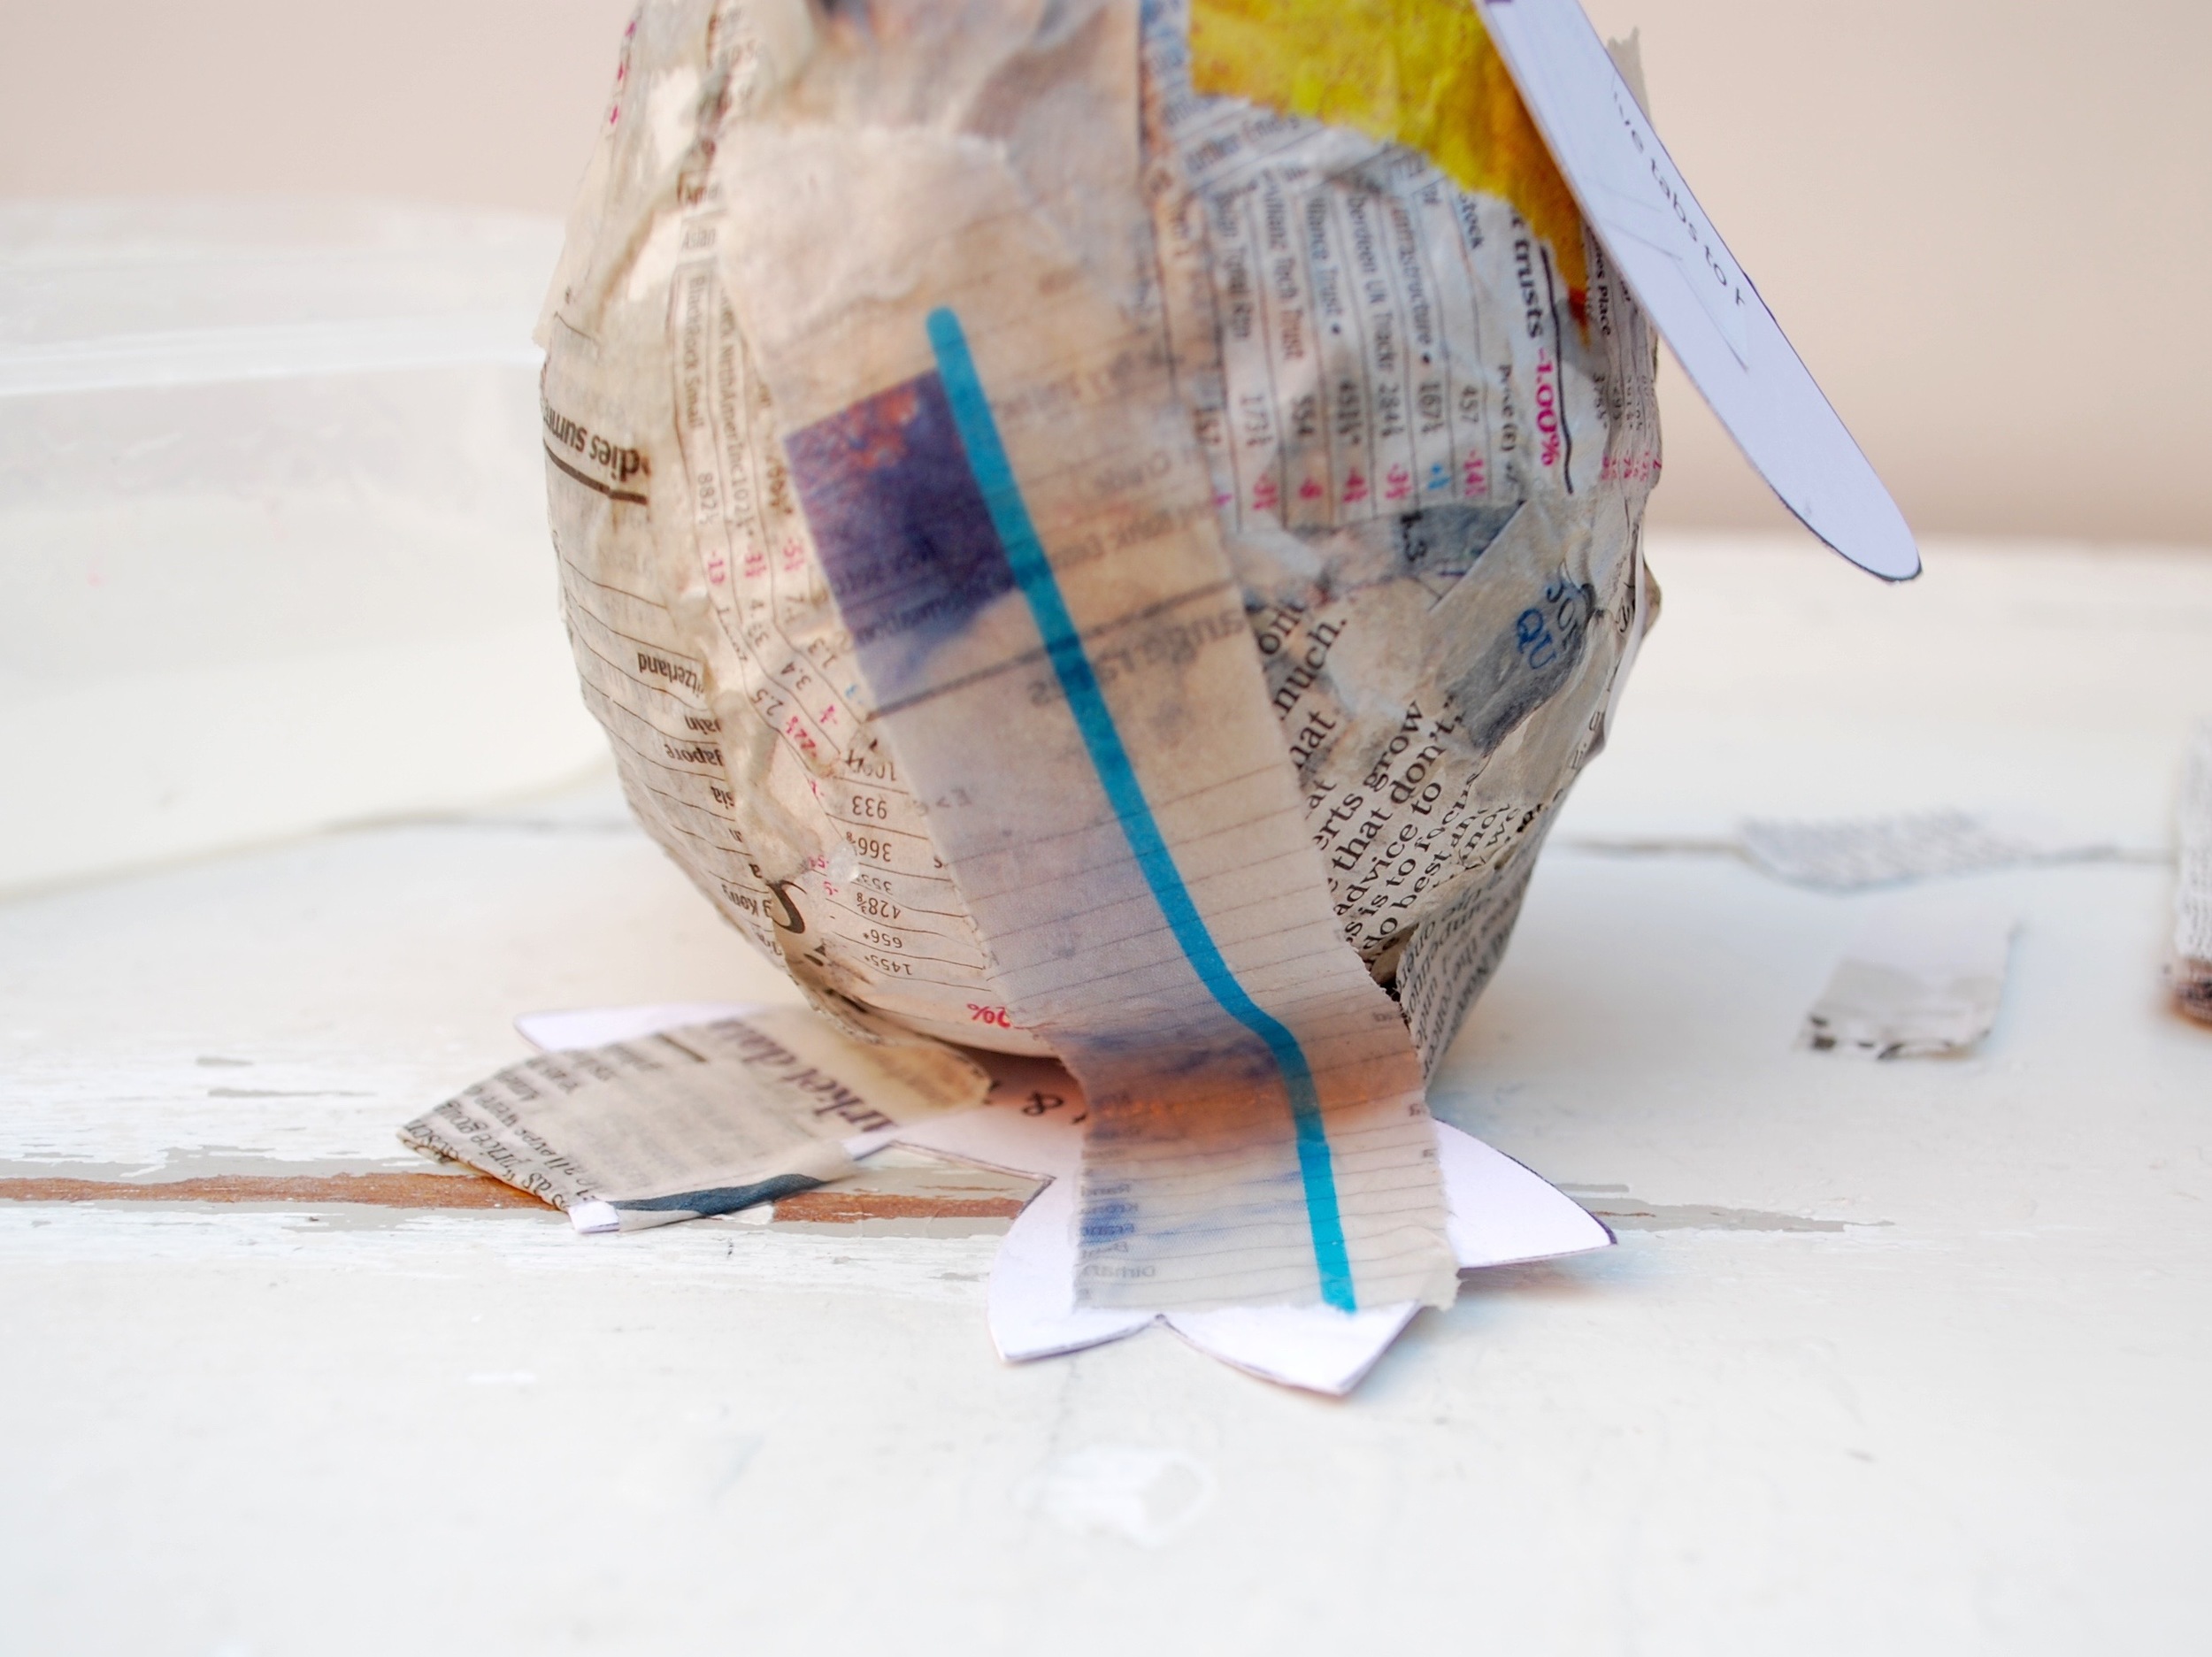
Apply the long strips of pasted paper across the feet and up onto the body.
Careful lift the wings and apply pasted paper to the underside fixing the wing template to the body. You can use a wire rack to sit the paper pet on whilst it dries.
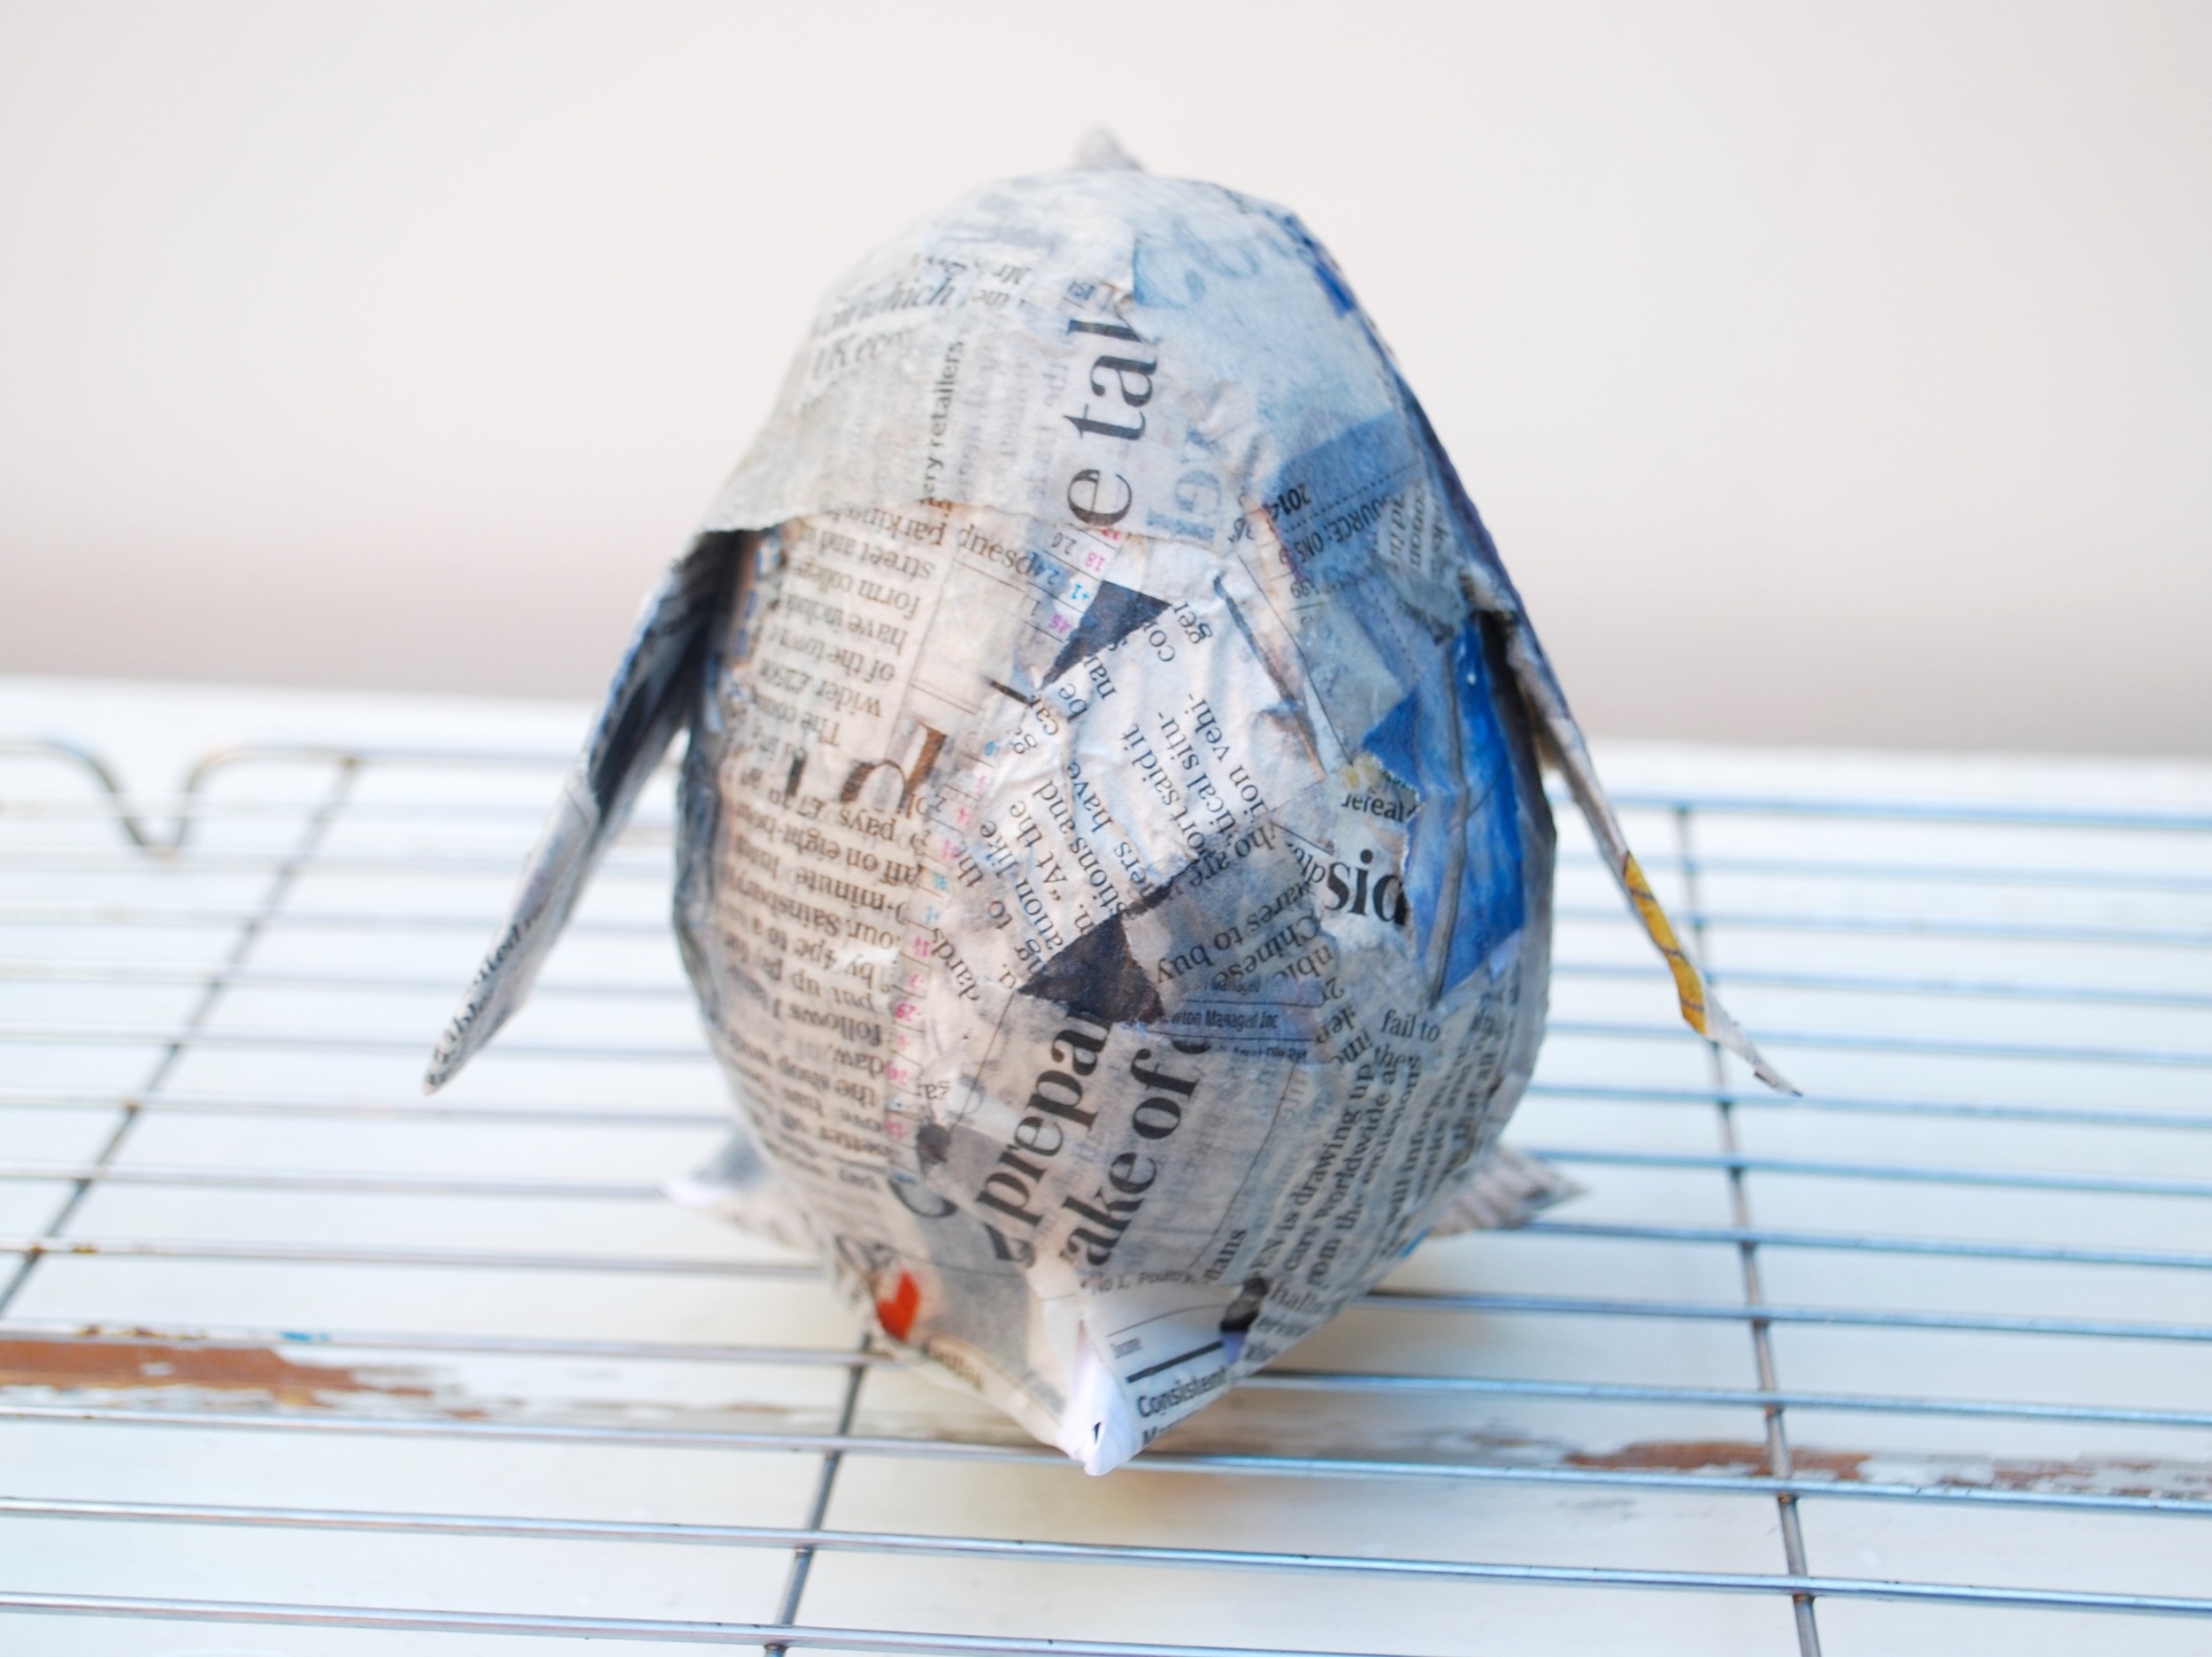
Keep layering the paper mache over the model building it up bit by bit and then allow it to completely dry before continuing onto the final stage. This may take several days.
Step 3 - Applying the finishing paper
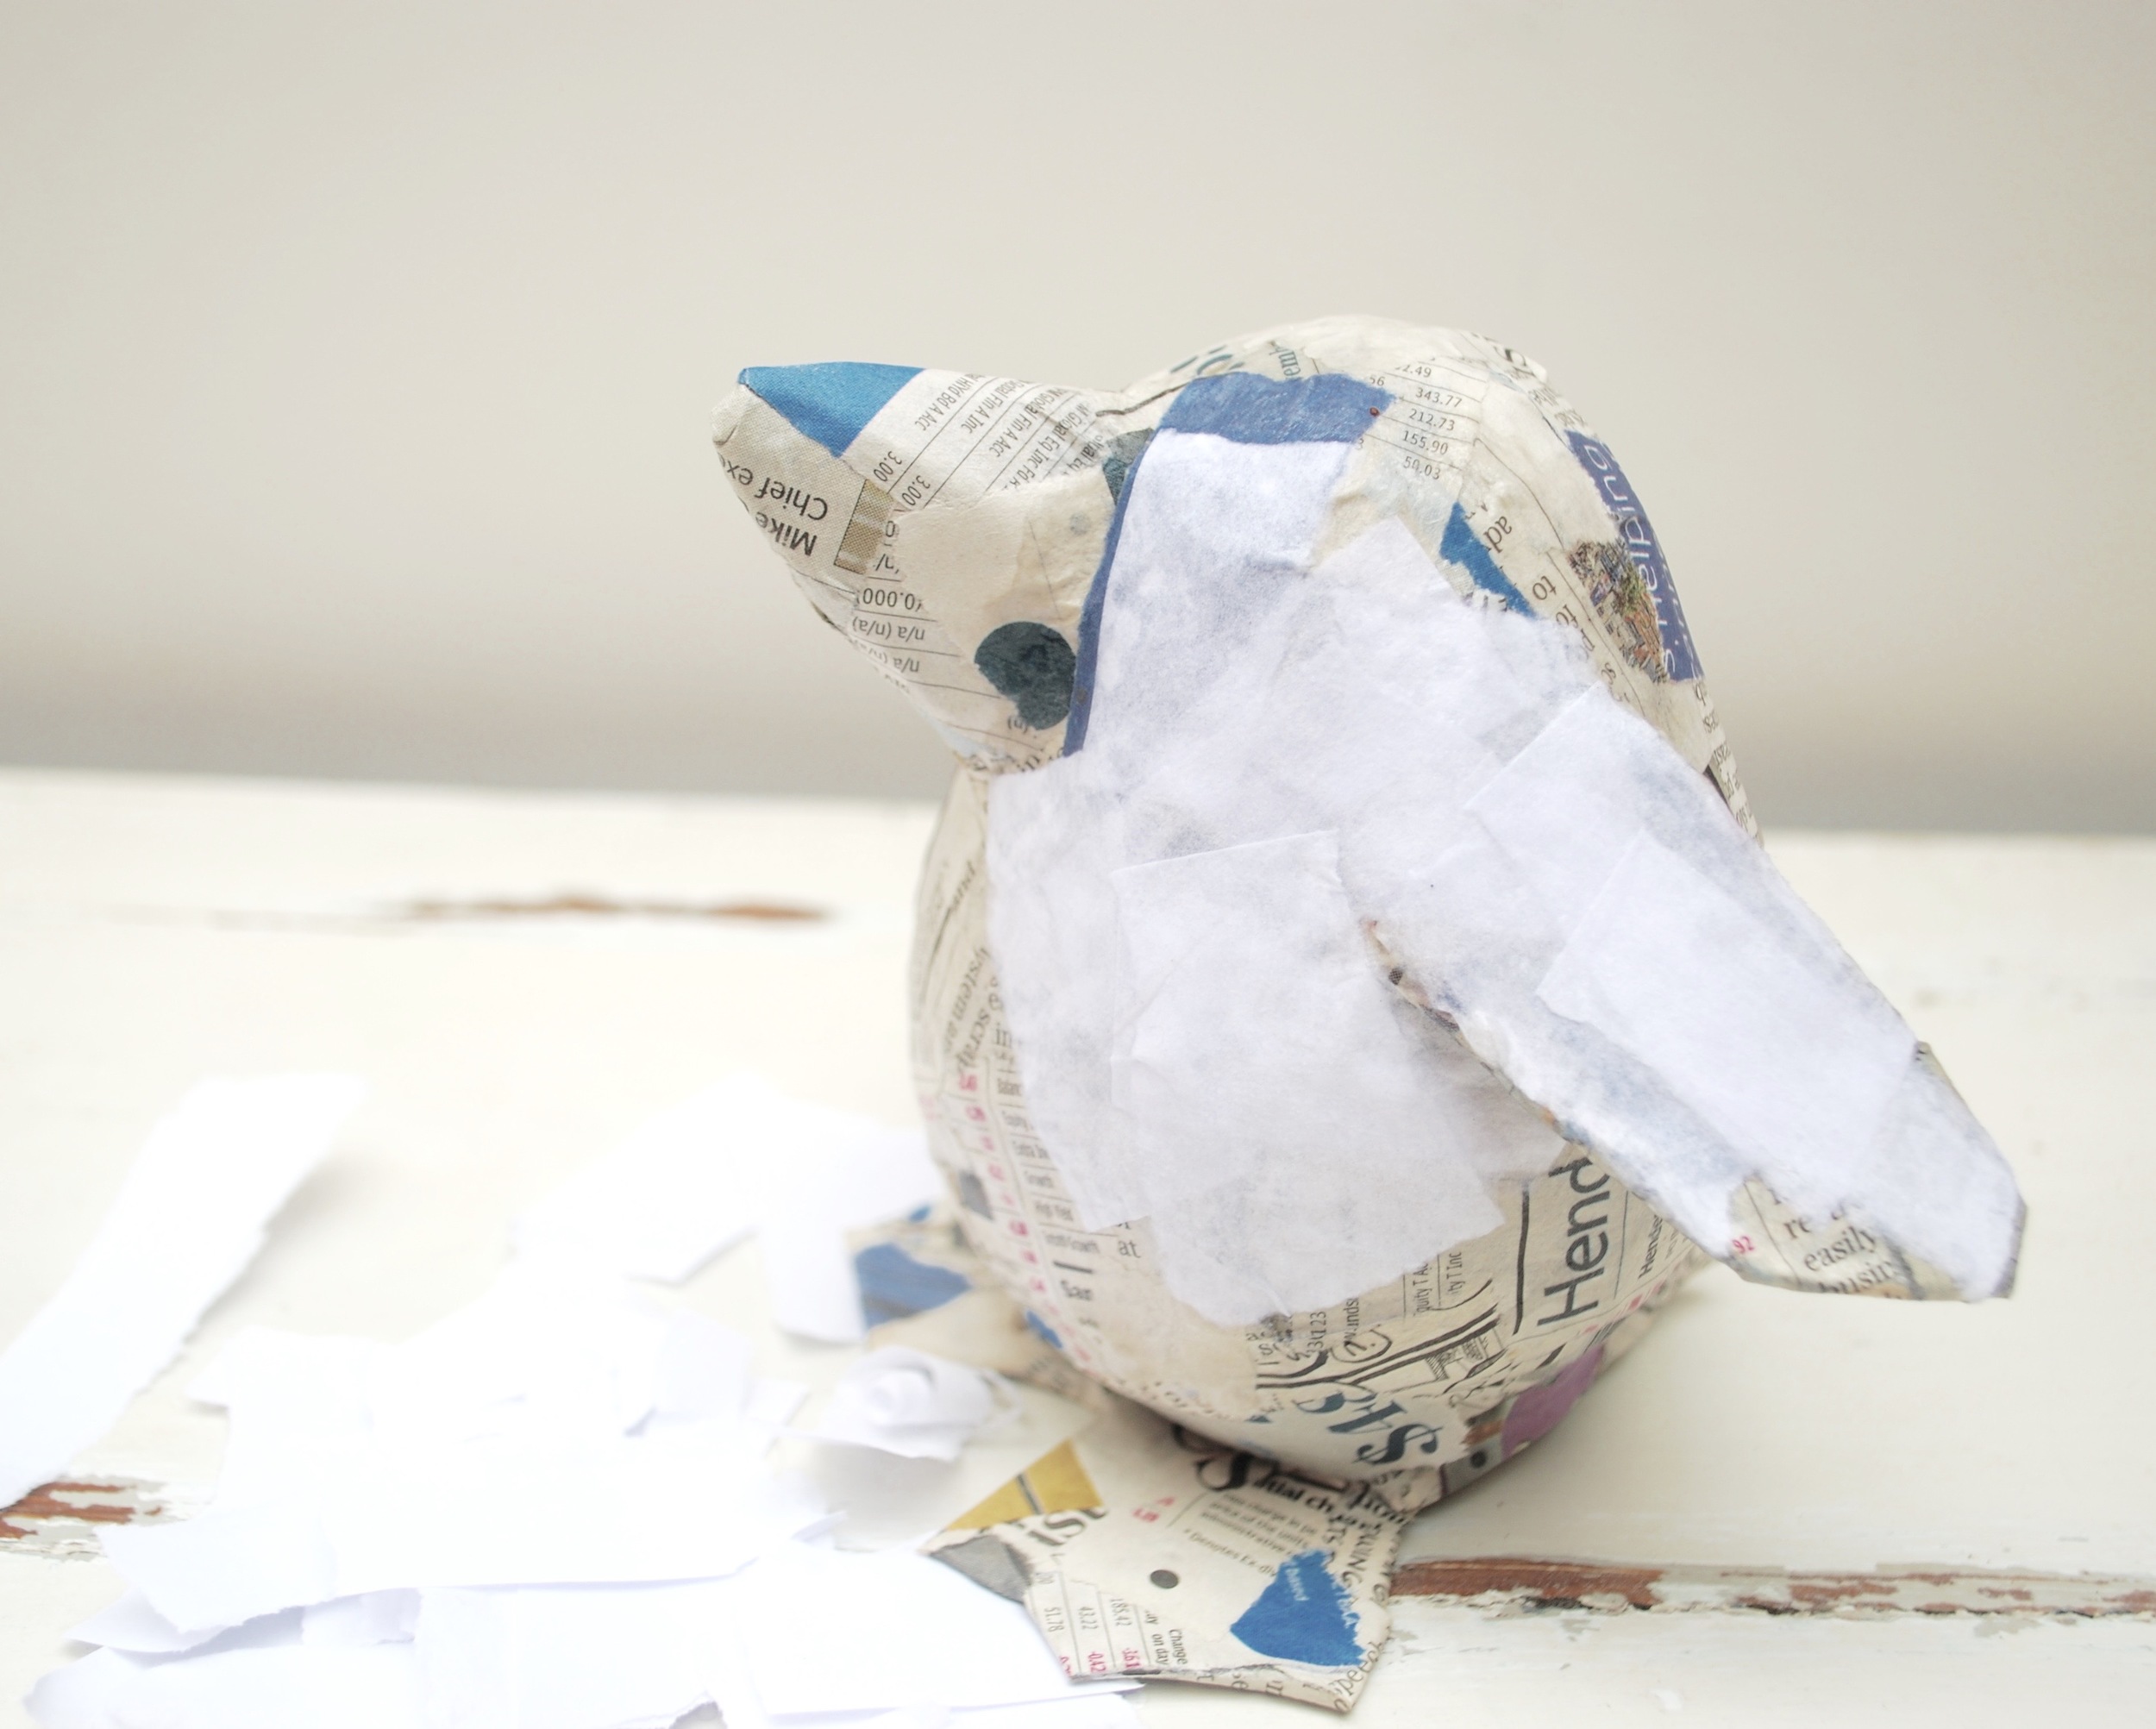
The final part of the papier mache process is to apply the white finishing paper. Tear small pieces and, as before, dip them into the paste and apply to your paper pet. Using your fingers, gently smooth each piece of finishing paper to ensure an even finish. This helps make the final coat neat and tidy ready for painting.
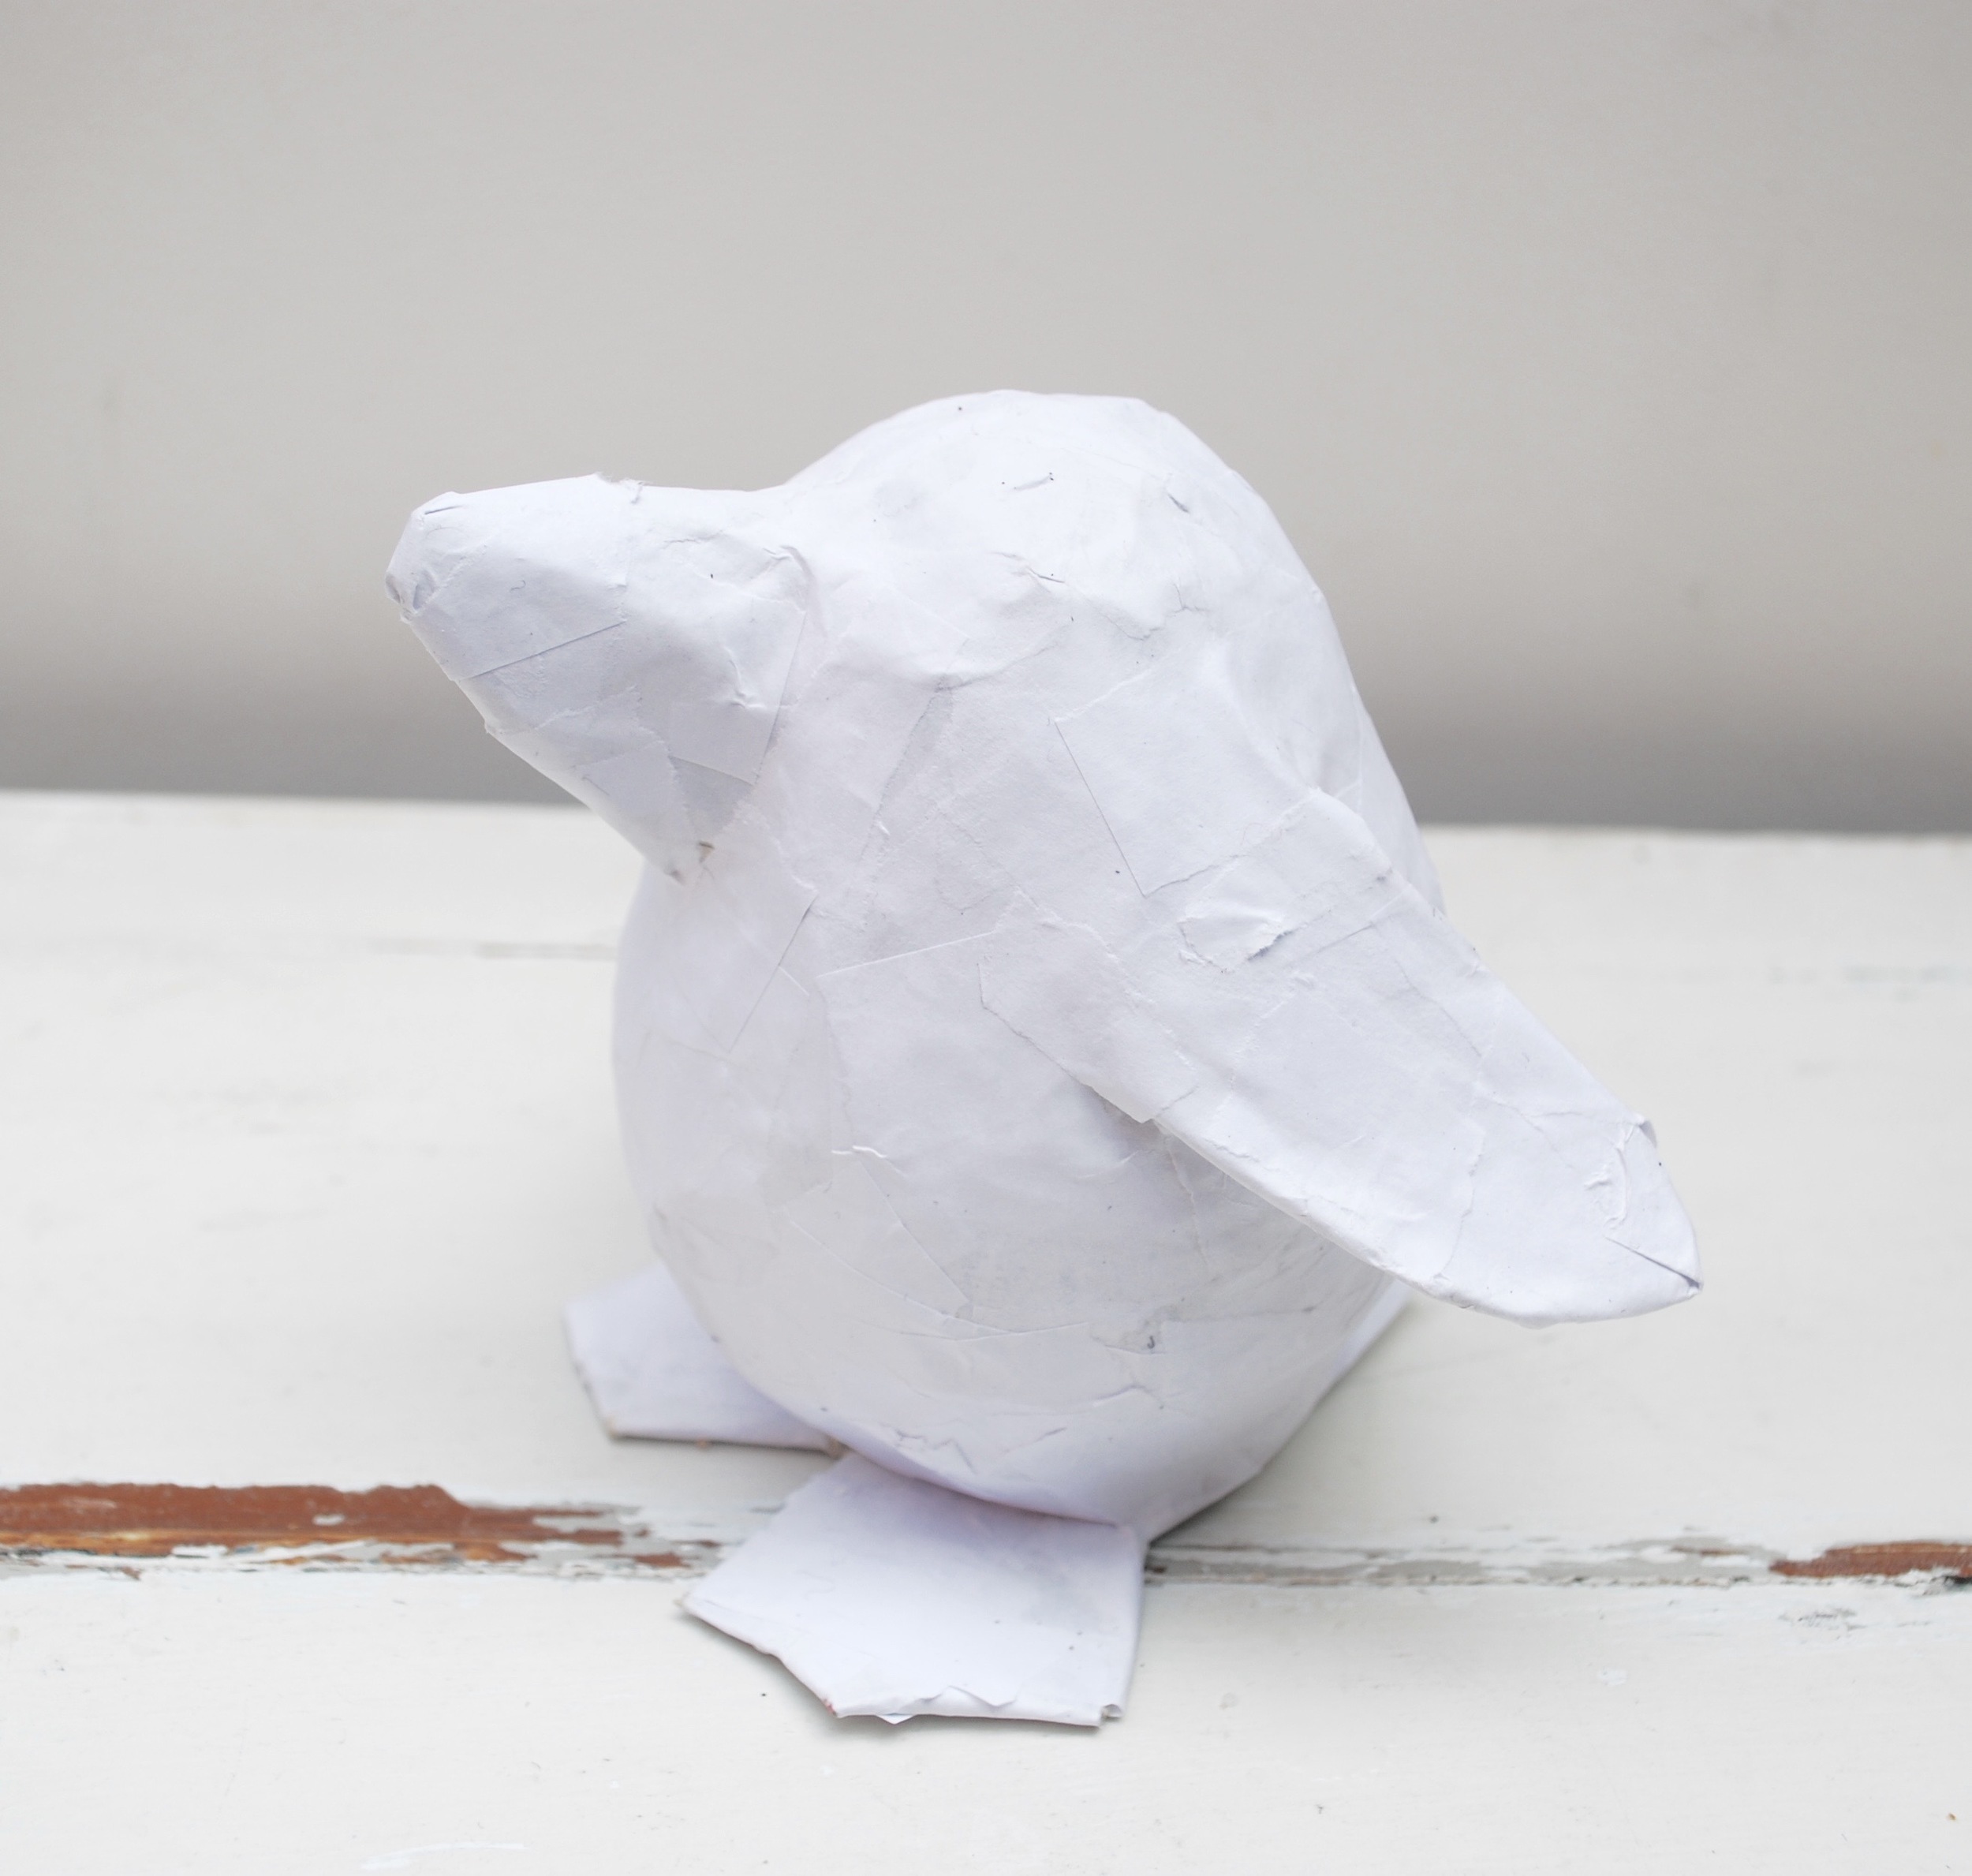
Once an even coat of finishing paper had been applied to you paper pet and you are happy that all the news paper has been covered, set it aside to dry. This will take at least 24 hours.
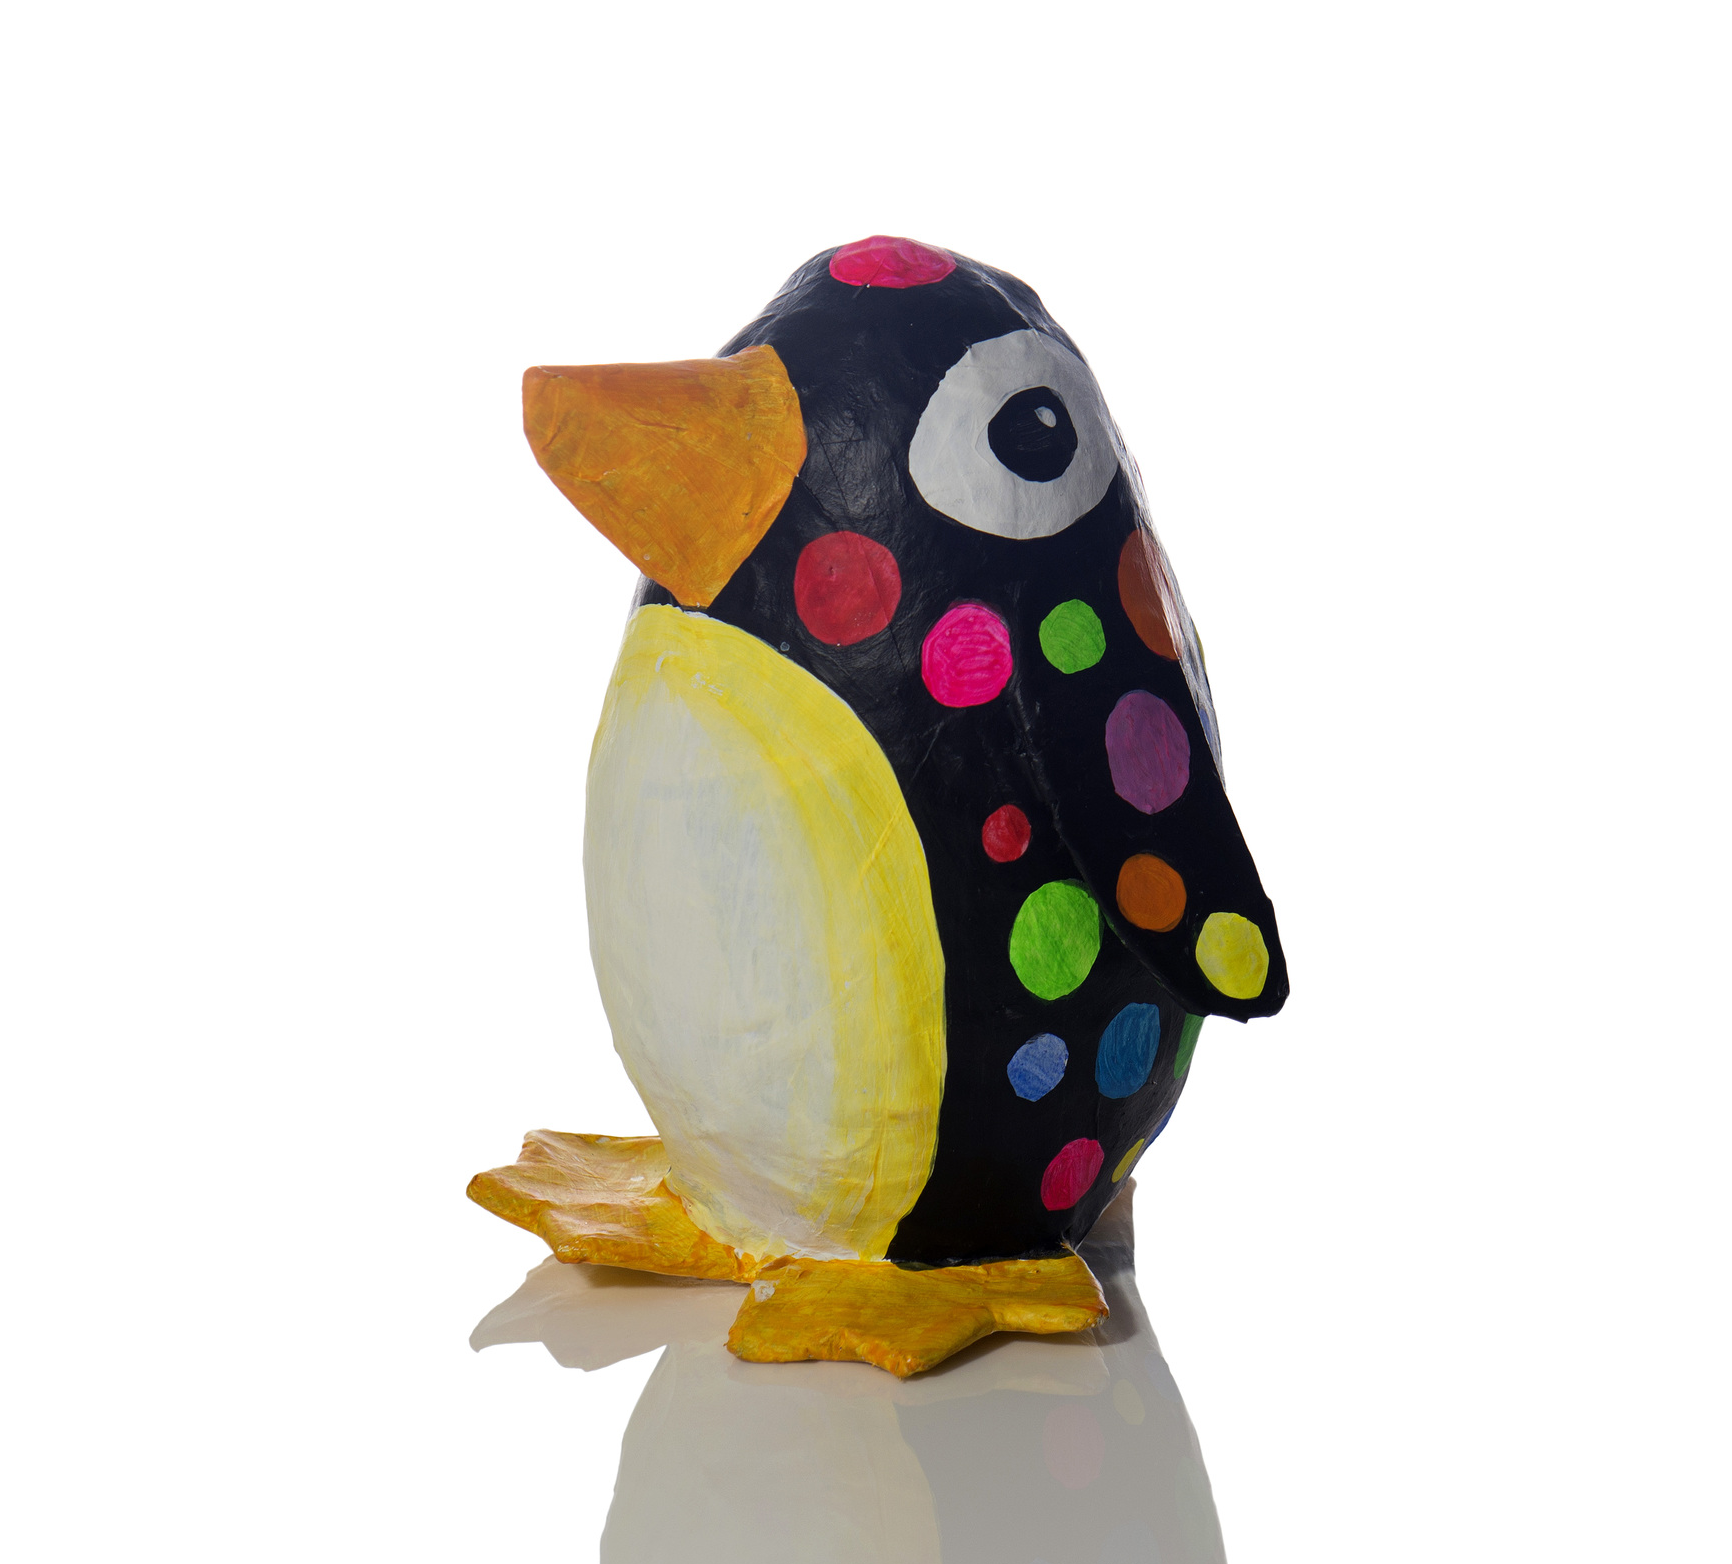
Once dry your Paper Pet is ready to decorate! You can use the paints provided as well as experiment with other paints, glitters, feathers, paper etc.....have fun and get creative!