• Home
  • SHOP
  • Gallery
  • About
  • Contact
Menu

EMMA LEITH

Author. Designer. Queen of Colour
  • Home
  • SHOP
  • Gallery
  • About
  • Contact
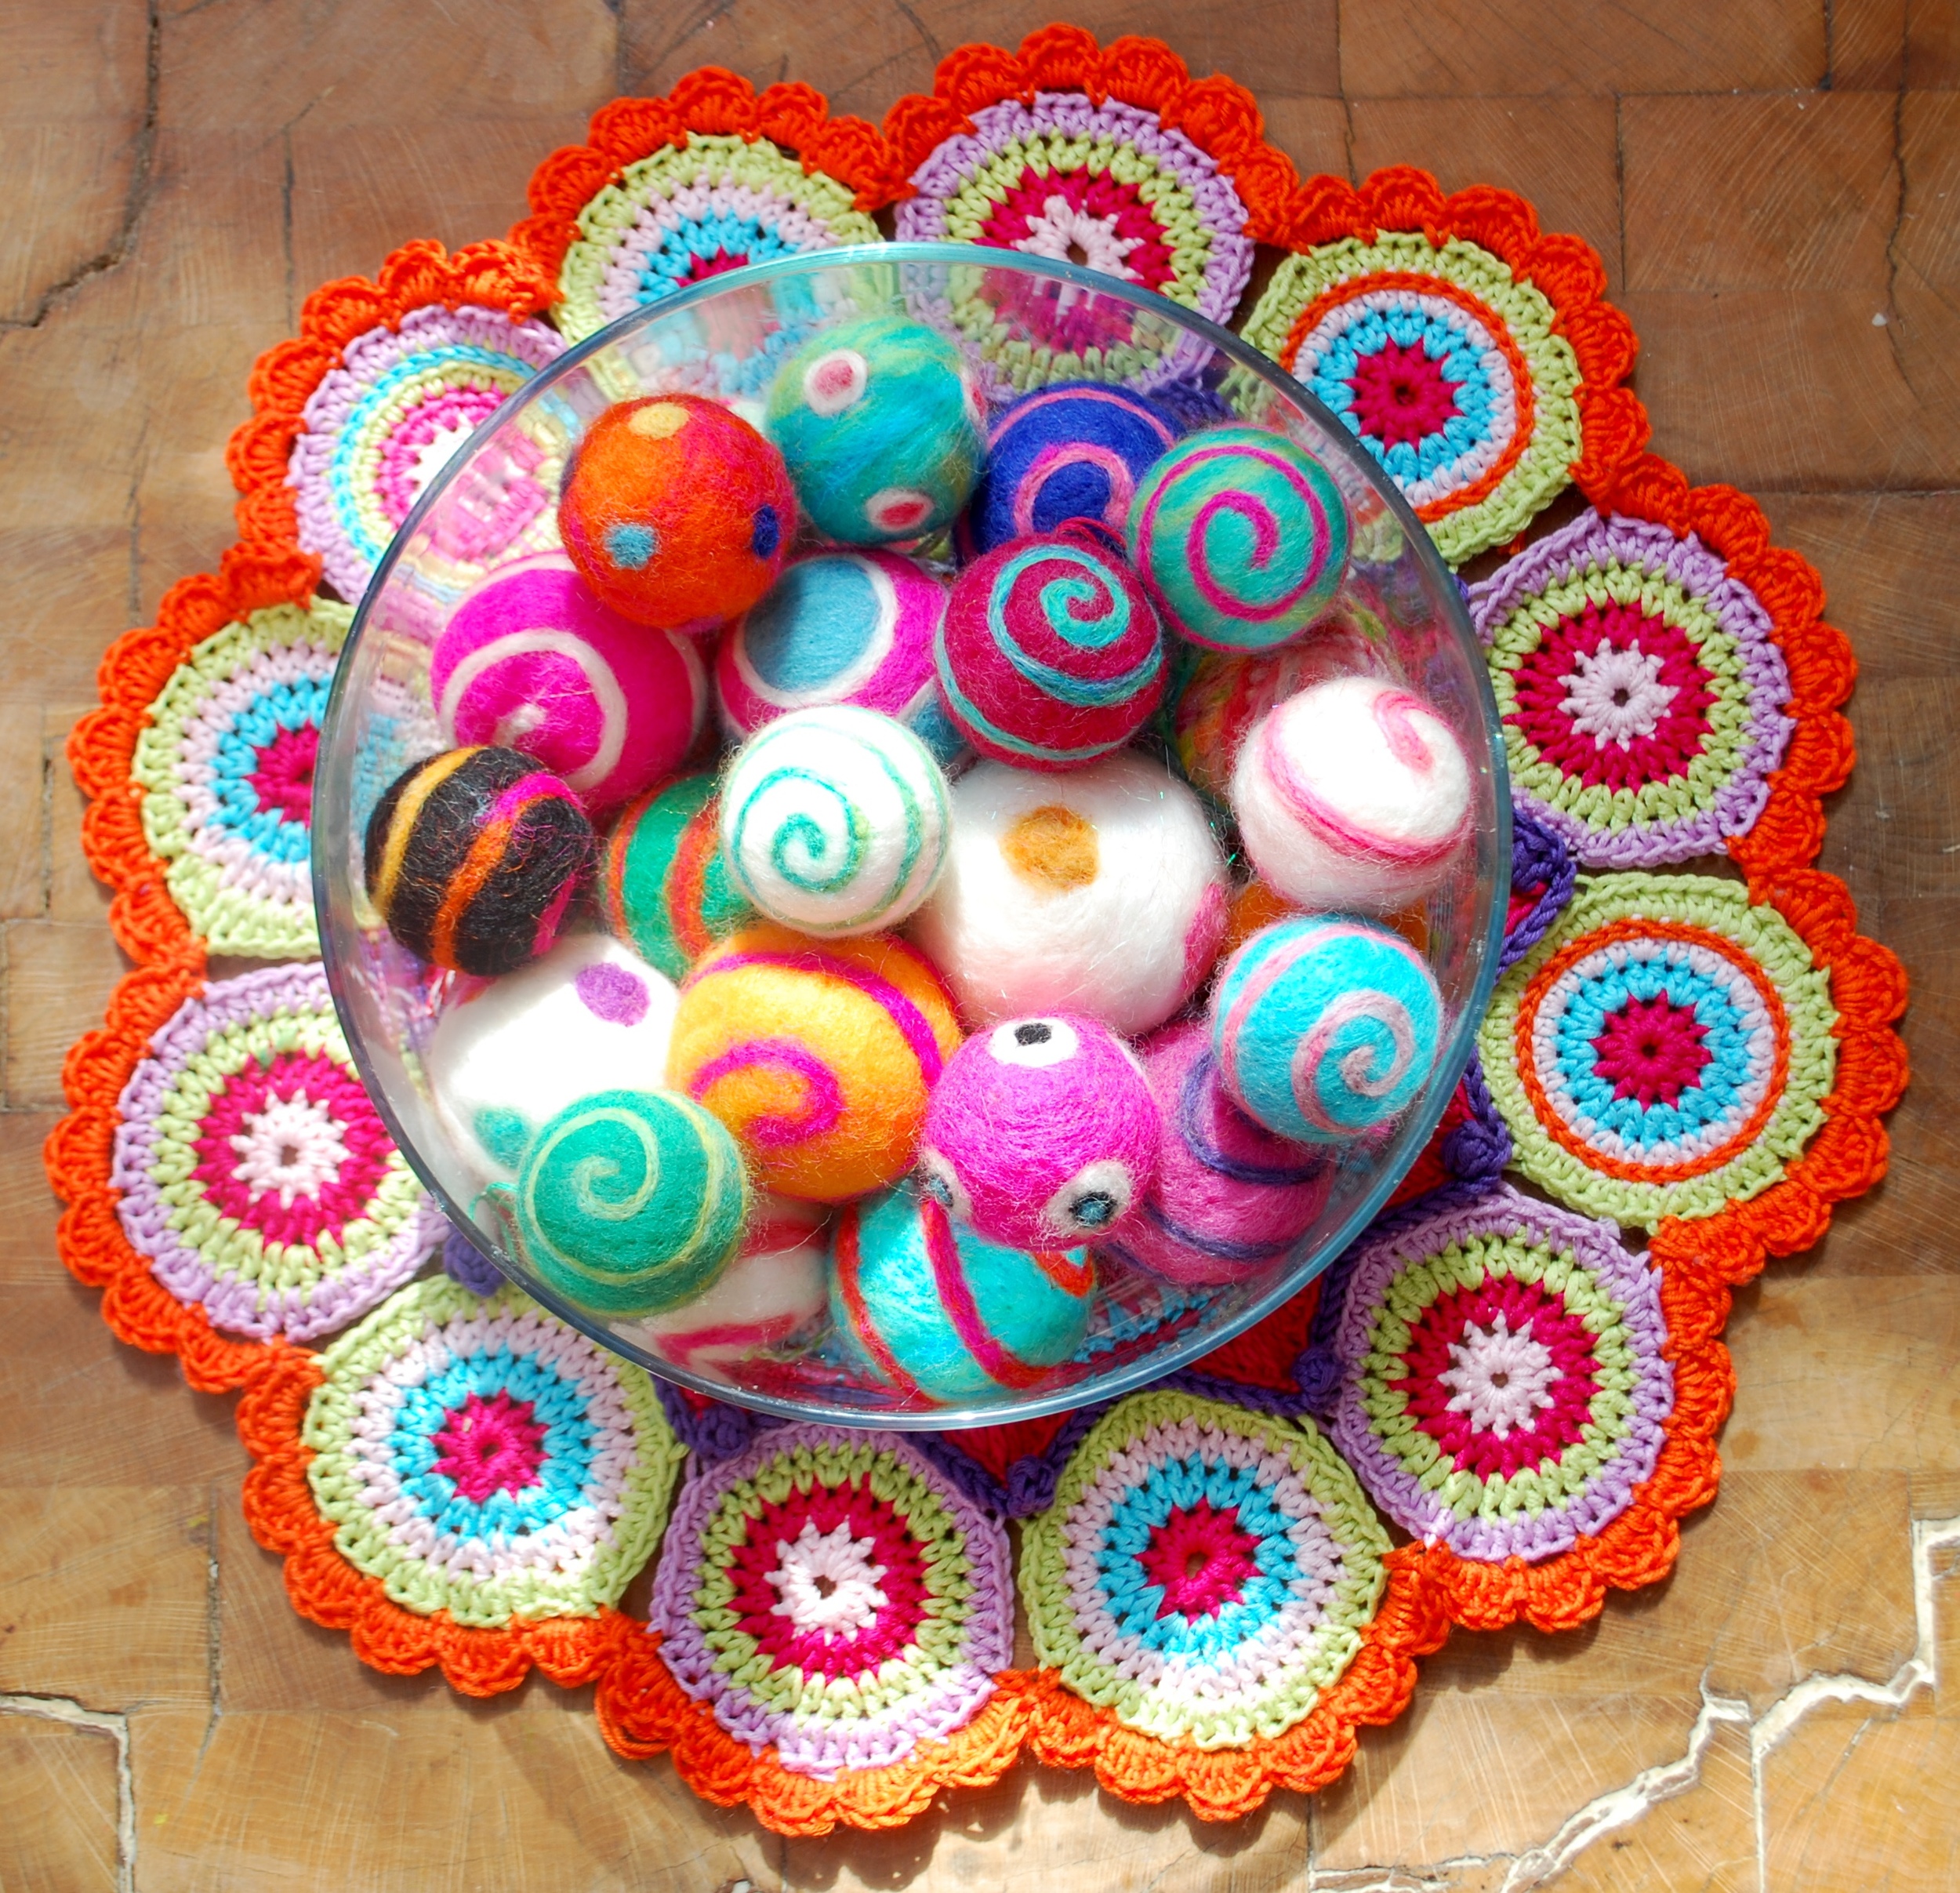
Colourful needle felt christmas decorations in a glass bowl

Needle Felted Christmas Tree Decorations

September 25, 2015

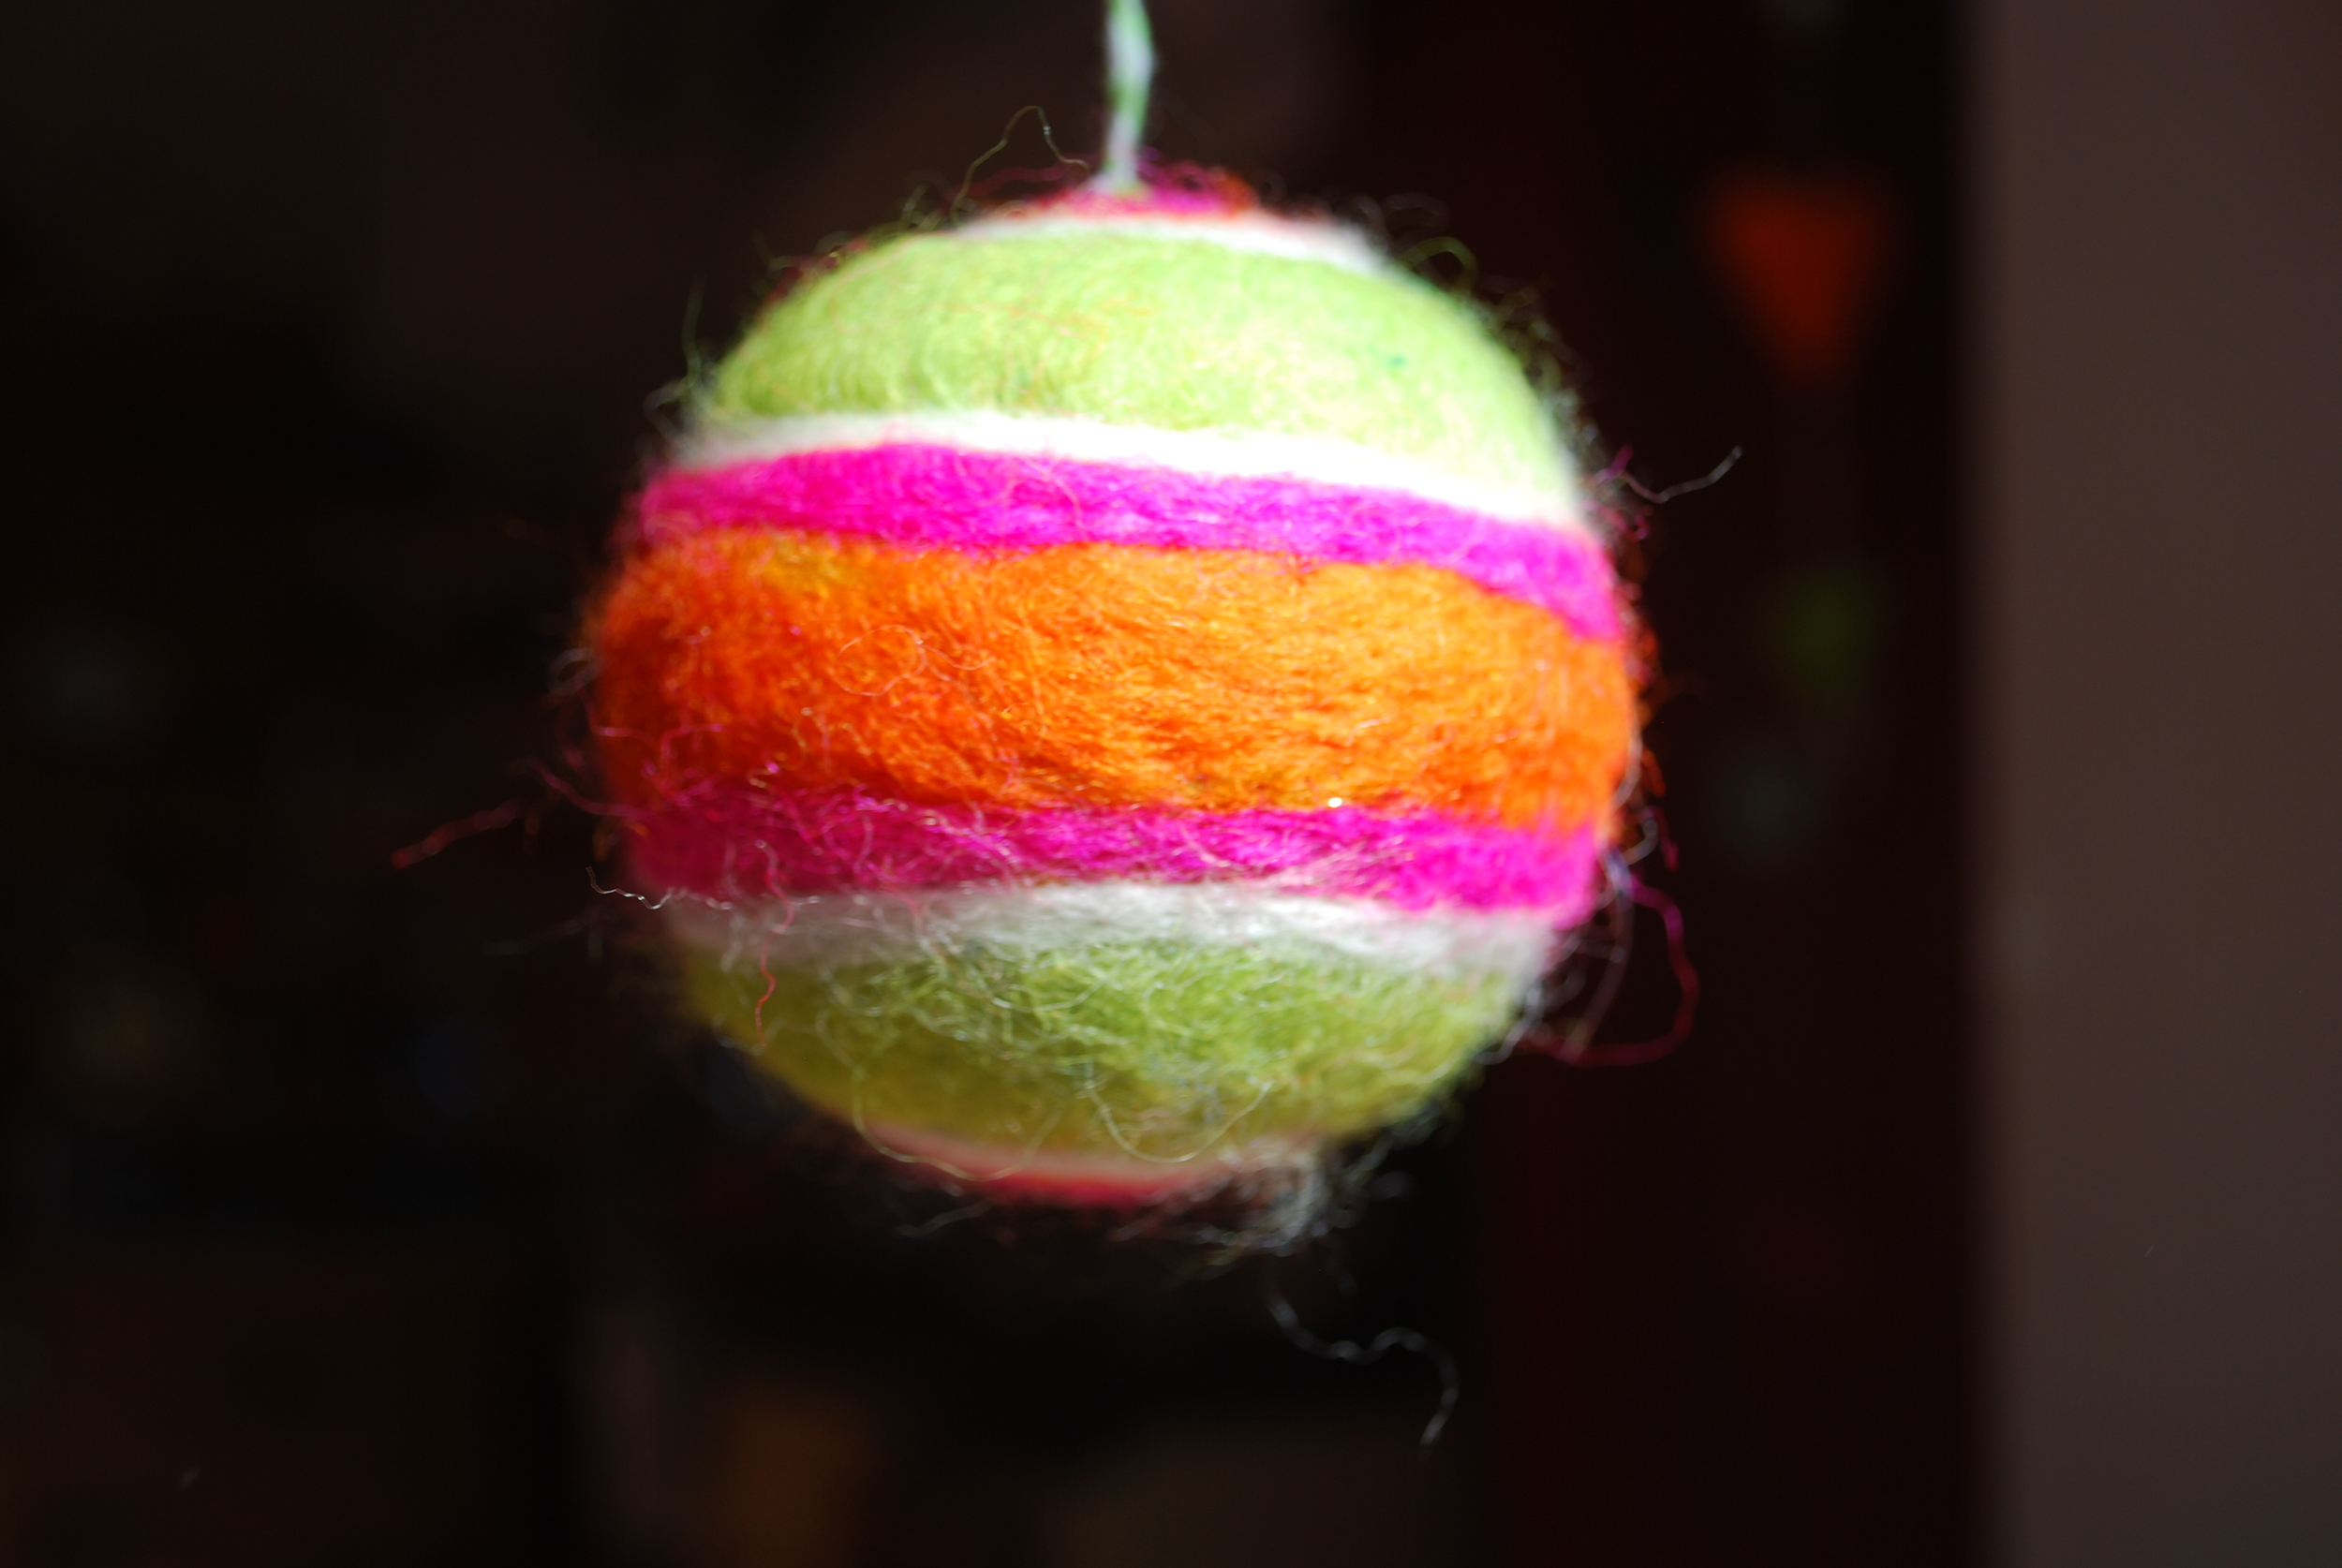
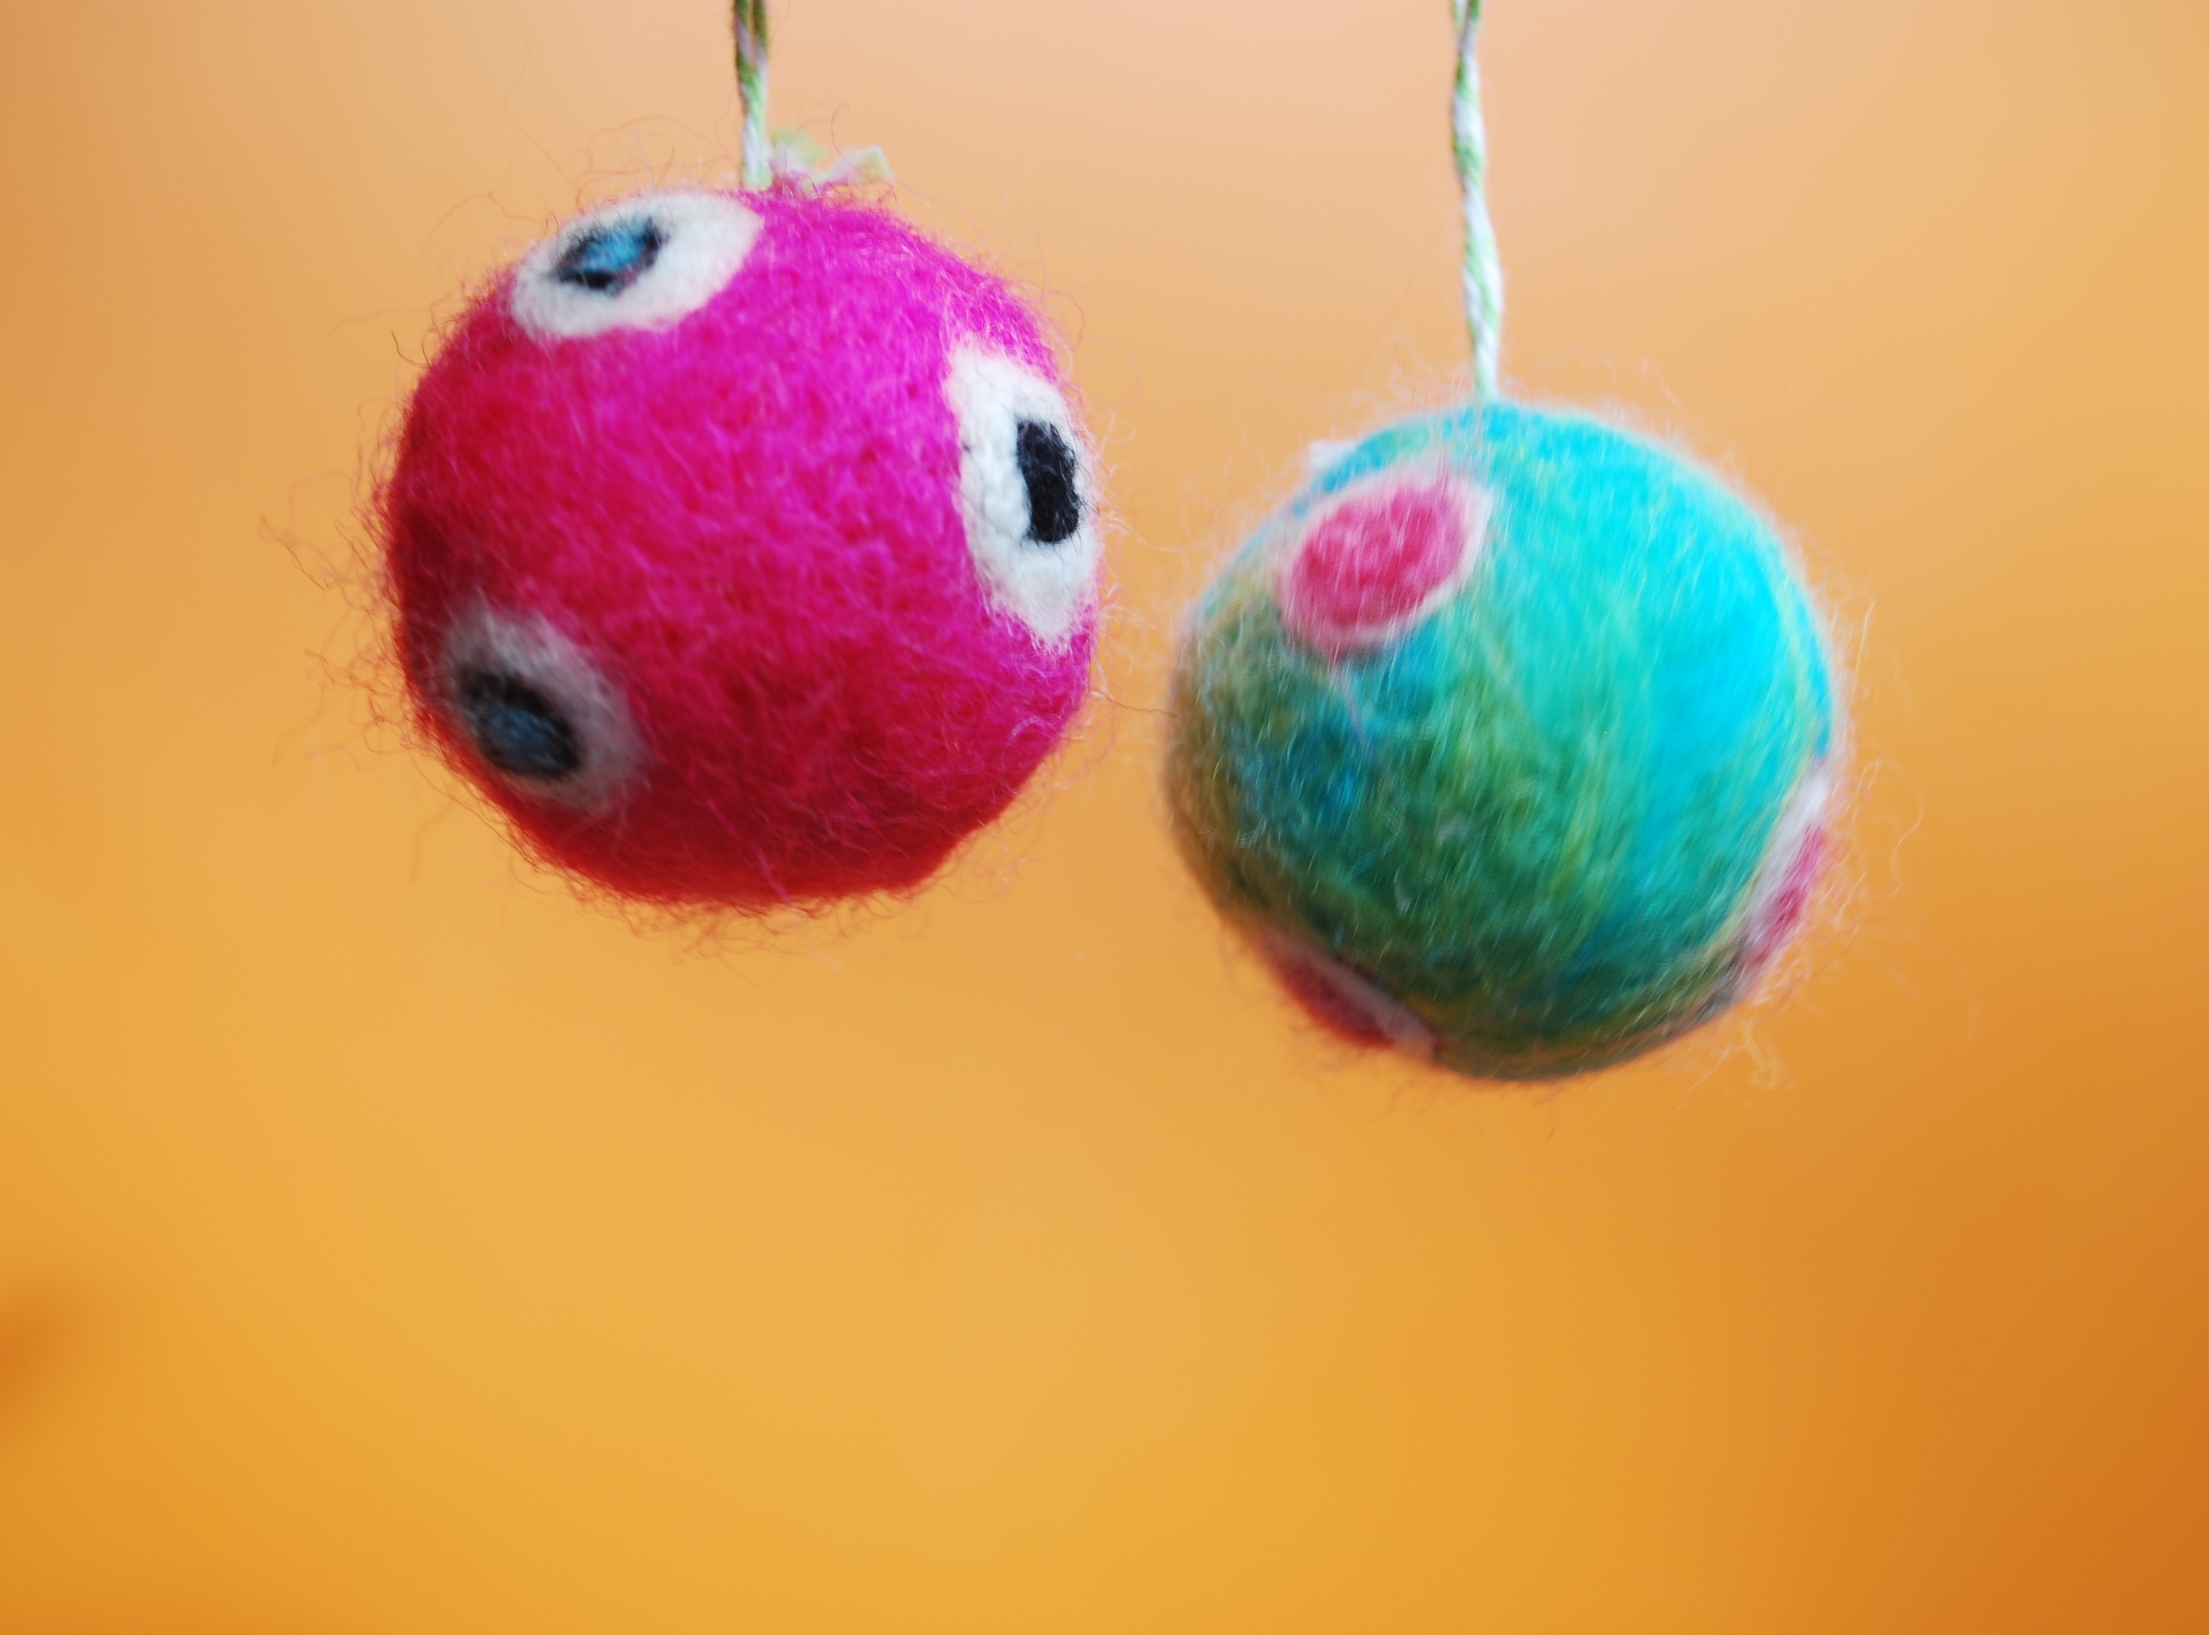
Brighten up your christmas with these easy to make colourful needle felted christmas tree decorations.  Fun to do and they make the perfect gift!  Last year I gave these to friends instead of cards and they loved it.
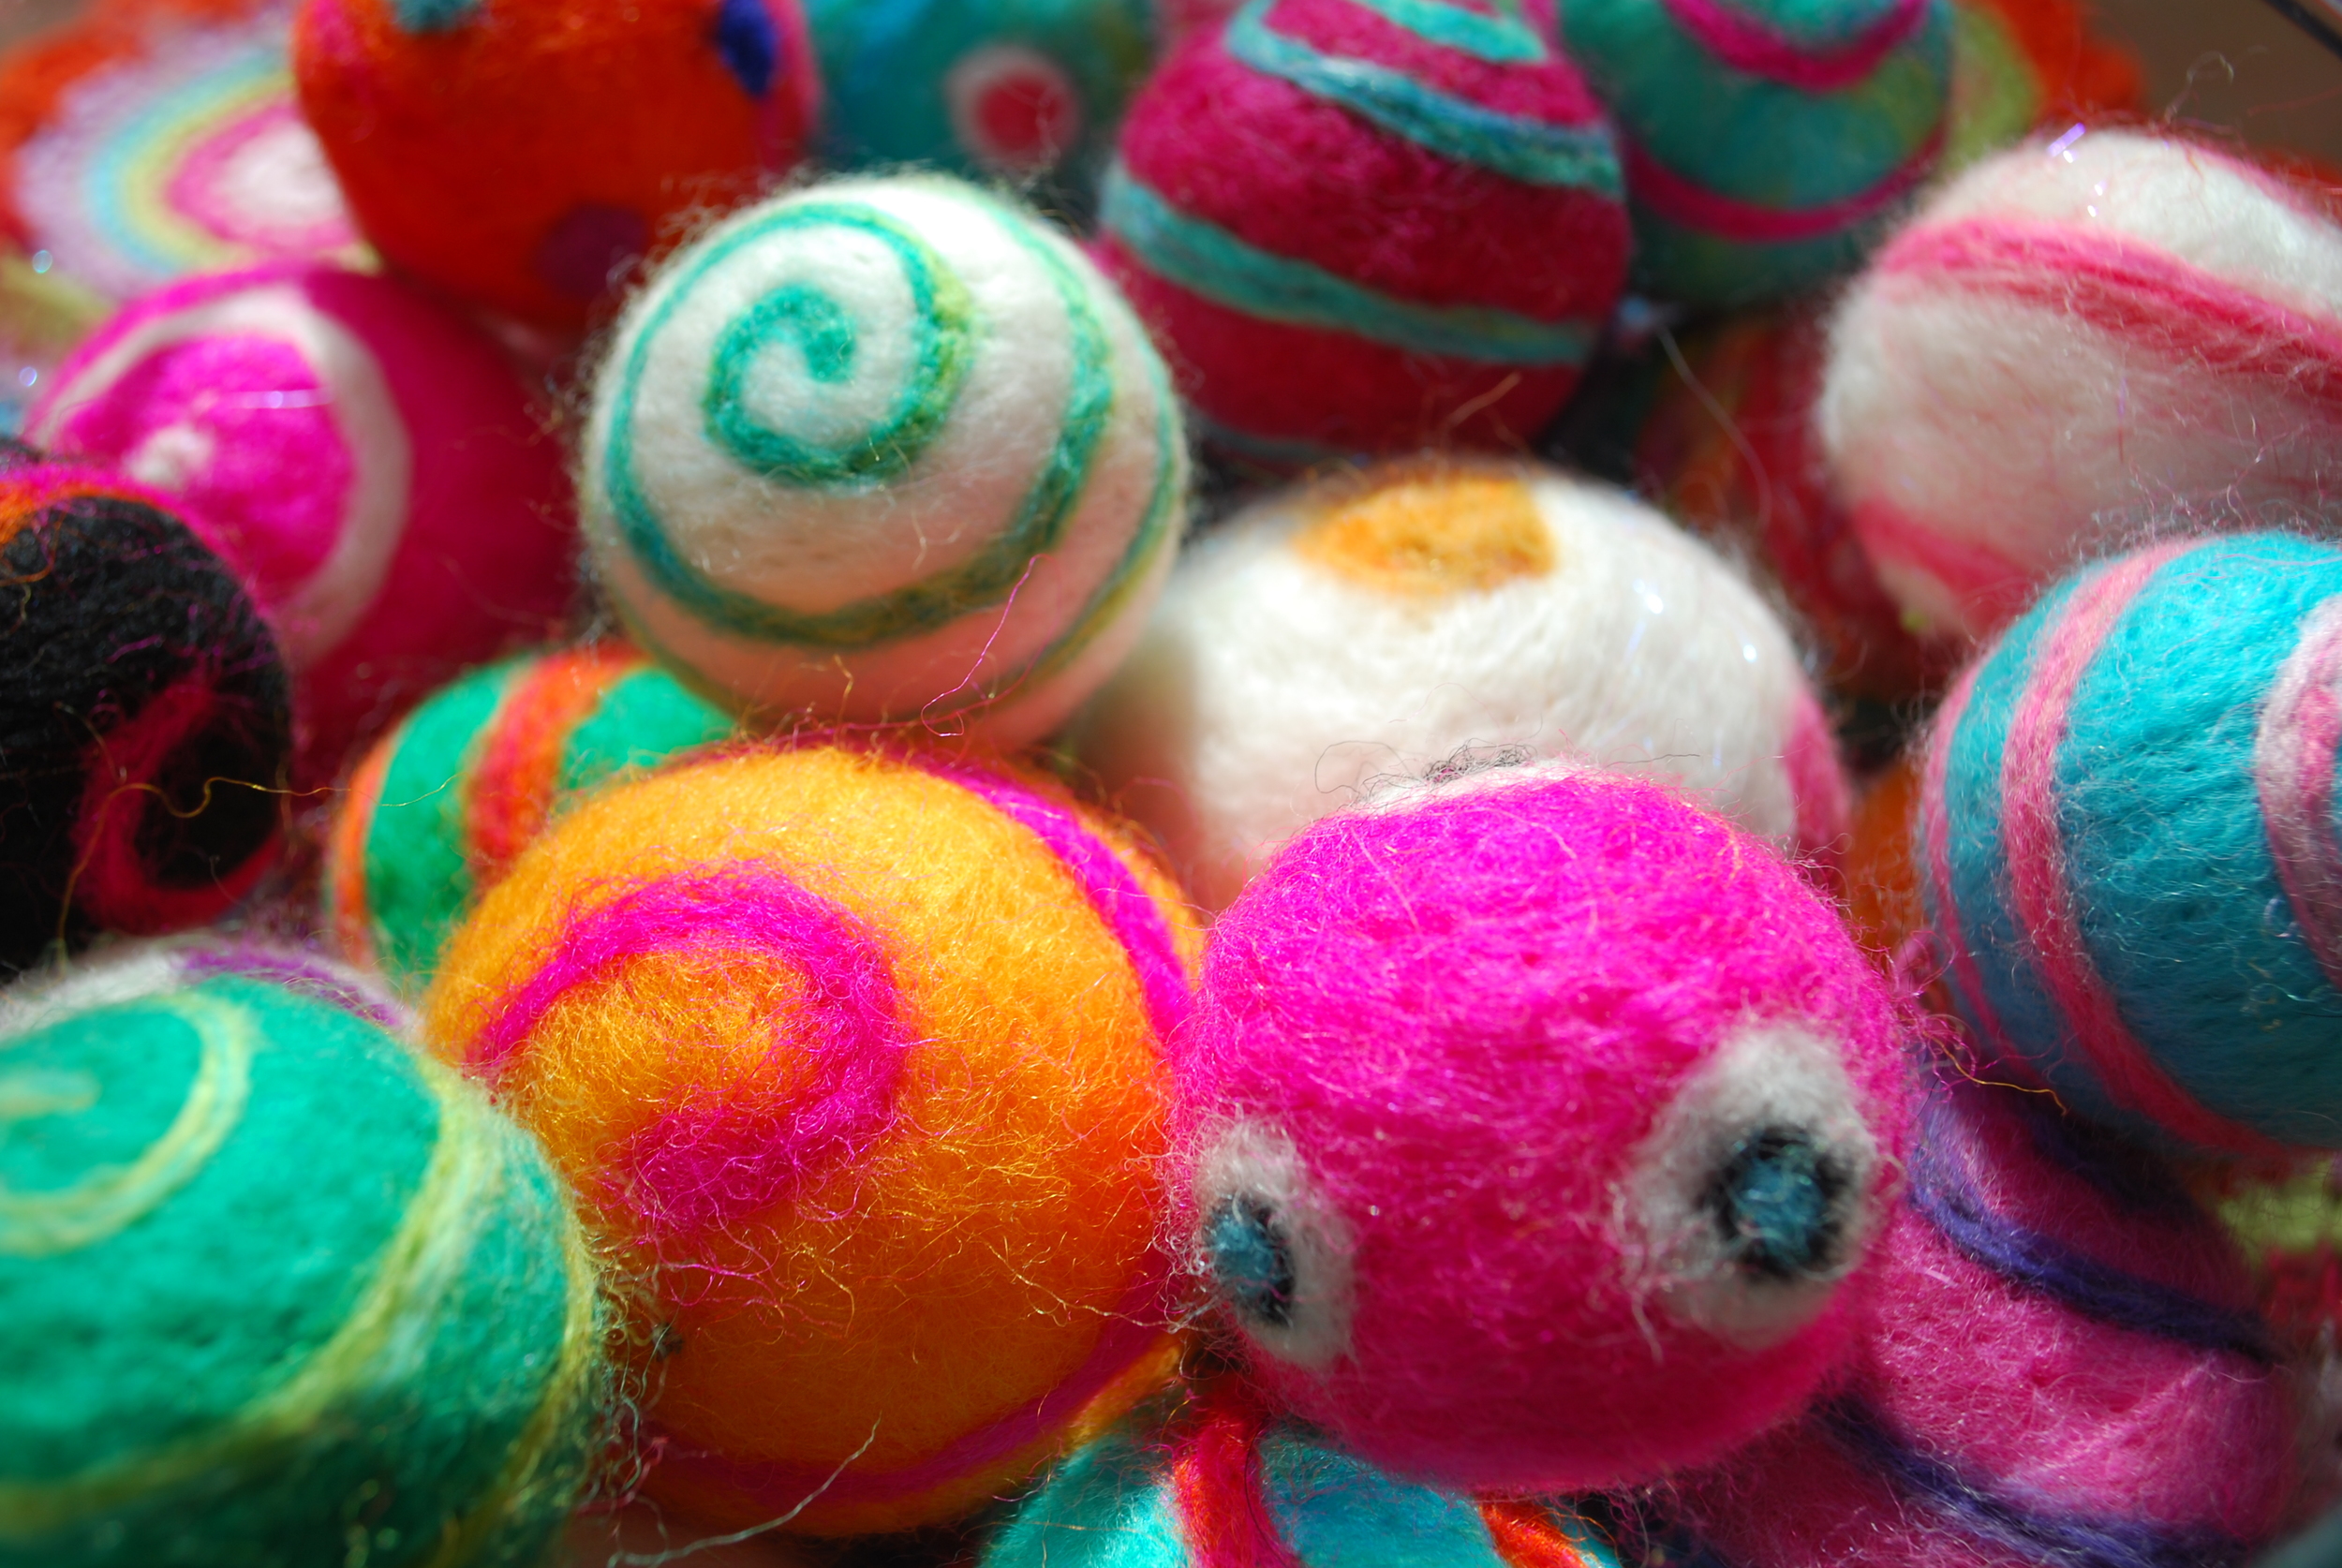
Brightly coloured needle felted christmas decorations. A free tutorial

To begin you will need the following:
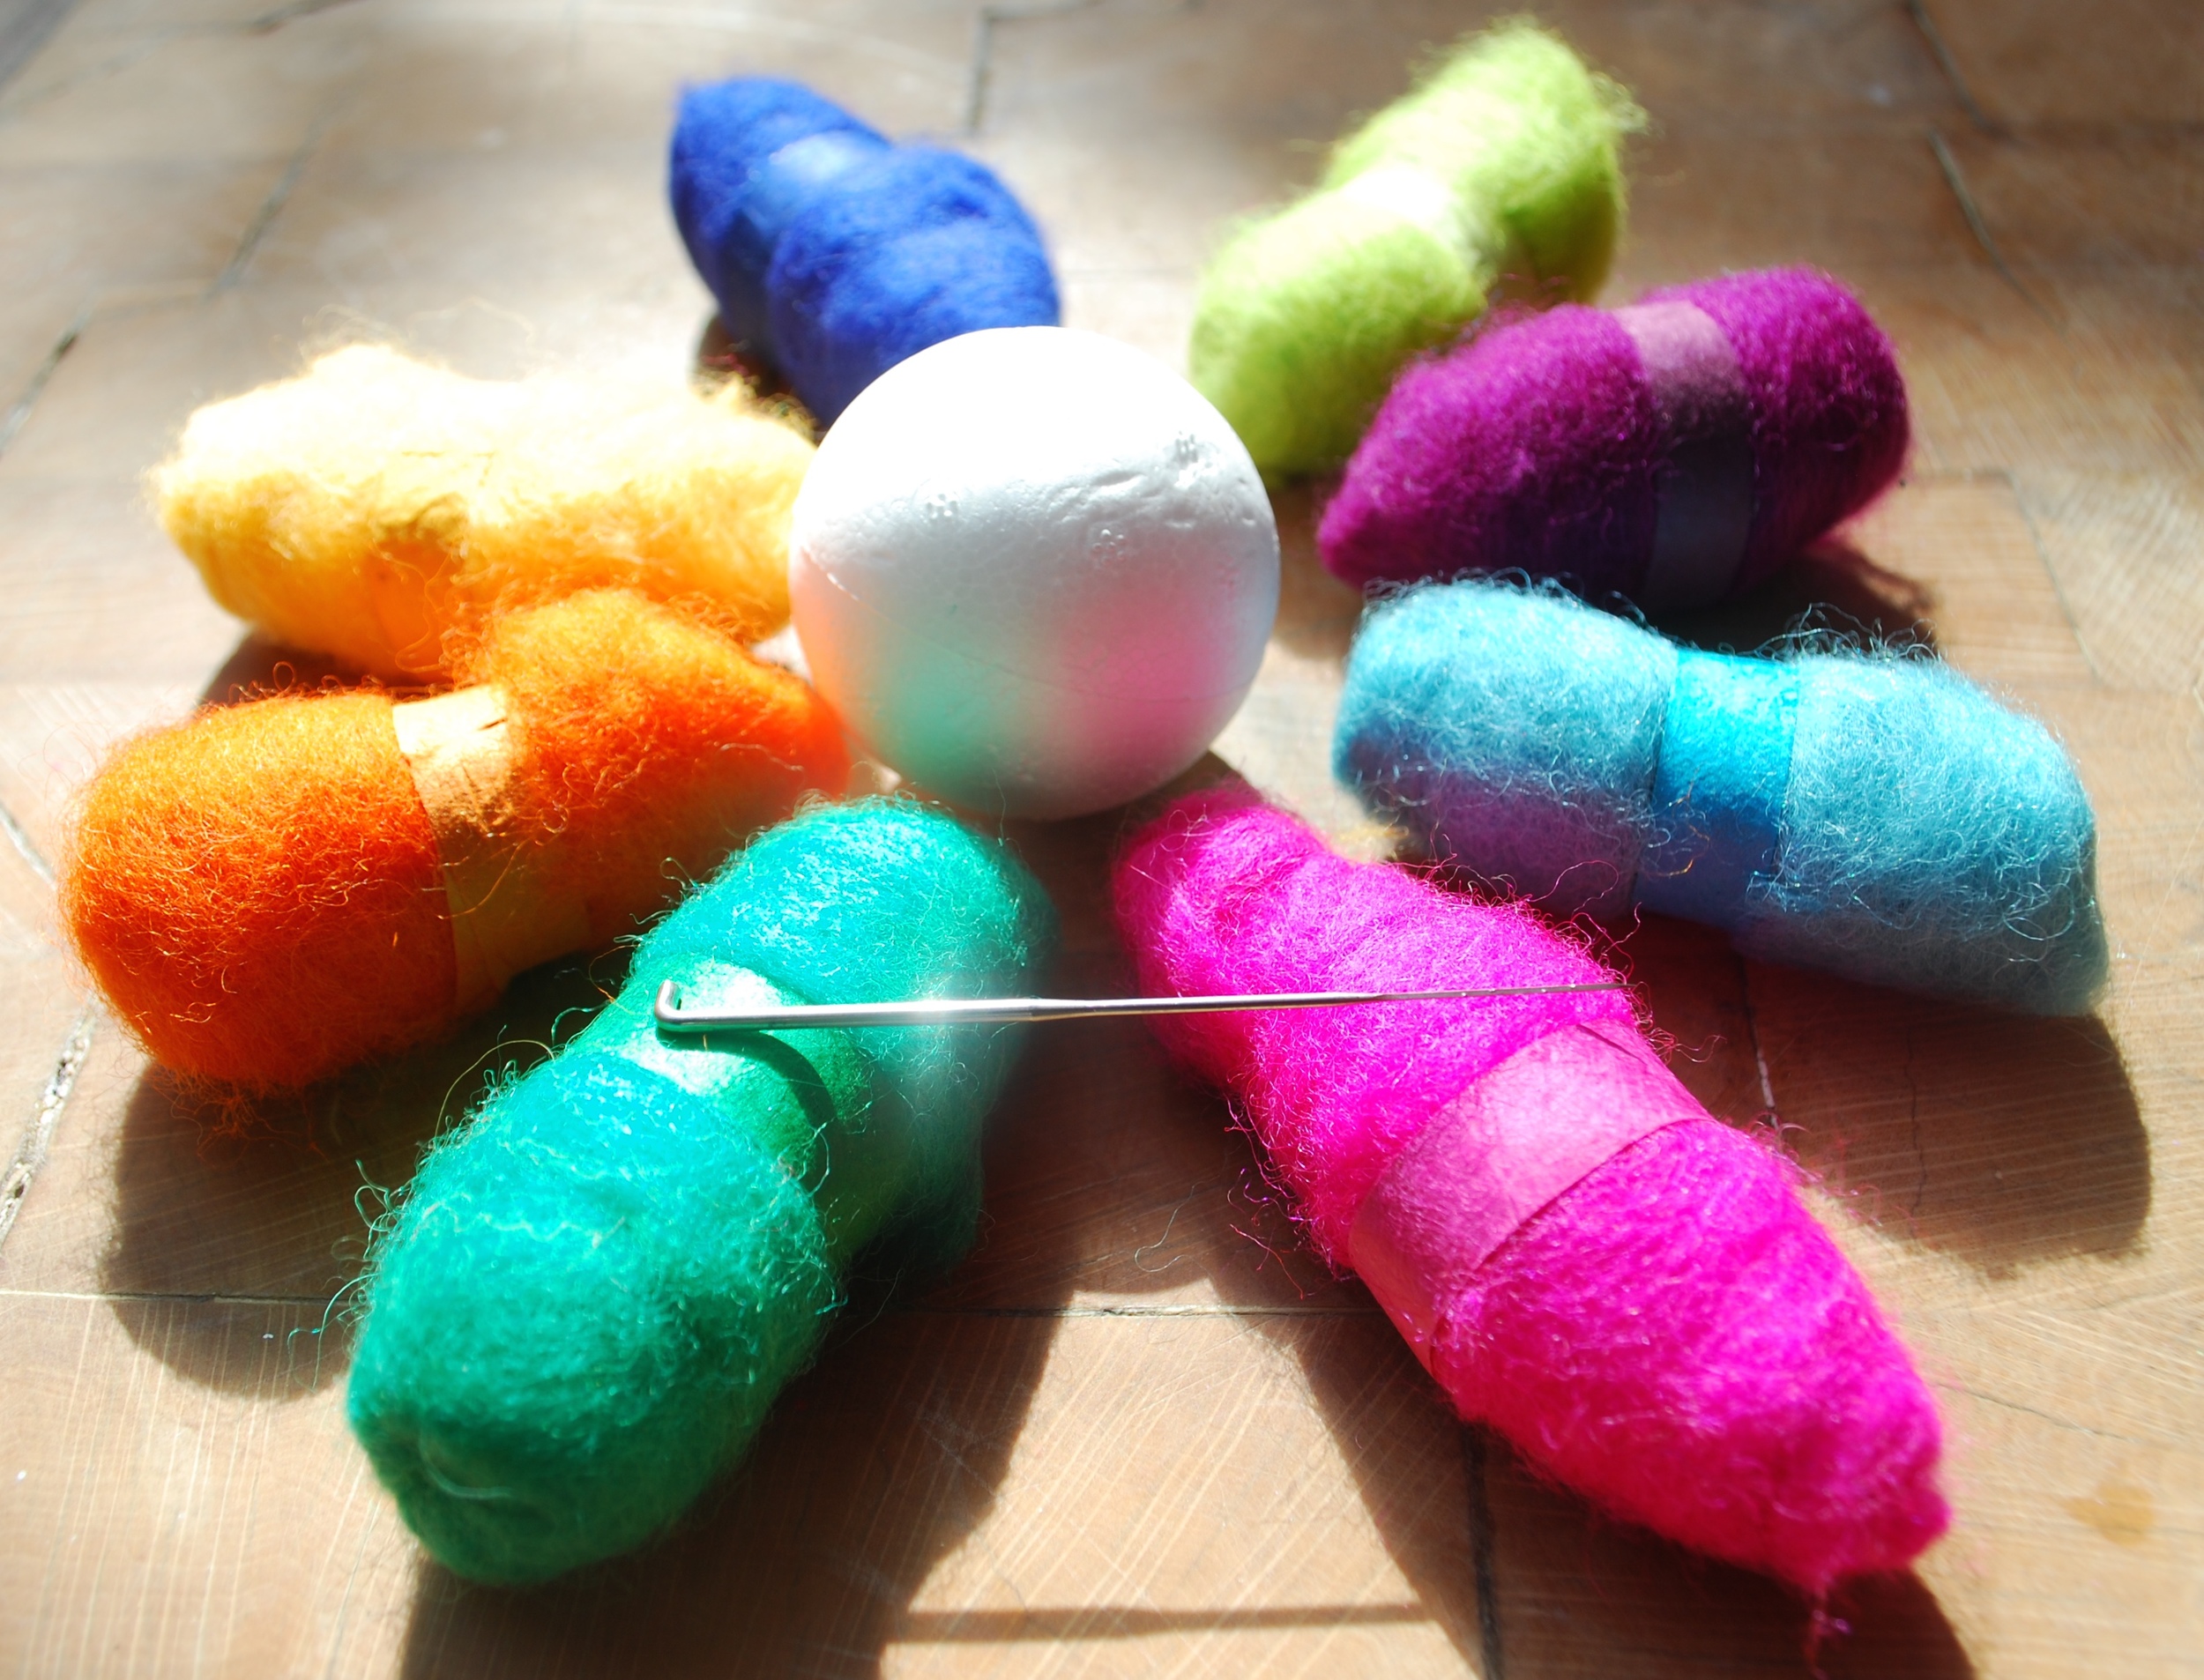
Needle felt christmas bauble tutorial - you will need...

A Polystyrene ball - any size

A felting needle

A selection of colourful felting wool.

Needle felt christmas tree decoration free tutorial. Step 1

Begin by choosing your your base colour and pull off a length that is long enough to wrap around your polystyrene ball.

Needle felt christmas tree decoration free tutorial step 3


Place the felt around the ball and hold it in position whilst you gently push the felting needle into the ball.

Needle felt christmas tree decoration free tutorial - how it works


With each 'jab' of the needle you are pushing the wool fibres into the ball and after only two or three 'jabs' you can turn the ball upside down and see the felt held in place.

Needle felt christmas tree decoration free tutorial - covering the ball


Continue to work around the ball gently jabbing the needle into the polystyrene ball until all the felt is securely held in place.
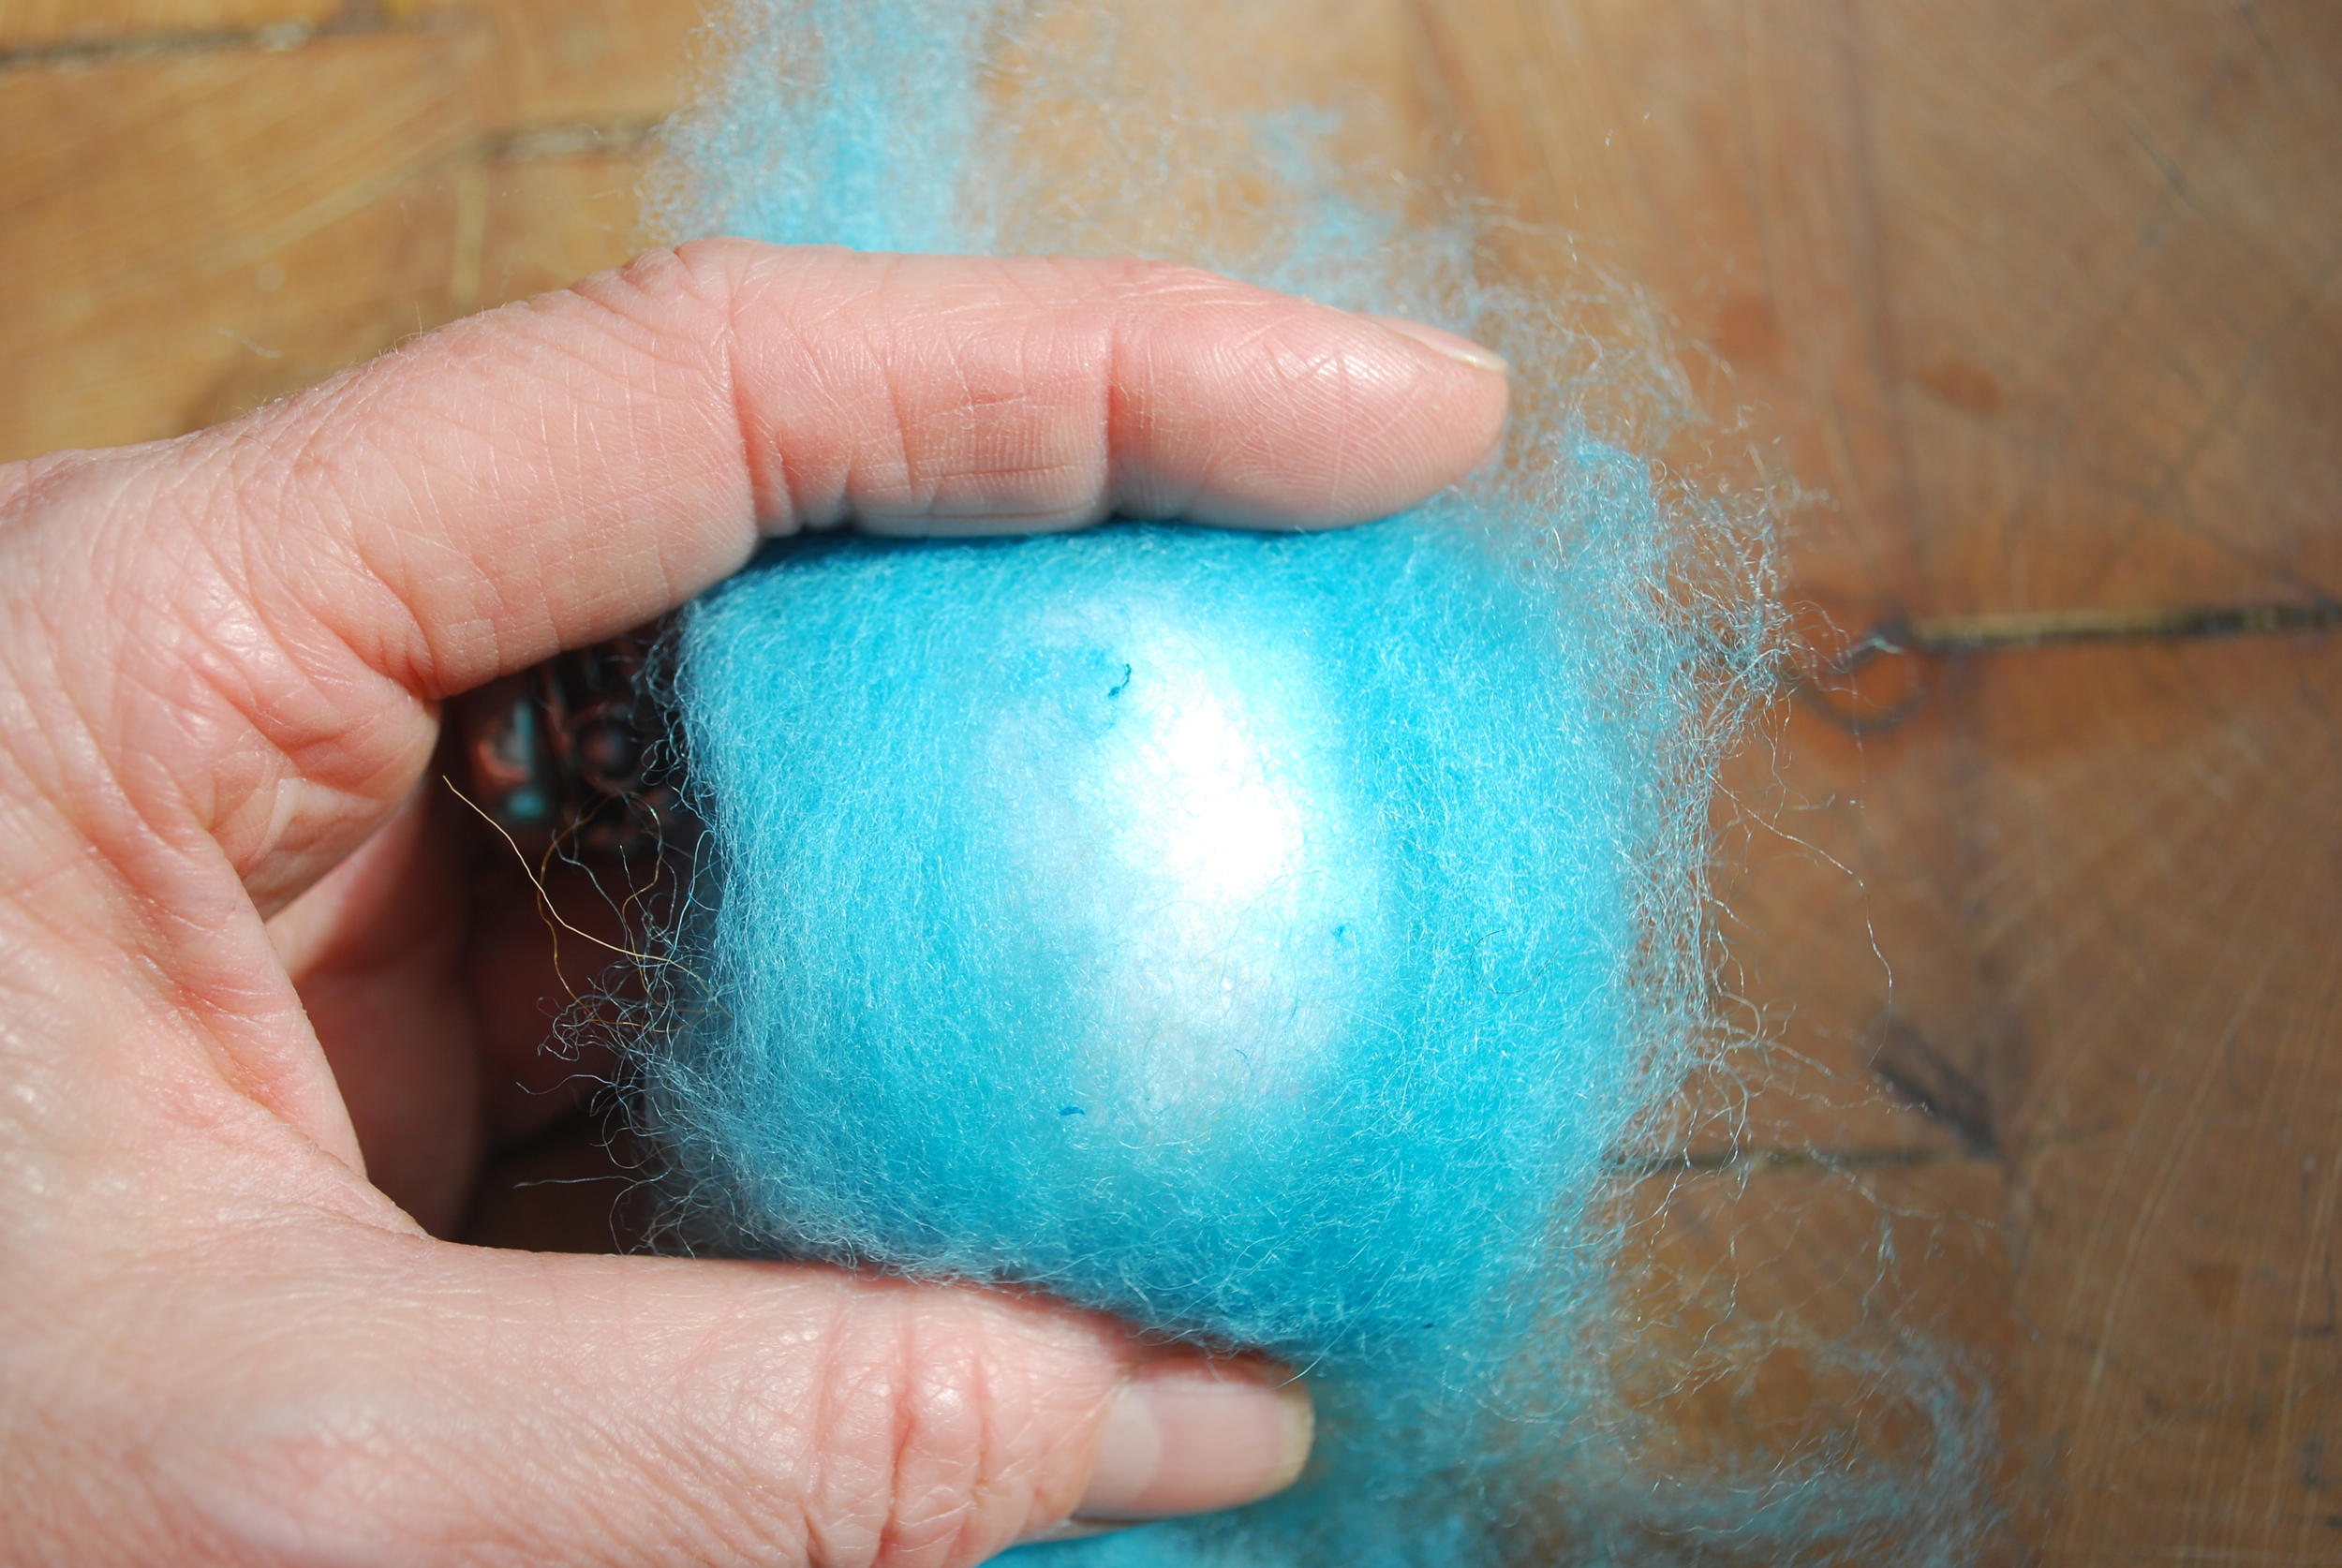
 

Needle felt christmas tree decoration free tutorial - covering the ball - bald patch!


Cover the remaining areas with felt and work it in using the felting needle.


Needle felt christmas tree decoration free tutorial covering the bald patches!

Keep adding felt to any bald patches and securing it in place with the needle jabbing until the ball is completely covered in an even layer of felt.

Needle felt christmas tree decoration free tutorial. Completing the base colour

Once you have covered the ball all over in the base colour and secured it in place by jabbing it all over for several minutes you are ready to add the swirl.  The more you needle ('jab!) it the smoother the surface so take your time. 

Needle felt christmas tree decoration free tutorial - colours for the swirl

The next step is to decorate the ball with a needle felted swirl.  I've chosen two colours that are my favourite colour combination, hot pink and deep orange....very 'Bollywood'!

I am going to show you how to blend from one colour to another....it's very simple and in doing so you will begin to see how versatile needle felting can be.  It's like painting with wool.  So, to begin, you need to pull a little piece of felt from the main bulk because as you can see, we don't need an awful lot.

Needle felt christmas tree decoration free tutorial step 3
Needle felt christmas tree decoration free tutorial - starting the swirl

Anchor the felt into the ball by 'jabbing' it a few times with the felting needle.

Needle felt christmas tree decoration free tutorial - working the swirl

Continue to felt the swirl in the direction you want it to go in.  Don't worry at this point about it being too neat as we will return once it's positioned and go over it all again with the felting needle until it's neat and tidy.  For now we are simply getting it all in place.  A rough sketch if you will!

Needle felt christmas tree decoration free tutorial - tip on how not to hld it

Try to avoid gripping the felt too tightly as this prevents the fibres from being introduced into the ball when you jab it with the felting needle.

Needle felt christmas bauble free tutorial - how to change colour

When you are ready to change colours (about mid way around the ball) pull the remaining felt away leaving some wispy bits as in the picture.

Needle felt christmas tree decoration - blending colours

Take your second colour (In my case deep orange) and  lay a thin layer of it over the first colour (pink) and needle it into position.

Continue to work the second colour just as you did with the first until you reach the other end of the ball.

Needle felt christmas tree decoration free tutorial  - finishing the swirl

Pull  any reming felt away and secure the end in place by needling it in.

Needle felt christmas tree decoration free tutorial - eating up the swirl

Work back round the swirl needling the edges some more to neaten it all up.

Needle felt christmas tree decoration free tutorial. Bakers twine

Cut a piece of bakers twine roughly 10 cm and tie a knot.


Needle felt christmas tree decoration free tutorial - tying the knot!

 Push a pin through the knot and secure it into the ball.  


Needle felt christmas tree decoration free tutorial - pining it

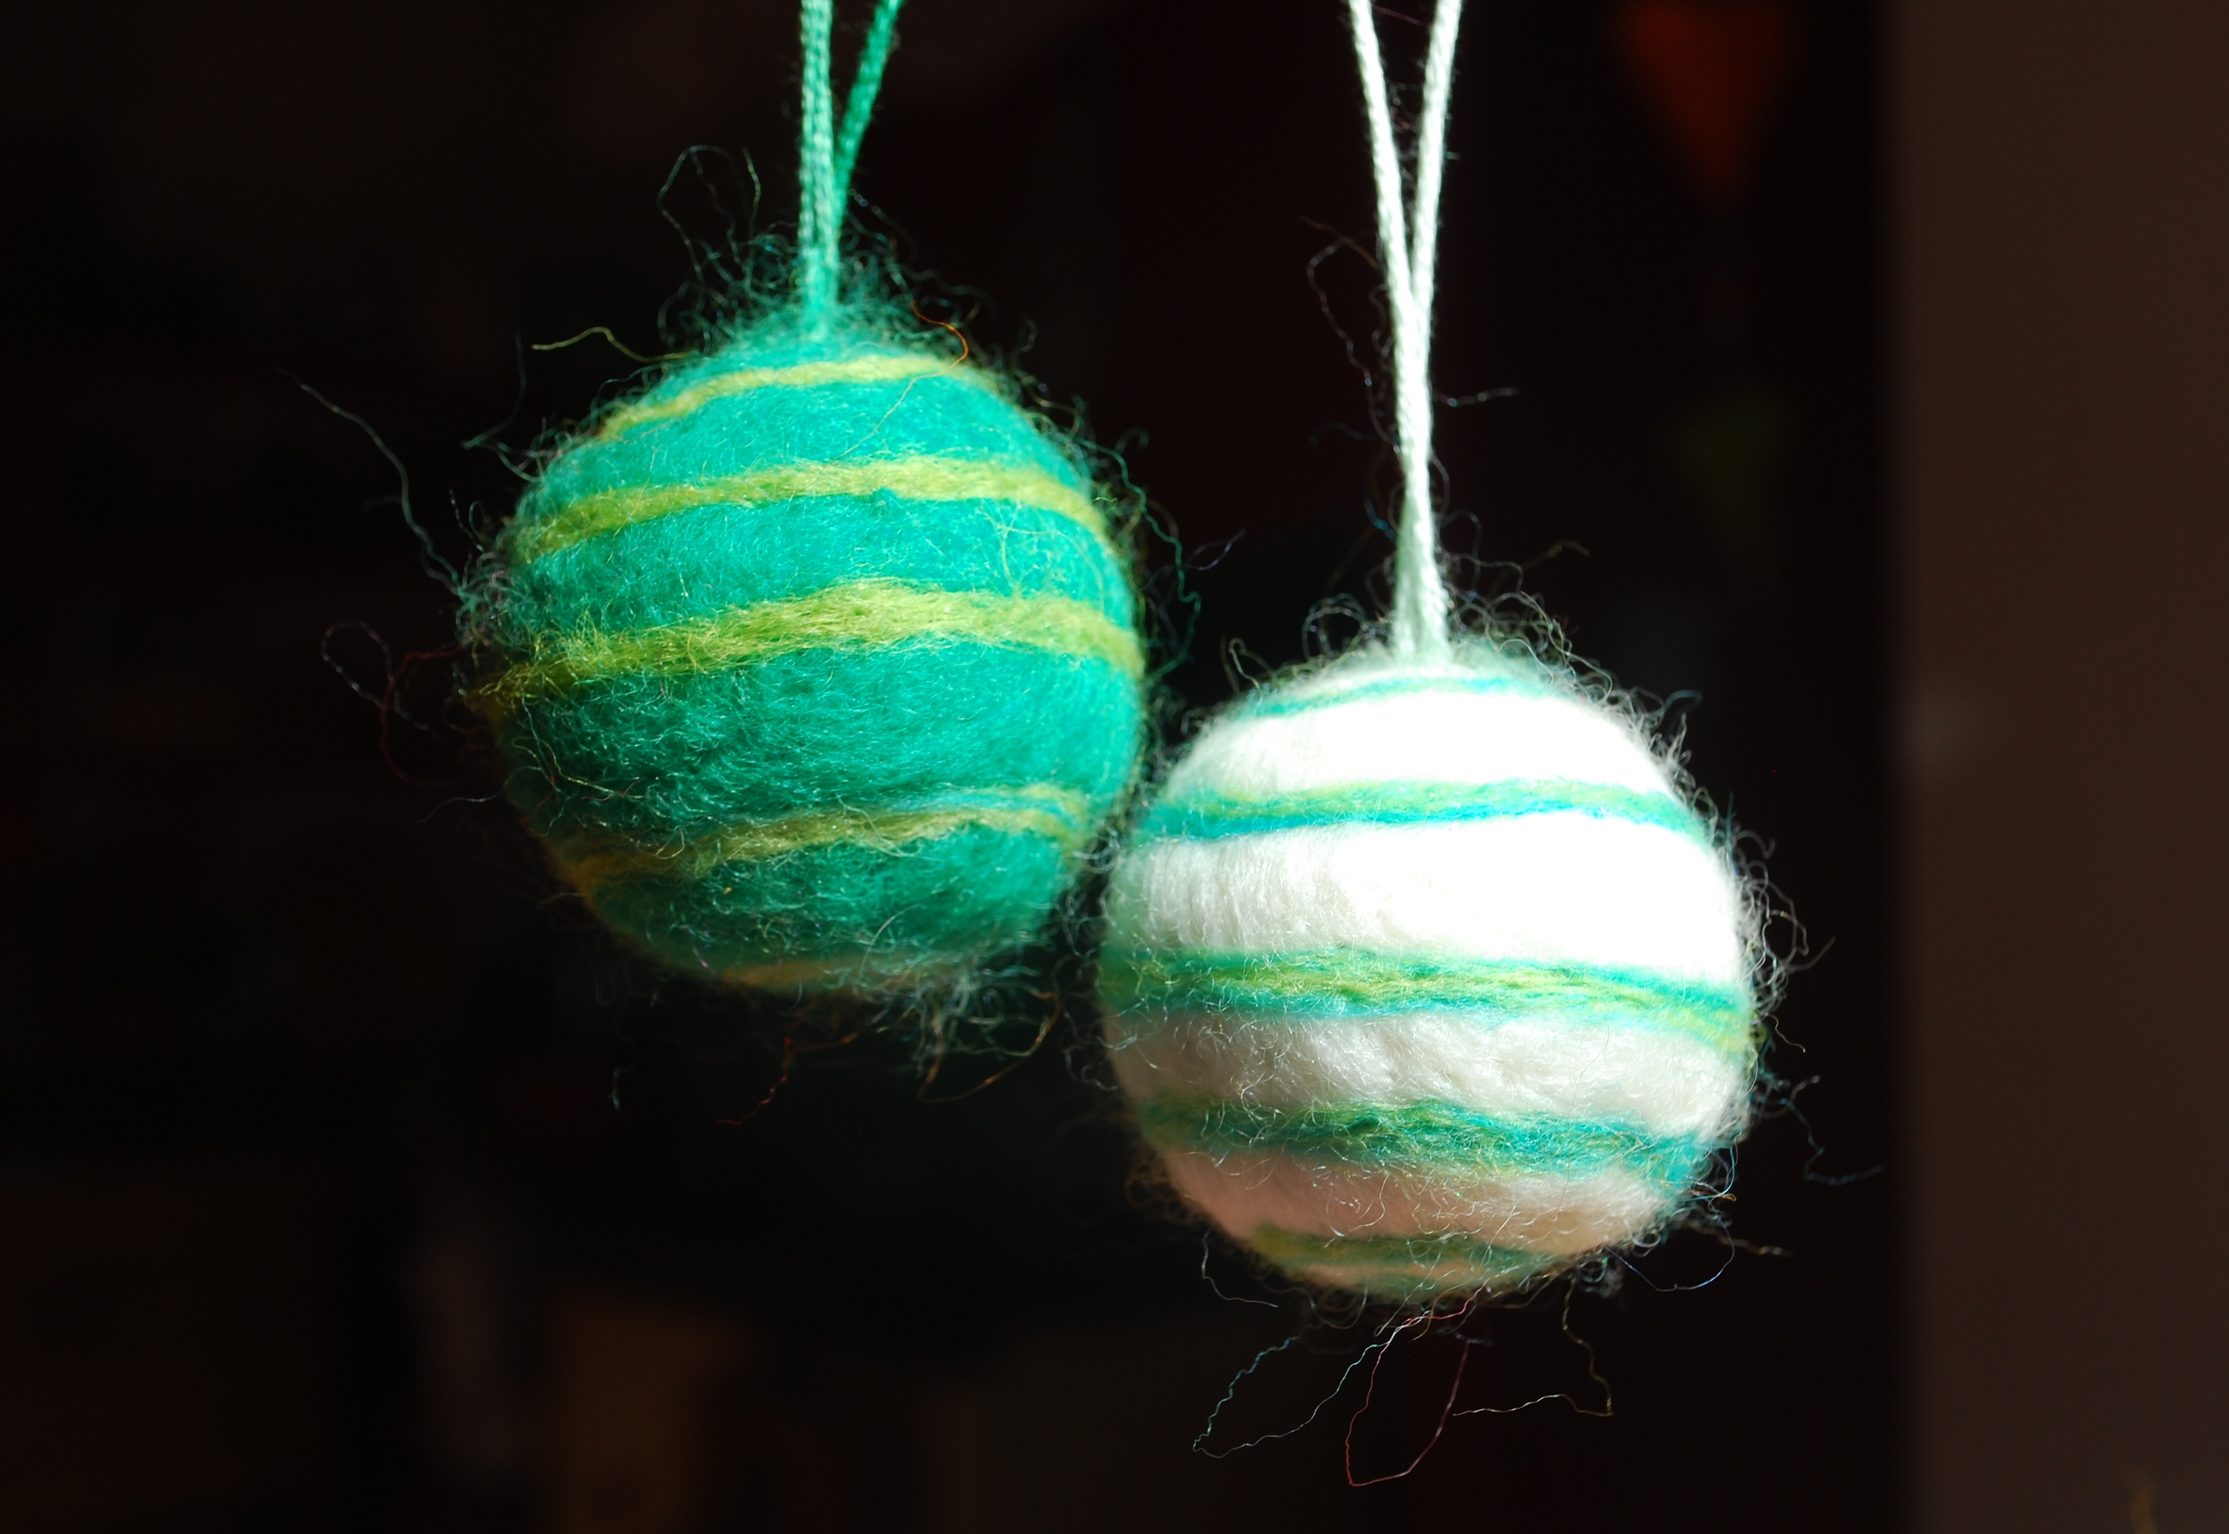
Your needle felted christmas tree decoration is now ready to hang on your tree!
DSC_0287.JPG
DSC_0288.JPG
DSC_0289.JPG
In Felting, Tutorials Tags Needle felt christmas decorations, needle felt christmas, needle felt christmas baubals
8 Comments

Patterns

Featured
Metropolis Mitts
Metropolis Mitts
£3.50

Enjoy winter like never before with these adorable mitts that are guaranteed to get noticed! They are a heady mix of style and function combining a joyous blend of colours whilst being warm and cosy to wear. What’s not to love? Given a good box set and an uninterrupted weekend of crochet you can hook a pair in no time at all!

Mitts are worked using a 3mm hook and Scheepjes Metropolis yarn in a variety of colours. All the shades used in these samples are listed in the pattern and most 4ply yarns this can be used as a substitute (Its the same weight as most sock yarns). Each glove is made of two squares joined together across two sides leaving space for the thumb opening. Edging is added around the top and the bottom and is where the creative magic happens. Once you have worked a few rounds you will be free to follow the sequence to the letter or go off piste and create your own colour versions, adding more rows to make the wrist part as long as you like!

Read more →
Cosy Cable Blanket
Cosy Cable Blanket
£3.50

Made with snuggling in mind this chunky blanket is a glorious blend of colour and comfort that will look equally lovely draped across a bed or sofa. Inspired by classic cable sweaters the simple repeating cable pattern works beautifully to create a warm and stylish patchwork blanket. This is the perfect project for those wishing to dip their toe into the world of cable crochet without getting lost in it! Once you have mastered the first 19 rows its just a simple repeat with colour changes creating the patchwork effect.

This patterns includes full written instructions together with a chart detailing every stitch row by row. There is also a little colour diagram to help you with the layout and all the colours used are listed. I have used Rico Design Mega Wool Chunky which is a blend of 55% wool and 45% acrylic (100g/125m) but any chunky weight yarn will work.

The blanket is constructed from six strips, and each strip has seven ‘patches’. The strips are crocheted together (so no sewing!) and finished with a super simple border and tassels at each end.

Read more →
Bright Lights C2C Crochet Blanket
£3.50

Inspired by the bright colours and bold shapes of Moroccan Boucherouite rugs this blanket is perfect for anyone wishing to add a splash of colour to their lives. It will brighten up any bed and look equally at home hung over the sofa for cozy nights in front of the tv. This blanket is a firm favourite with all the family and the pattern is easily adapted to be as large or as small as you like.

This blanket is worked using a 7mm hook and a chunky, aran weight yarn in a selection of bright colours making it a great ‘stash-buster’ project. Emma used Scheepjes Chunky Monkey and the yarn colours and quantities are listed in the pattern. You can watch Emma teach you how to crochet C2C in the round here however please be aware that part two of the video differs to the final pattern for this blanket (but the video is perfect to get you going!)

Read more →
Rainbow's End Crochet Stash-Buster Blanket
£3.50

It’s time to dive into that yarn stash and get hooking this timeless classic! The pattern is designed to use all those leftover part balls from previous projects and get you feeling the joy of working with colours as you move through the rainbow spectrum from cool blues to hot pinks. The easy to follow pattern lists all the colours and quantities used for those wishing to top up their stash and replicate the sample you see here and you can use any combination of colours to suit your mood. The border can be any colour and would look equally as beautiful in grey or black.

Read more →
Mosaic Dream Crochet Blanket by Emma Leith.jpeg
Mosaic Dream Blanket
£4.50

Originally designed as a crochet along this blanket remains one of my all time favourites. The gentle grey tones of the main body of the blanket contrast beautifully with the bright pops of colour that push through the textured stitches to create a classical piece that will look good in just about any setting.

This blanket is worked using West Yorkshire Spinners Colour Lab DK pure wool which includes several balls of their self striping yarn. For a more budget friendly project any dk weight yarn can be used and the little ‘Floral Tiles’ that form the white middle border can be worked using any scraps of dk from your stash. All shades and quantities are listed in the pattern. With over 50 detailed step by step photos this pattern will hold your hand very step of the way and is ideally suited to the more experienced crocheter.

Please note this blanket does not include mosaic crochet technique despite its name!

Read more →
Dot to Dot Linen St Shawl
£3.00

Gentle on the mind and pleasing for the soul this simple pattern promises beautiful results every time. Detailed step by step colour photos accompany the easy to follow pattern to guide you every step (or stitch!) of the way. Included are full details of two colour palette options - autumn colours worked in double knit and a chunky yarn version using bright springtime colours. The double knit version includes a lovely picot edge finish with tips on how to achieve a relaxed drape. Linen stitch is a wonderful way to explore and play with colours making the perfect project for anyone wishing to brighten up their winter wardrobe!

Read more →
Sweet Clover Crochet Blanket
£3.50

Welcome to the Sweet Clover blanket which is designed to have you combing colours with ease. Made up of 42 squares using 20 balls of Ricorumi DK this blanket is packed full of colour and texture. At first glance it may seem a little complex but the Sweet Clover square is only 6 rounds and you get to repeat each square in any colour combination of your choice. The pattern walks you through 3 simple colour tips ensuring balance and harmony with any palette guaranteeing spectacular results every time. 35 colour photos accompany the written pattern guiding you every stitch of the way.

Read more →

Powered by Squarespace FAQS | PRIVACY | T’S & C’S